So this next mod was an impulse buy...
It had been a few months since I did anything to the car.
I was browsing through eBay and I stumbled on a very cheap ad for a set of OEM Bi-xenon headlights for the A3. I always wanted xenons on the car but heard that installing a normal HID kit on the A3 will ruin the front wiper motor as the car somehow doesn't like HID kits. I hesitated for a bit since the install of bi-xenons is a fair bit of work and I would be going in blind but then thought if I don't fit them I can always sell them on and make my money back, so I jumped in head first and got the headlights. I always liked the thought of Xenon full beam lights... imagine all the people you can blind with those :P
When they turned up I knew that I wanted to fit the headlights in straight away. They looked perfect and I wanted them on ASAP. So I started researching on what procedures and what other parts I would need to get the headlights working in the car and to my pleasure it turned out all I needed was a wiring harness.
Since I was going to get the xenons in the car I wanted them to be as bright as I had them on my Mk4 Golf so I found out what bulbs these bi-xenons took and then ordered myself some 8000k D1S bulbs and while I was at it I got some 8000k H11s for the Fogs, a pair of silvertec indicator bulbs and a set of Mtec 382 (P21W) bulbs for the DRLs.
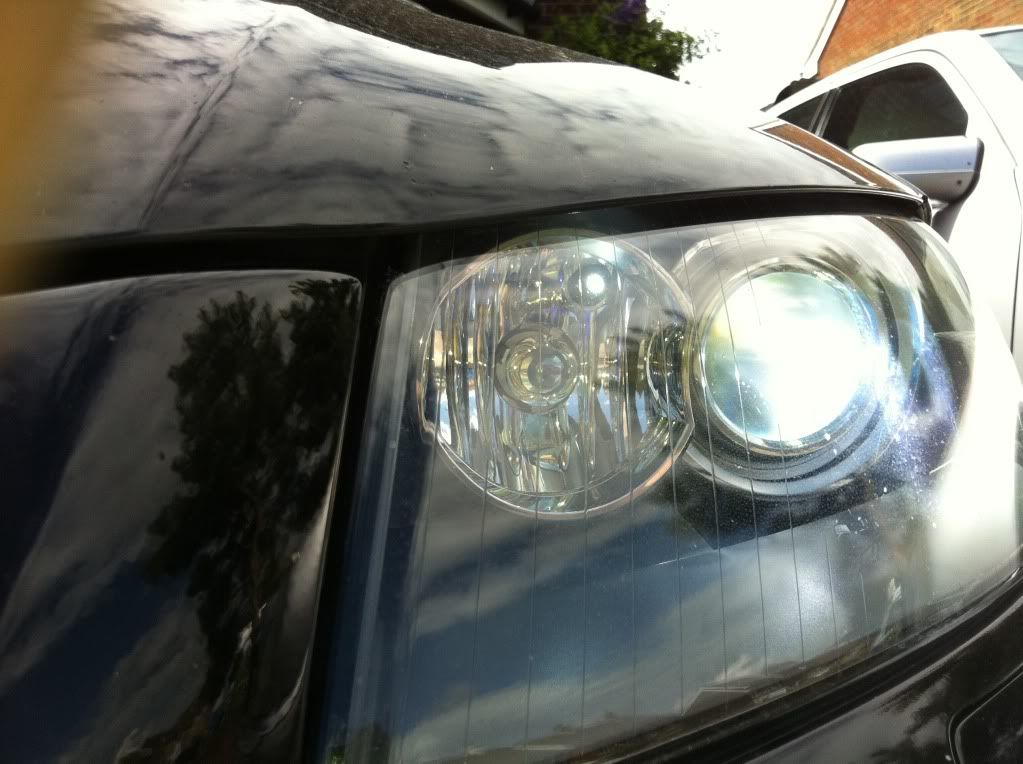
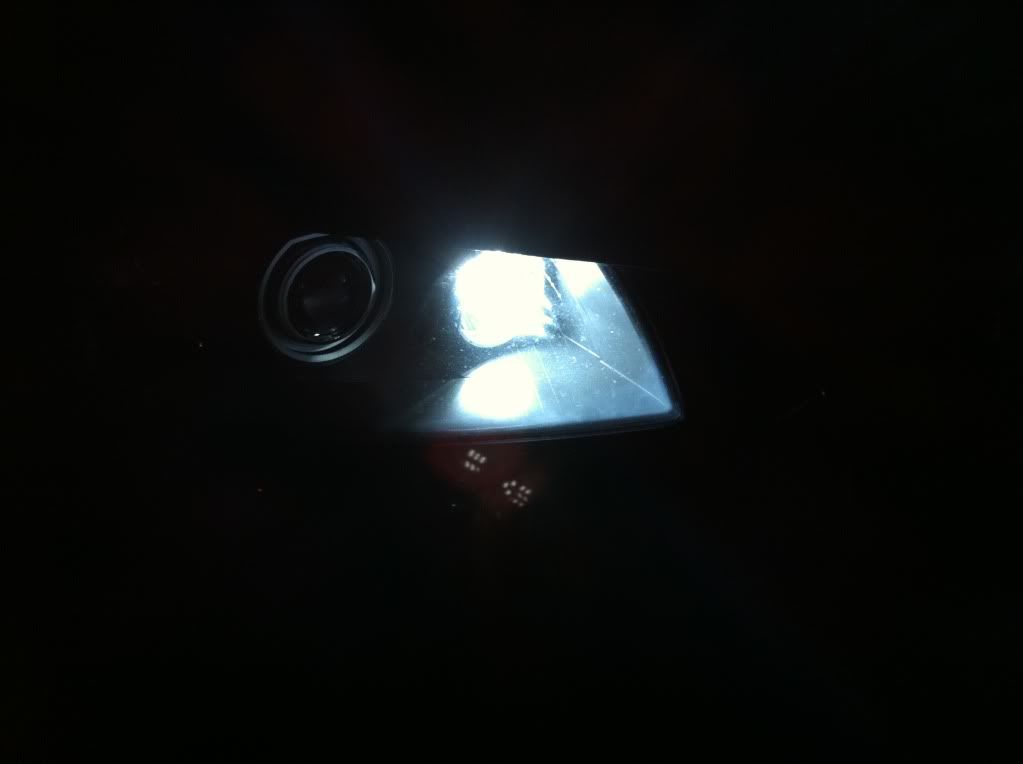
The HIDs for the Fog lights turned up first so like an impatient child I got straight to work. There isn't much to say about the install as I changed over the the bulbs and secured the new ballast to the front bumper near the Fog grill. Once it was on I adjusted the light beam a little lower so that I don't blind every one driving towards me when the lights were on.
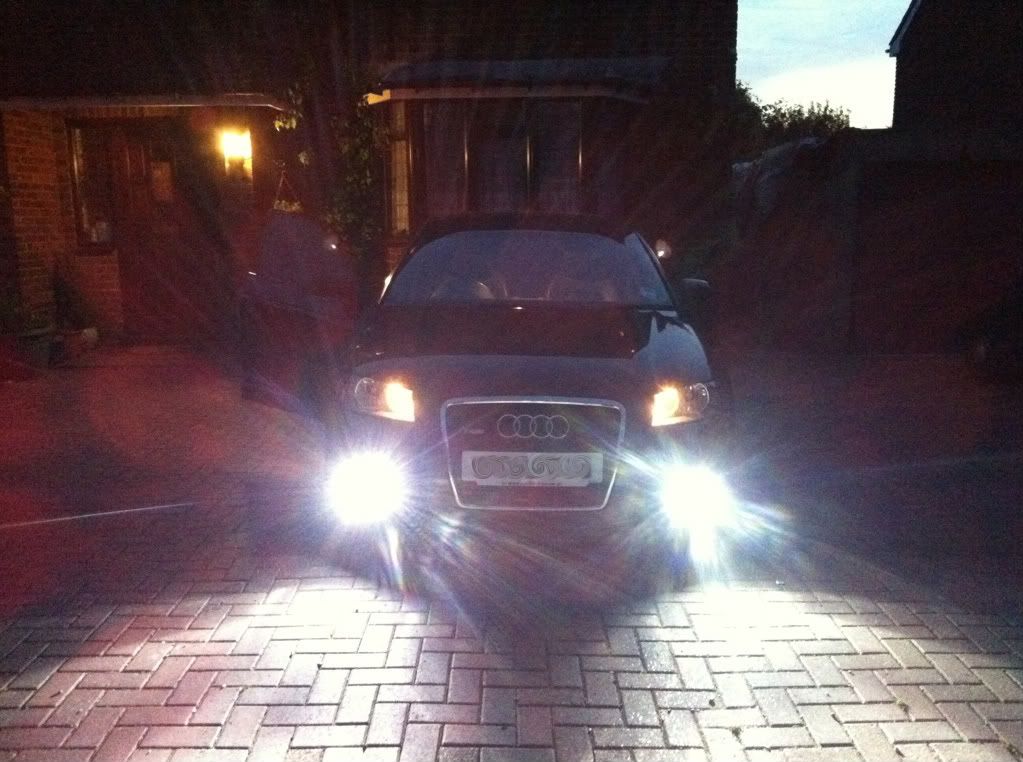 |
| HIDs in the Fogs... The dazzle effect was from the bad quality camera on the iPhone |
I managed to get all the bi-xenon bits together but I knew the install would take me a couple hours at least so I waited for the weekend to do the install... that was a painful wait!
Anyway come that Saturday I got up early and got to work on the car at 11am (yes that's early for me on a Saturday! ask the missus... she knows!)
As always I didn't get many pics of the install as I was busy concentrating on not messing up the install but this is how it went...
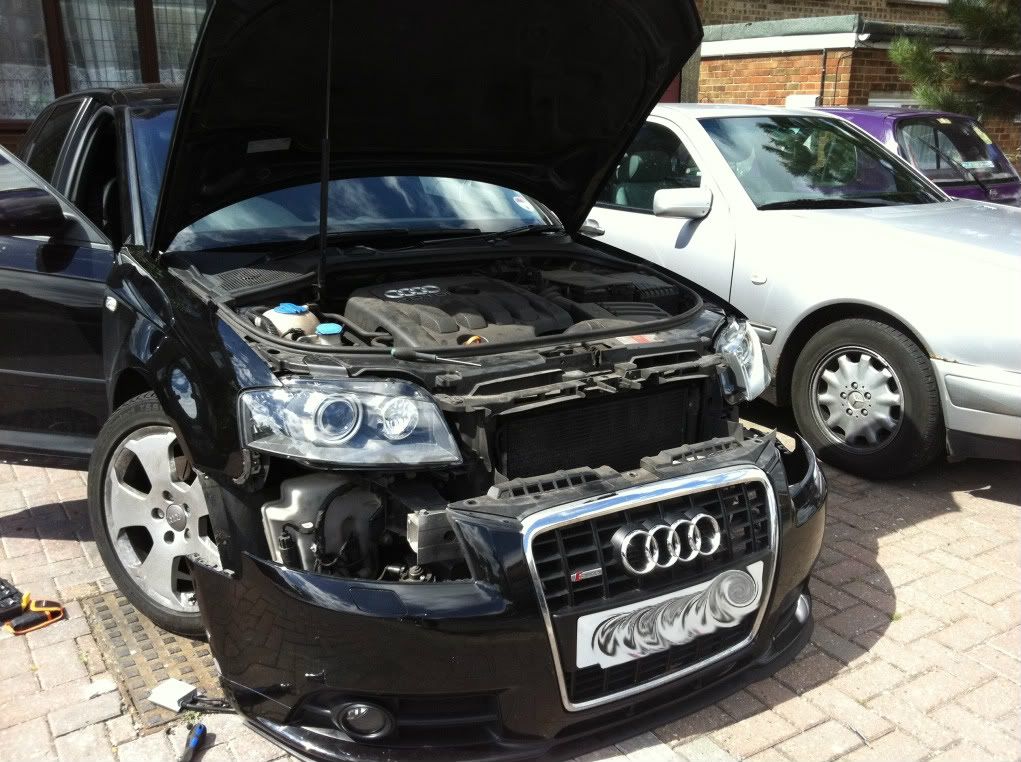
Firstly I removed the front bumper. This consists of removing 3 screws in each wheel arch that connects the front bumper to the wing and the Arch liner. There are also 2 bolts (one in each side) that you need to reach into the arch liner area and unscrew, imagine the screw is fitted to the back of the headlight holding the front bumper in place from the back. Then there are several screws holding the Under Engine Cover to the front bumper. There are also some bolts holding the headlights to the top of the grill and front bumper, remove these and the bumper should be free (There may have been a few ore screws)...
Once the bumper was off I needed to remove the standard headlights and replace them with the Bi-xenon headlights. Again there are a few bolts (3 on each side) that need to be removed, however to remove the front bumper 2 of the 3 a side would have been removed so that leaves one very awkward bolt to remove on each headlight. I needed an extension bar to get to the final bolt and a Magnet so that it doesn't disappear in the metal of the car. Once the headlights are swapped the real fun begins!
 |
| Bi-Xenons bolted into place |
Now I need to wire in the new functions that come with the bi-xenon headlights which are the DRLs and the actual Xenon shutters (this is a flap like device that reflects the lights from low beam to full beam). The easiest way to do this wiring is to simply buy a wiring harness that does the main conversion for you and then wire in the extra couple pins to the Central Electronics Module (CE) which sits nicely behind the dash under the steering wheel in the car. The problem is finding a way to get the wires from the engine bay past the firewall and into the cabin to the CE Module.
The harness I had bought had an adaptor (Halogen headlight connector has 10 pins, Bi-xenon headlight connector has 14 pins) that started on the passenger side headlight and ran across to the drivers side and then to the cabin. I wired in the adaptor on the passengers side and connected that to the headlight, I then tucked the wires under the slam panel and moved along to the drivers side tucking in the wires as I went along keeping the new wire out of view for a nice and clean install). After plugging in the drivers side I took the new wiring up past the washer bottle and up to the scuttle panel.
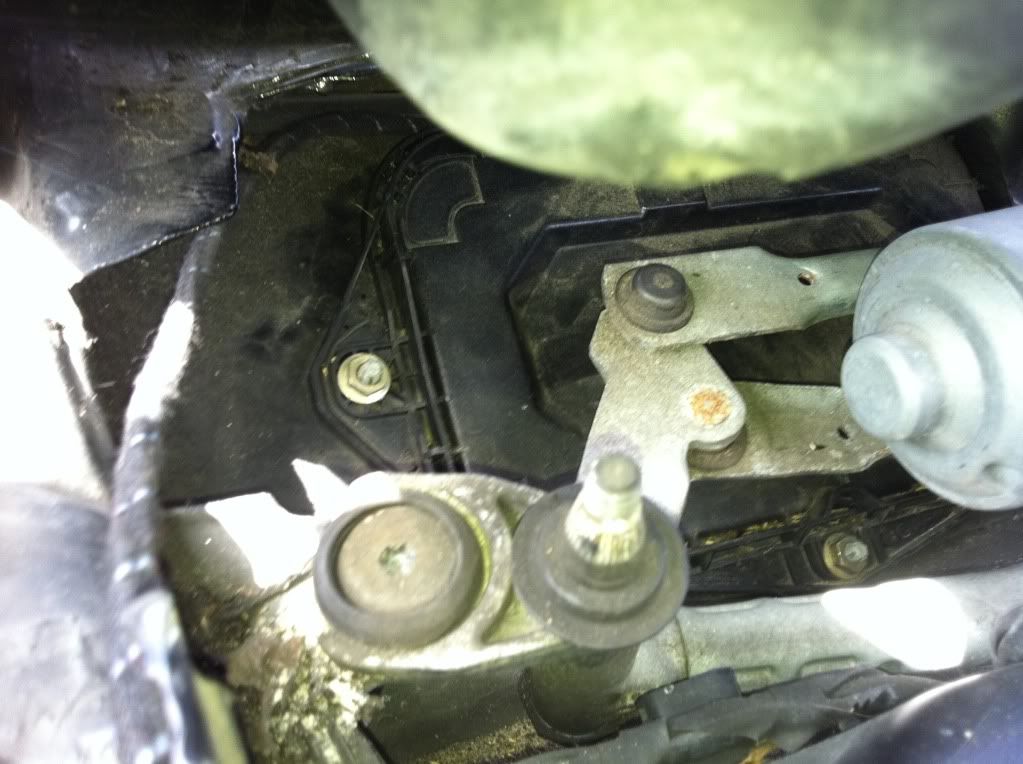
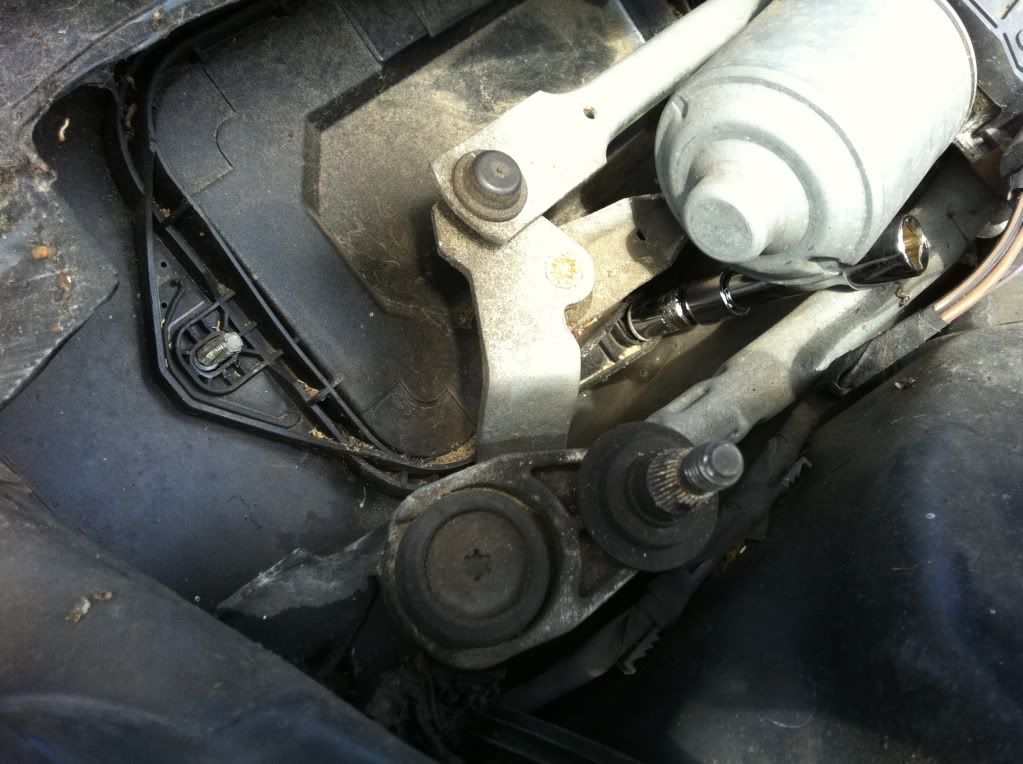
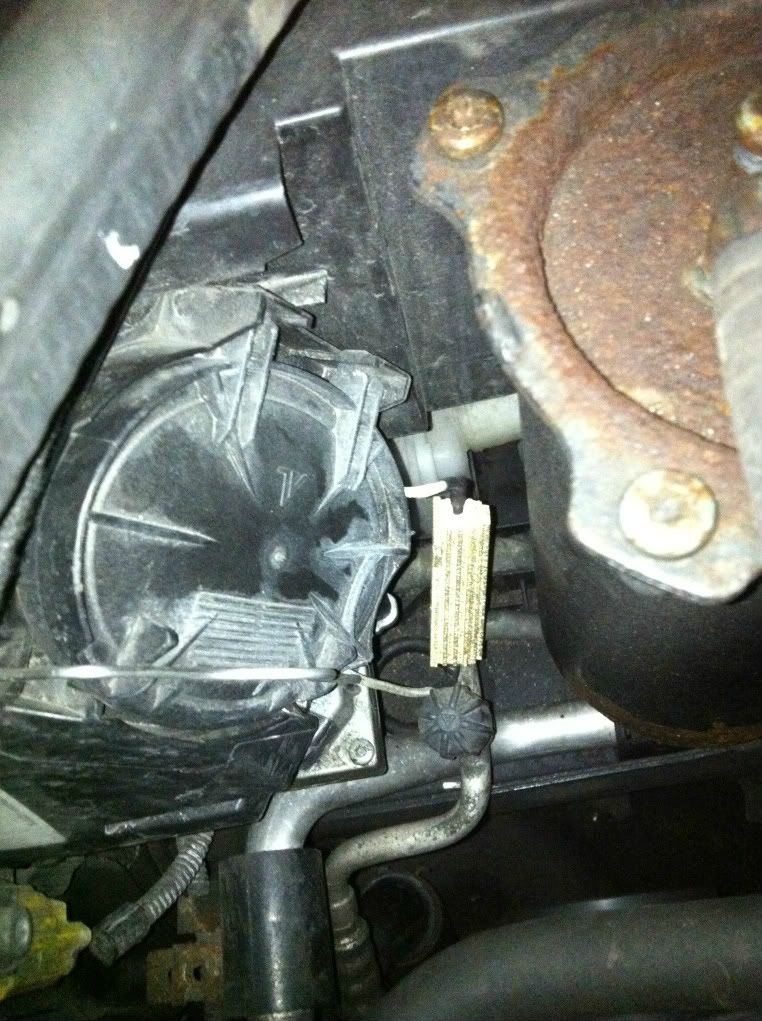
I removed the Scuttle panel and then undid the front wiper so that I could gain access to the small panel that is screwed down underneath it, this panel allows access to the cabin.
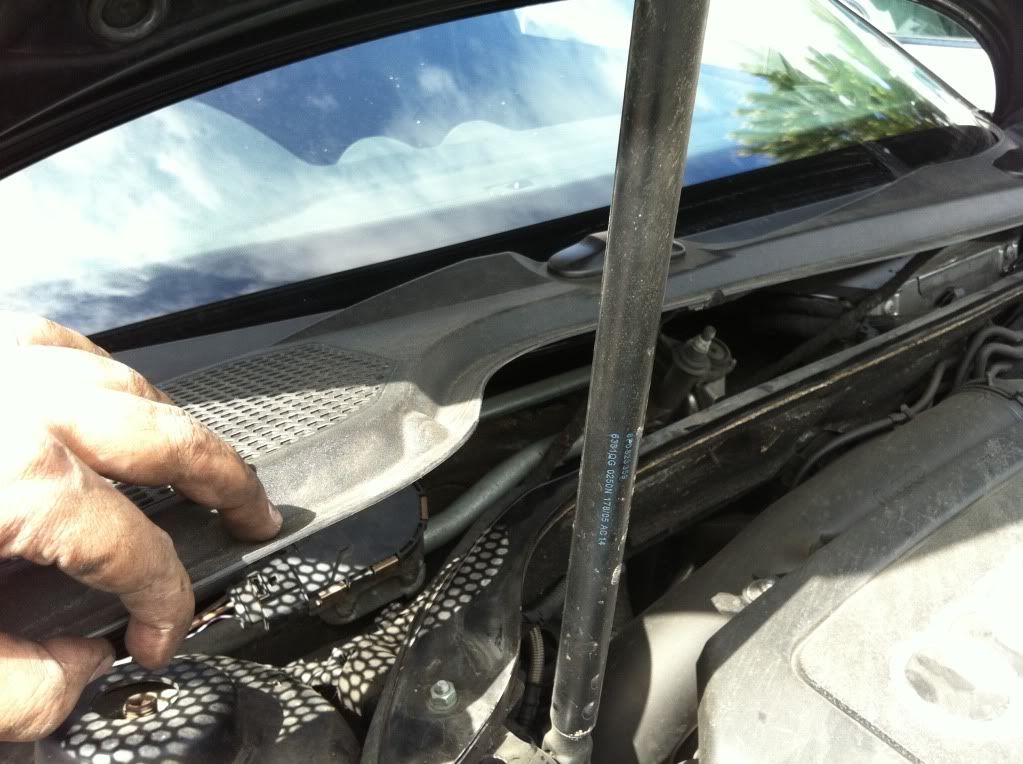 |
| Under the Scuttle panel |
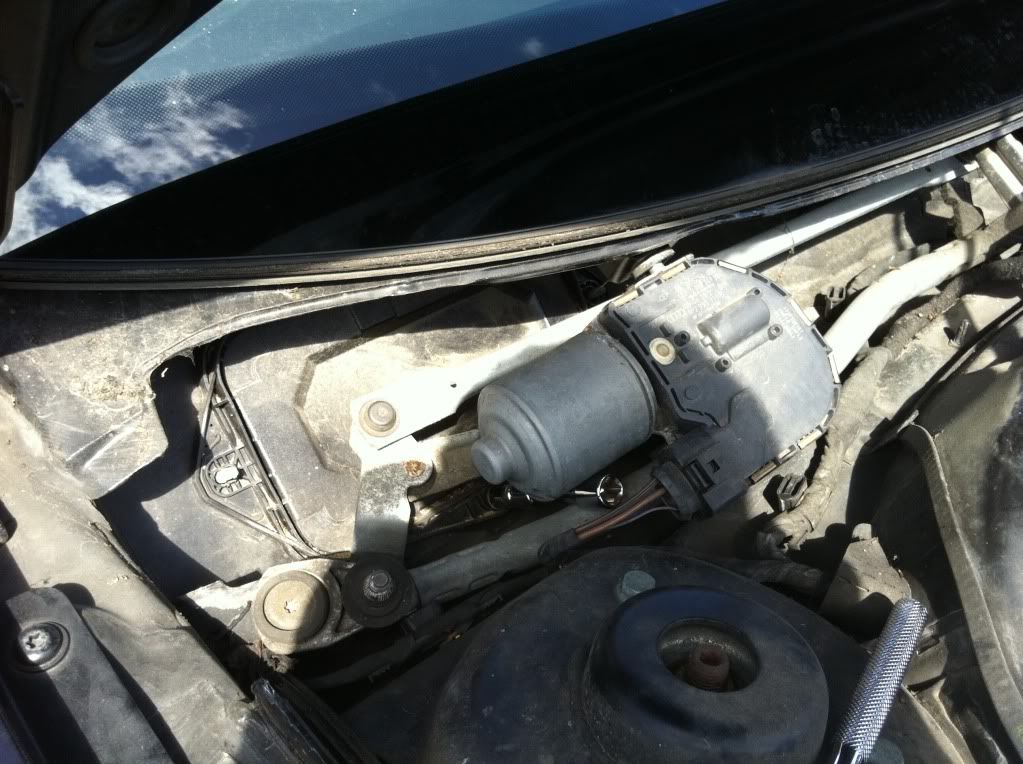 |
| The wiper motor - Unbolt this to continue |
 |
| This is the panel that needs to be moved, 4 screws N, E, S & W |
 |
| 4 Bolts off, just need to prize out the panel |
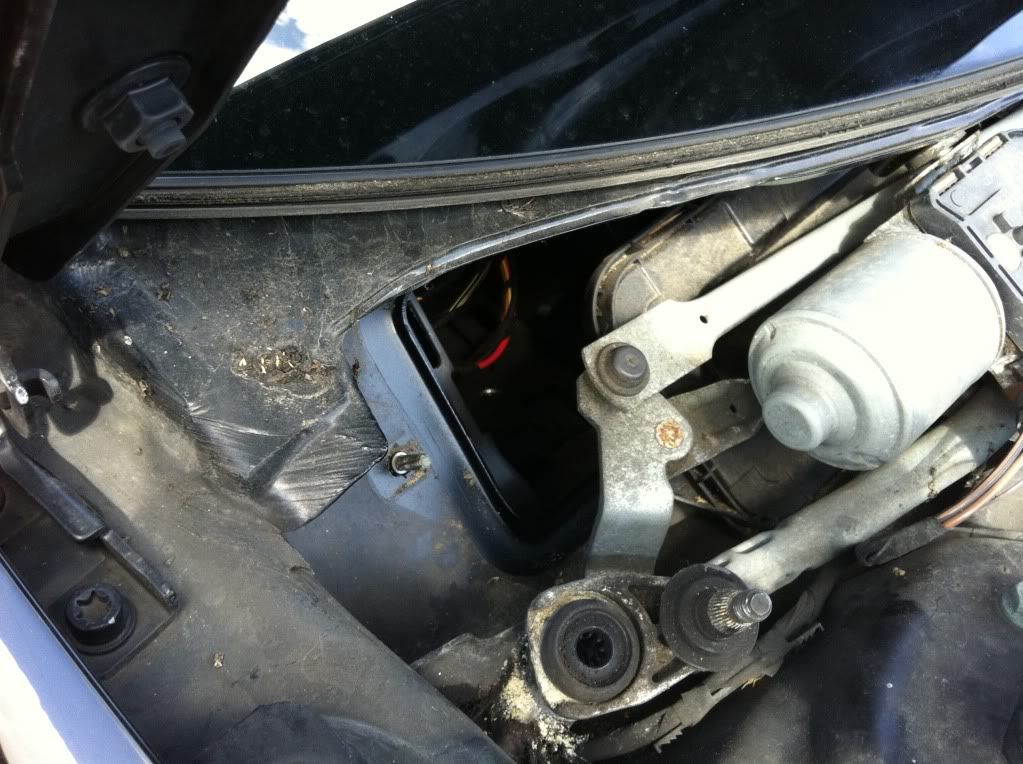 |
| Now you can see the wires behind the dash in the cabin, wires go in there |
Once the wires are passed through I needed to get into the dash area and pin in the wires.
So into the car and firstly the fuse box cover needs to be taken off, then there are 3 8mm nuts that need to be removed in order to gain access to the area above the drivers footwell. One bolt is on the side of the panel, the other 2 are from the under side of the panel (I'll try to get a pic to show that part more clearly), then with a little tug the panel comes away from the dash. The connector plugs for the headlight switch and ODB port will need to be disconnected before the panel will come fully out of the way.
Now this part was a little tricky... I had to somehow lay down and look upwards under the dash to see the plugs for the CE with a torchlight, and then connect the new pins into the CE. After moving the driver seat all the way back I managed to twist myself onto the footwell floor in front of the pedals and now get a good look at the plugs. The new wires I had fed in from the front wiper motor were now dangling behind the CE so with the torchlight I managed to see the plugs I needed to pin in the new wires and got to work. All the plugs are locked into place so I unlocked them and started wiring in the new pins.
After I had done that I put the plugs back into the CE and locked it back. Now that everything was done its just a matter of putting everything back together and securing it all properly so that nothing rattles.
Finally all I had left to do was to code the car to tell it now has bi-xenon lights
Now this part was a little tricky... I had to somehow lay down and look upwards under the dash to see the plugs for the CE with a torchlight, and then connect the new pins into the CE. After moving the driver seat all the way back I managed to twist myself onto the footwell floor in front of the pedals and now get a good look at the plugs. The new wires I had fed in from the front wiper motor were now dangling behind the CE so with the torchlight I managed to see the plugs I needed to pin in the new wires and got to work. All the plugs are locked into place so I unlocked them and started wiring in the new pins.
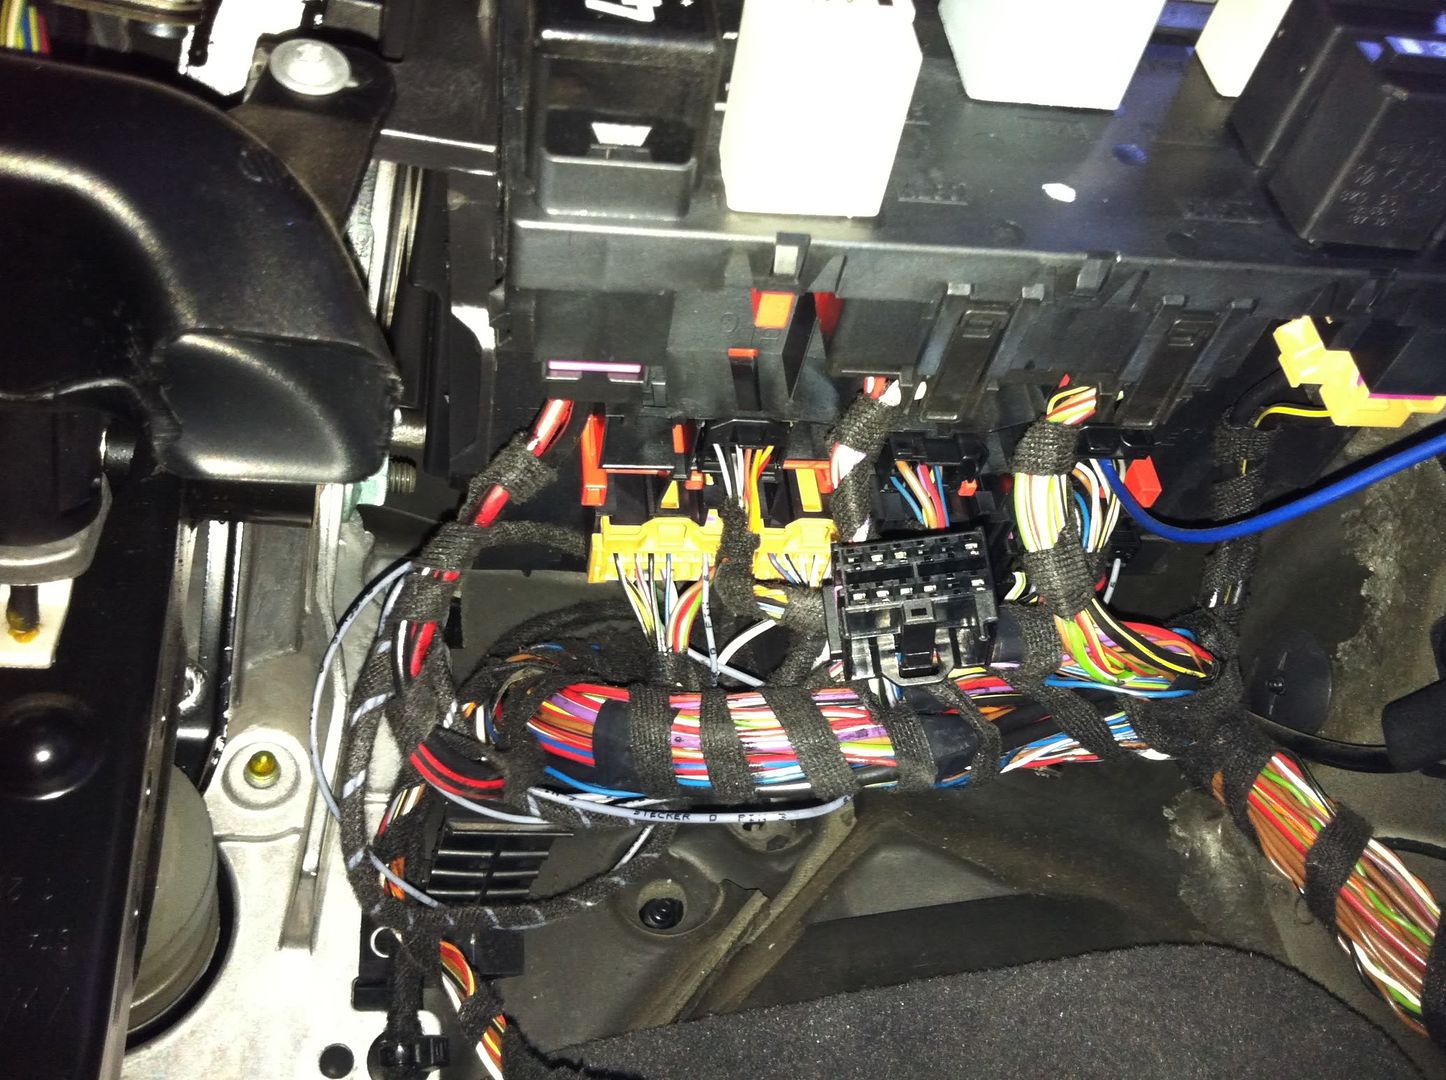 |
| CE Module with a plug unlocked |
After I had done that I put the plugs back into the CE and locked it back. Now that everything was done its just a matter of putting everything back together and securing it all properly so that nothing rattles.
Finally all I had left to do was to code the car to tell it now has bi-xenon lights

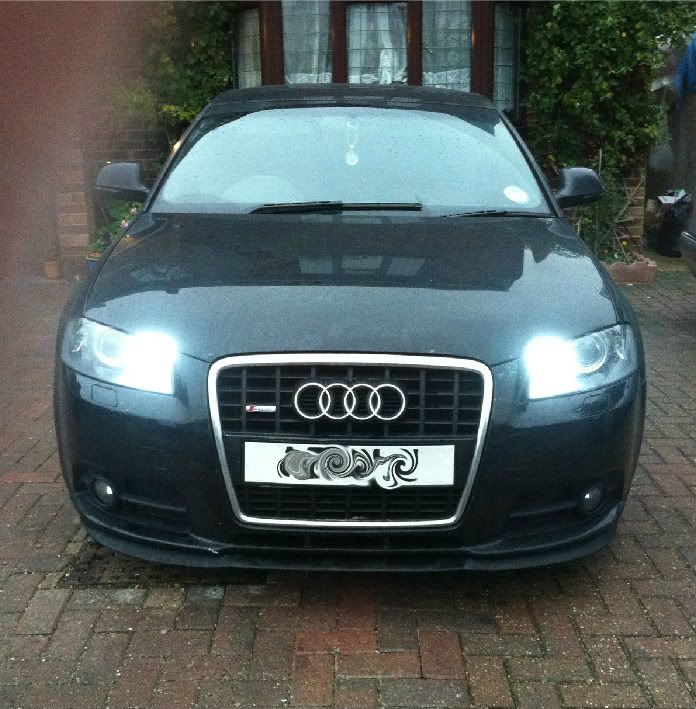
And here is the finished product! :D
 |
| DRLs are on |
 |
| Mtec DRL bulb visible with LED sidelight just above it. |
 |
| Mtec DRLs on |

I did have a problem with the Mtec DRL bulbs where after 2 months one of the bulbs blew. I got a replacement from the supplier but after another month the other bulb blew... so I decided that I was no longer going to bother with them and went for a LED DRL upgrade. Now there seems to be another issue with the Audi's with LED bulbs... as the LED draws so little power the car doesn't think there is a bulb in there and then throws up a bulb error on the DIS (Driver Information System). To counter this I needed to get some resistors to fool the car into believing that there is a normal bulb in the headlight.

As the resistors get very hot I didn't want anything to burn so i connected the resistor to the DRL + and - wires and then left them outside of the headlight cap. The white wires on the resistor are quiet thick and can be shaped to sit how I want them to so it was easy to put them into the car and make sure that they don't touch and burn anything.
I was given a free pair of LED sidelights that were more powerful than the ones i had in there so i fitted these in too. Now this is what the headlights look like:
 |
| New LED DRL and bigger LED Sidelights |
 |
| LED DRL on |
 |
| LED DRLs |
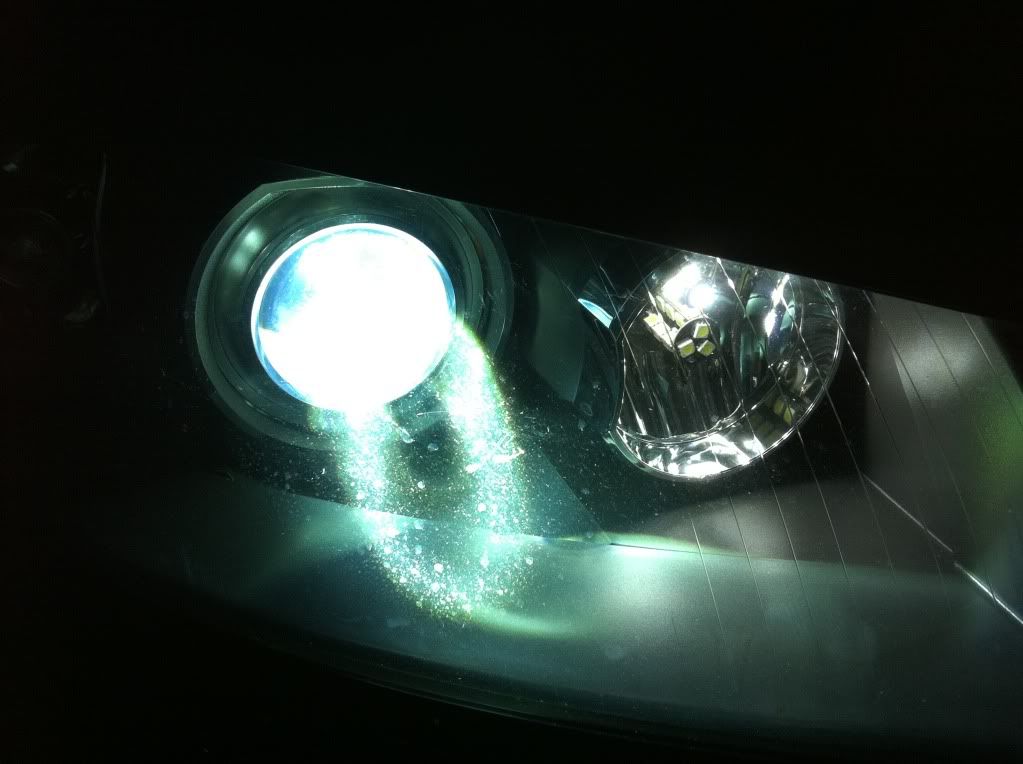
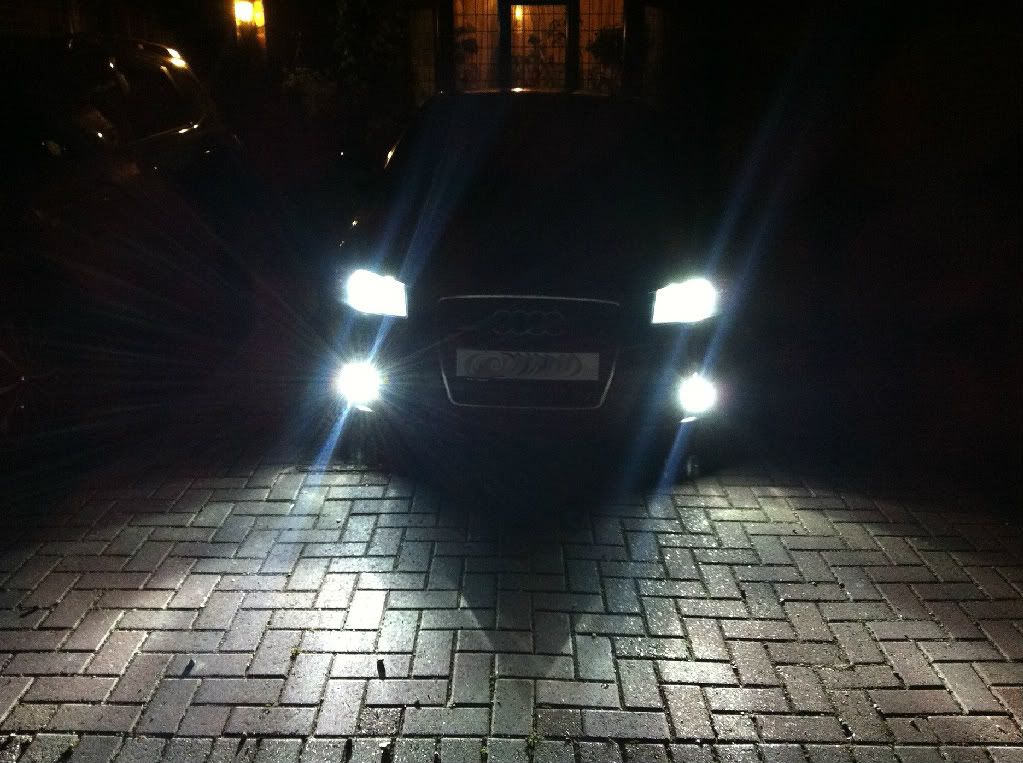 |
| 8000K Xenon headlights and fog lights Continue to Interior Make-over |