I was on the lookout for more bits to improve inside the car...
Everyday on my way to work I went through the Blackwall tunnel
I loved the way some cars would go into the tunnel and the headlights would come on and as soon as they were out it would just switch back off again. Obviously it wasn't the driver flicking the switch on and off, who would be so obsessive that they would need to do that all the time?
It was the Auto lights and rain sensing pack.
Now I had looked into this install briefly before and had found out that it would cost me £600 to get someone to install it for me... that is a price I am not paying! Now though as I was much more confident with the wiring and electrics in the car, I decided I would put a proper effort into finding out what was needed and how to do the install. I was lucky enough to find some info on the net about this install and what parts I would need.
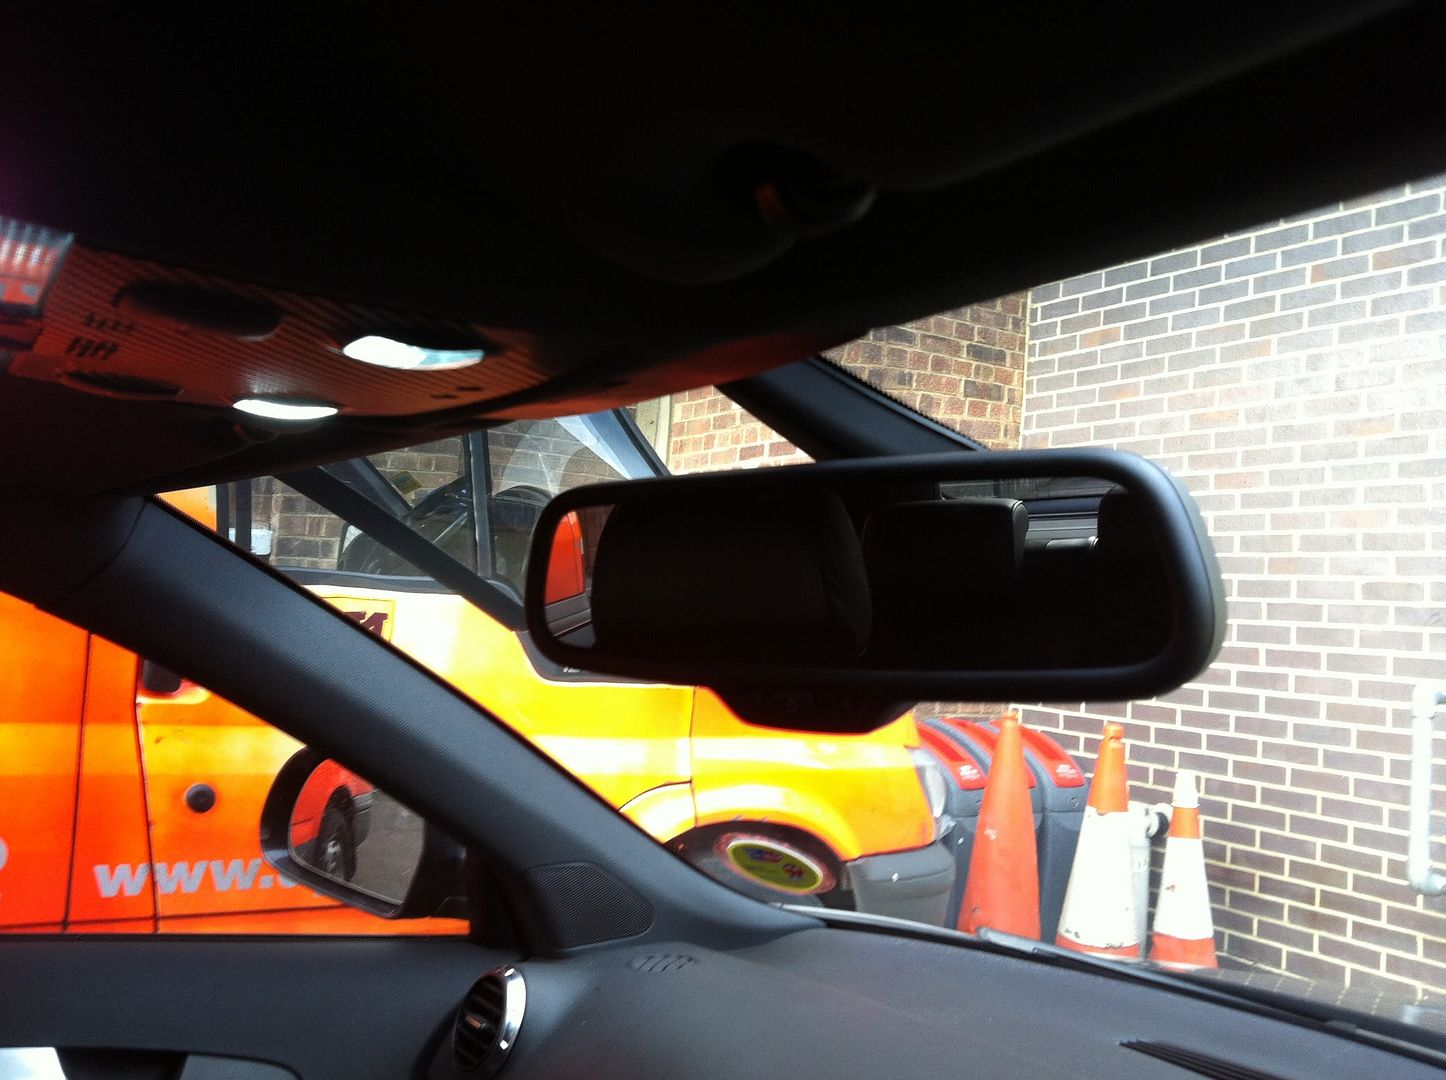
Part of the install needed a new rear view mirror to be installed as the light and rain sensor sat in the bracket behind it on the windscreen. The new mirror also had its own upgrade of it being an auto dimming mirror... this means that at night the mirror would automatically adjust itself and dim out if there were any bright lights shining/flashing behind the car. There are always those few idiot motorists that don't have correctly aligned headlights or just flash you for no reason, not to mention the Range Rovers that have blinding headlights that are just too high, this mirror would solve having to squint everytime they were behind you, making it a perfect upgrade for the interior. Also there was the nice chrome headlight switch that I would need to get with the Auto light setting.
This install is probably one of the most involved installs I have done and it has a big parts list:
I found a couple of good deals on eBay for the Auto-Dimming mirror and the light/rain sensor. I couldn't for the life of me find the headlight switch online so I ended up getting that from the Audi-Sport.Net sponsor 'Stoke Audi' who is an Audi dealer that gives us members 10% off the retail prices. I got the brackets, covers and wiring connectors from the local Audi dealer as these bits were only a couple of pounds each and the main wiring loom I bought from Kufatec who specialise in wiring harnesses.
Auto Lights Install
Everyday on my way to work I went through the Blackwall tunnel
I loved the way some cars would go into the tunnel and the headlights would come on and as soon as they were out it would just switch back off again. Obviously it wasn't the driver flicking the switch on and off, who would be so obsessive that they would need to do that all the time?
It was the Auto lights and rain sensing pack.
Now I had looked into this install briefly before and had found out that it would cost me £600 to get someone to install it for me... that is a price I am not paying! Now though as I was much more confident with the wiring and electrics in the car, I decided I would put a proper effort into finding out what was needed and how to do the install. I was lucky enough to find some info on the net about this install and what parts I would need.
Part of the install needed a new rear view mirror to be installed as the light and rain sensor sat in the bracket behind it on the windscreen. The new mirror also had its own upgrade of it being an auto dimming mirror... this means that at night the mirror would automatically adjust itself and dim out if there were any bright lights shining/flashing behind the car. There are always those few idiot motorists that don't have correctly aligned headlights or just flash you for no reason, not to mention the Range Rovers that have blinding headlights that are just too high, this mirror would solve having to squint everytime they were behind you, making it a perfect upgrade for the interior. Also there was the nice chrome headlight switch that I would need to get with the Auto light setting.
This install is probably one of the most involved installs I have done and it has a big parts list:
- A New Windscreen
- Auto-dimming mirror
- New Headlight Switch
- A Light and Rain sensor
- New Brackets and Covers for the sensor
- Lots of wires and connectors
I found a couple of good deals on eBay for the Auto-Dimming mirror and the light/rain sensor. I couldn't for the life of me find the headlight switch online so I ended up getting that from the Audi-Sport.Net sponsor 'Stoke Audi' who is an Audi dealer that gives us members 10% off the retail prices. I got the brackets, covers and wiring connectors from the local Audi dealer as these bits were only a couple of pounds each and the main wiring loom I bought from Kufatec who specialise in wiring harnesses.
 |
| Auto-Dimming Mirror |
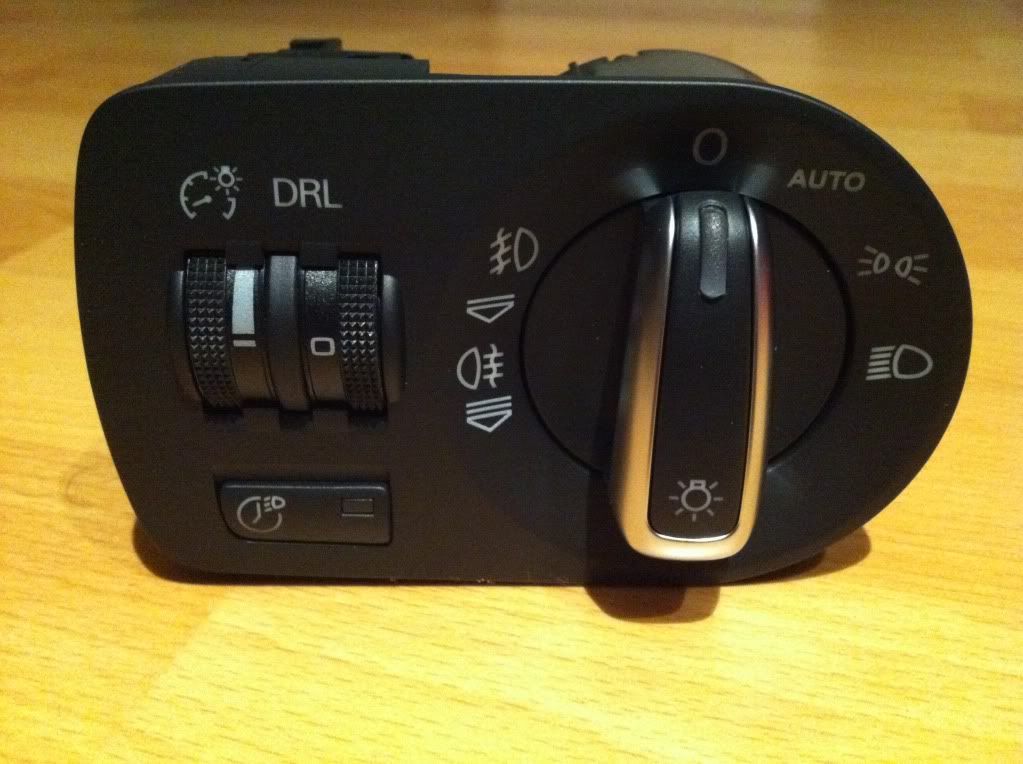 |
| New Chrome headlight switch |
Once I had the parts together I went about laying out the wires and getting most of the install out of the way. I wouldn't be able to complete the install until the new windscreen was fitting in place since everything essentially fitted onto that.
The first part was making sure that the main harness can be wired from the front centre of the roof (front of the Dome lights) to the CE module as that's where all the wires will need to be pinned into. Since I didn't have the new Auto-Dimming mirror connected to the windscreen I removed the Dome light and ran the wires from there to the side of the car above the drivers door, then I ran the wires down the A pillar to the side of the fuse box and to the CE module.
The first part was making sure that the main harness can be wired from the front centre of the roof (front of the Dome lights) to the CE module as that's where all the wires will need to be pinned into. Since I didn't have the new Auto-Dimming mirror connected to the windscreen I removed the Dome light and ran the wires from there to the side of the car above the drivers door, then I ran the wires down the A pillar to the side of the fuse box and to the CE module.
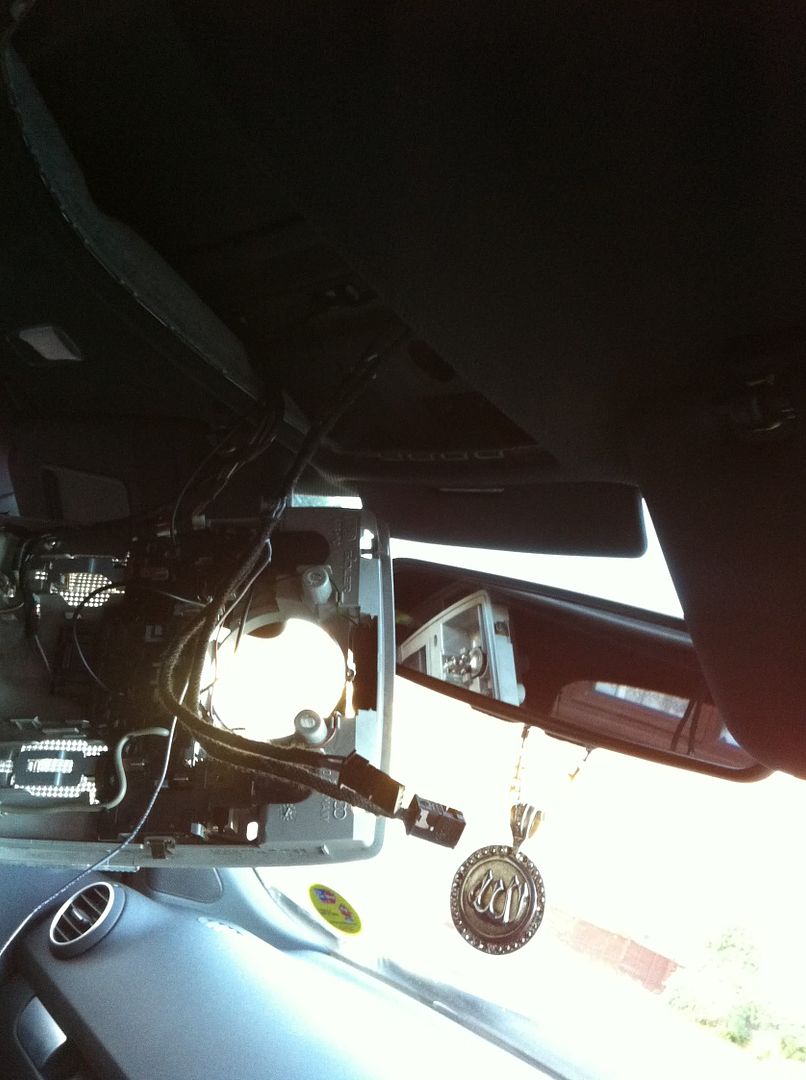 |
| Main mirror harness running from the dome light area |
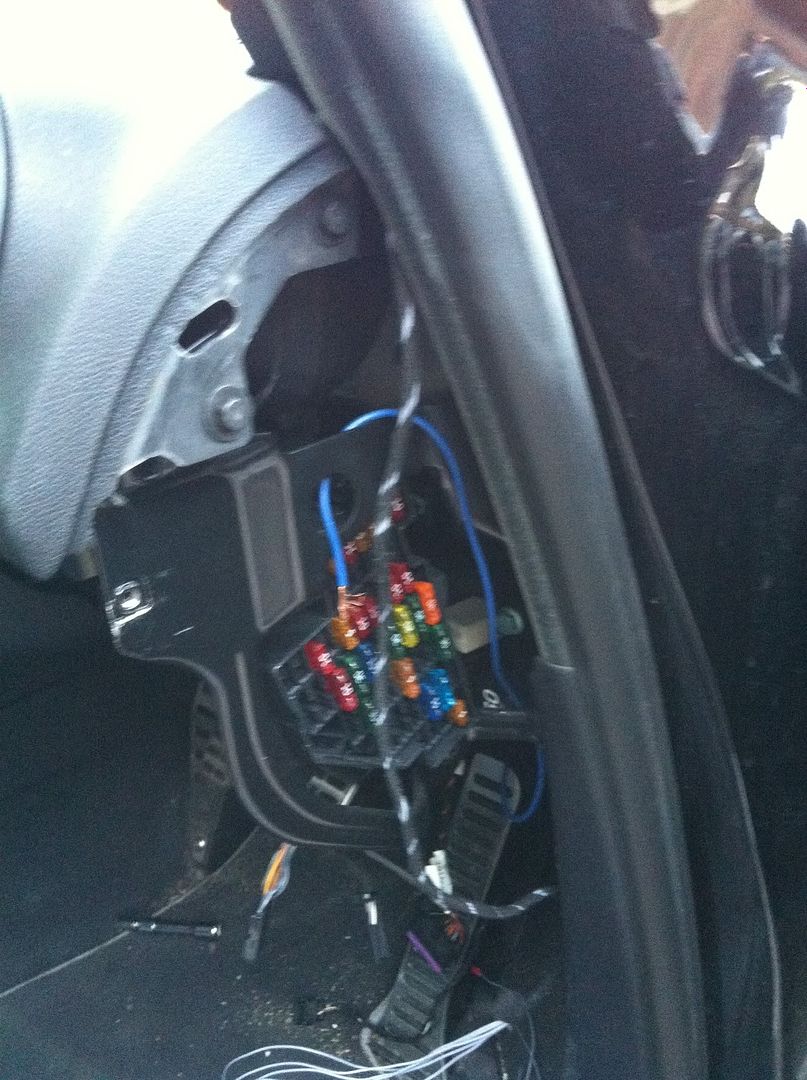 |
| Wires (black and grey) come down the A Pillar past the fuse box |
 | |
| Ready to plug in the wires to the CE module |
 |
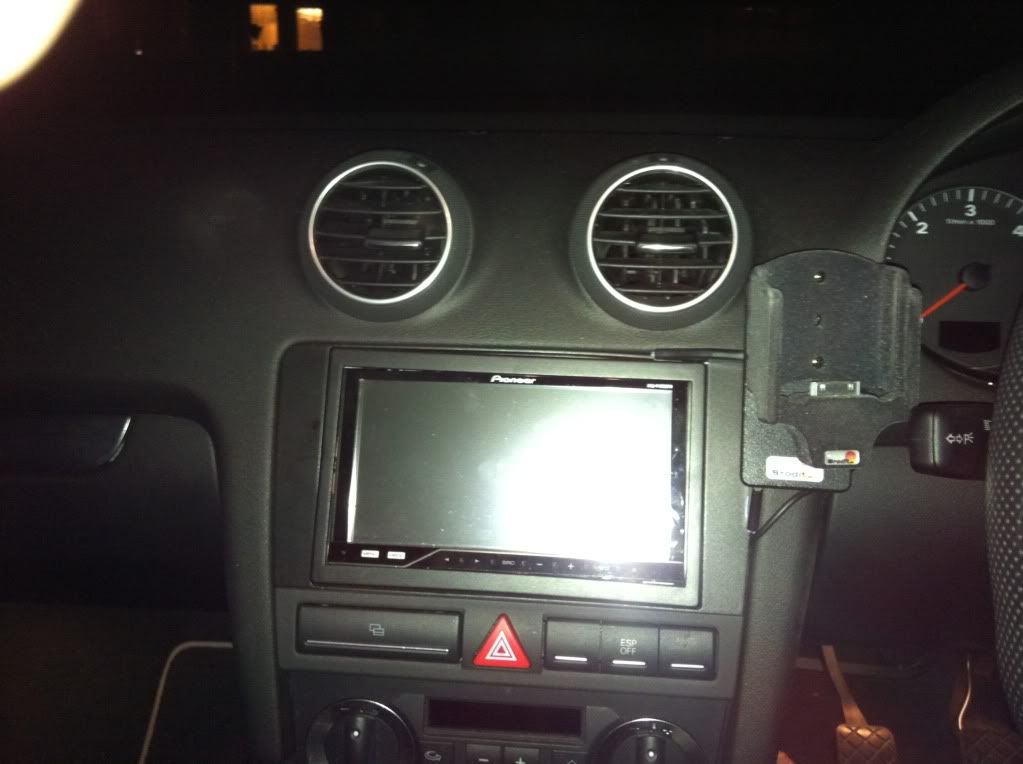
| New headlight switch fitted |
I made sure I followed the Audi wiring schematics (ELSA) and plugged in the pins to the correct places. I also ran some wires for the new headlight switch as it had a couple new options on that: First was the Auto setting on the new headlight, then the coming home button had 4 wires that needed to plug into several different places on the CE and then there was the new DRL switch that needed to be wired in.
After putting everything back together again I coded the car to tell it that it now has the auto lights and rain sensor installed and then I tested out the functions by plugging in the mirror and sensor from the wires hanging through the Dome light. It looked ok as there were no errors but the lights were not coming on automatically at night. It took some doing and I guess in the end out of luck it somehow started working after I had cleared some unrelated errors on the CE module. Needless to say I was happy that it was all working so the last bit was now the windscreen.
Luck would just have it that a few weeks later my windscreen got a crack on it from a stone or something on the motorway so I waited for payday and then rung up the insurance to get my windscreen swapped over. The windscreen fitting company did ask if I had the rain sensing windscreen and although I didn't have it originally, I did have all the parts installed and working so I agreed and had them come out to install the new windscreen the next working day.
I had a little surprise on the day of install when the guys who came to fit it had said it should take 45 - 90 minutes but just called me back 20 minutes later saying the job was done!?
Apparently the old windscreen wasn't even bonded down properly? WTF??? the old windscreen was a replacement (at some point in time the previous owner had it replaced) and the bonding glue was only apparent on the top and bottom edges.
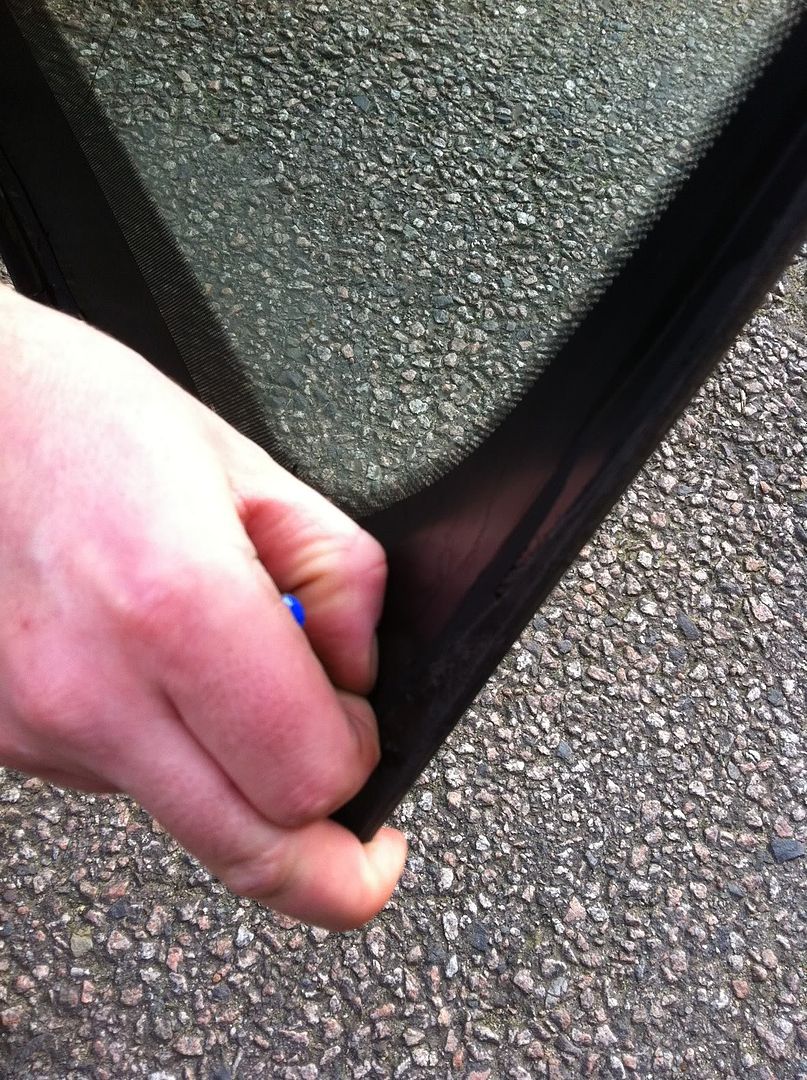 |
| Windscreen fitter is showing me where the bond ended |
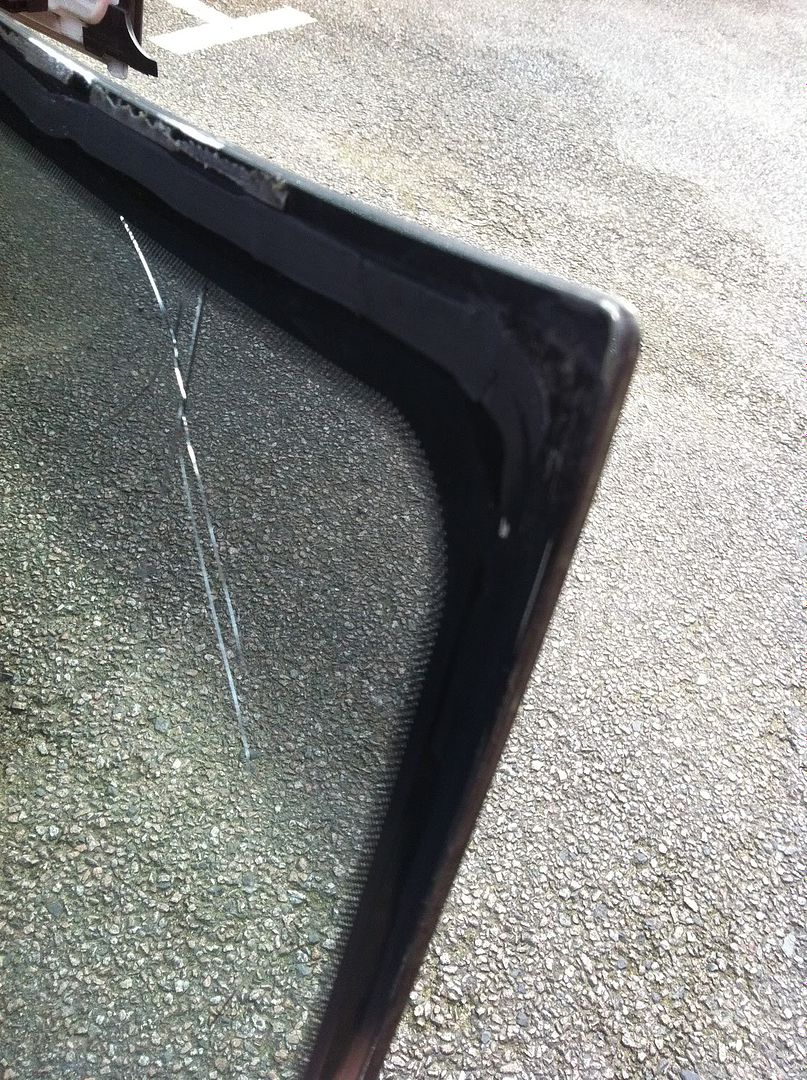 |
| As you can see the bond is only on the top, nothing down the sides |
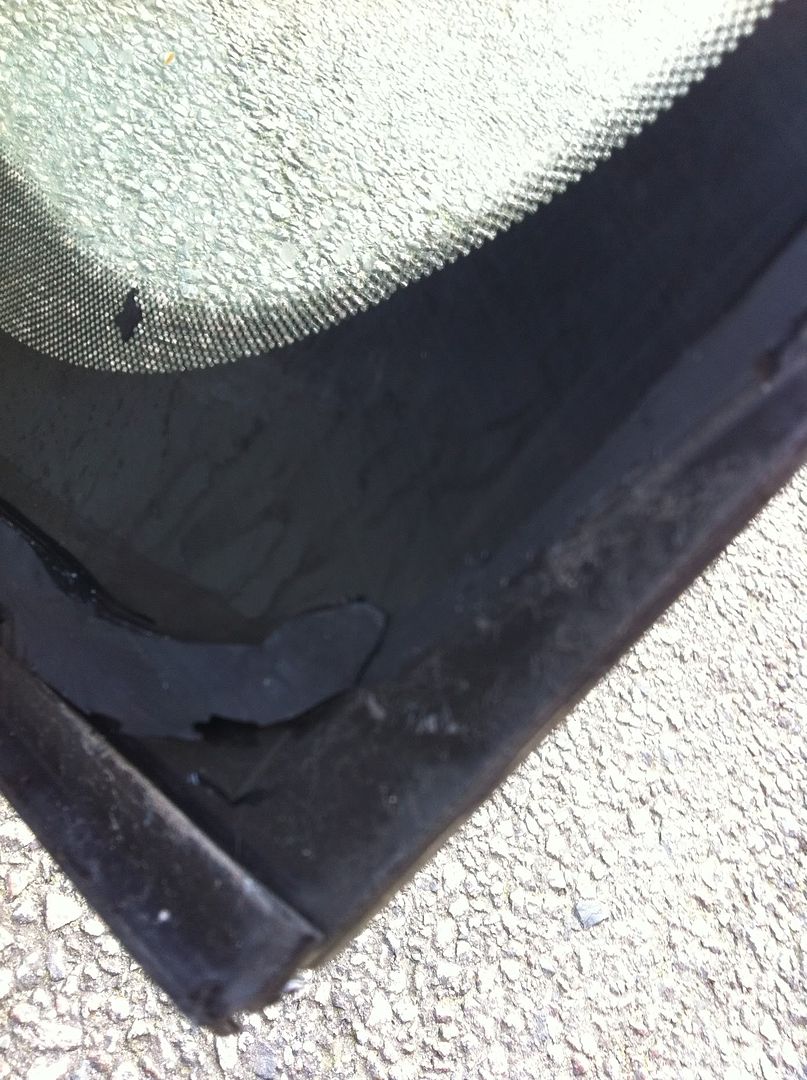 |
| Hardly any trace of glue bonding on the sides of the windscreen |
The guys had said that the windscreen normally takes about 20 minutes to cut out of the car and then the new windscreen fitting takes the other 30 minutes, but somehow my old windscreen fell off after 2 minutes!
Anyway now I have a good windscreen on and the Auto-Dimming mirror in place with the sensor sitting nicely behind it.
-----------------------------------------------------------------------
Ambient Lights Install
Now whilst I was waiting and sourcing the bits for the Auto lights install I also did another custom mod... a 'only I have on my A3' mod...
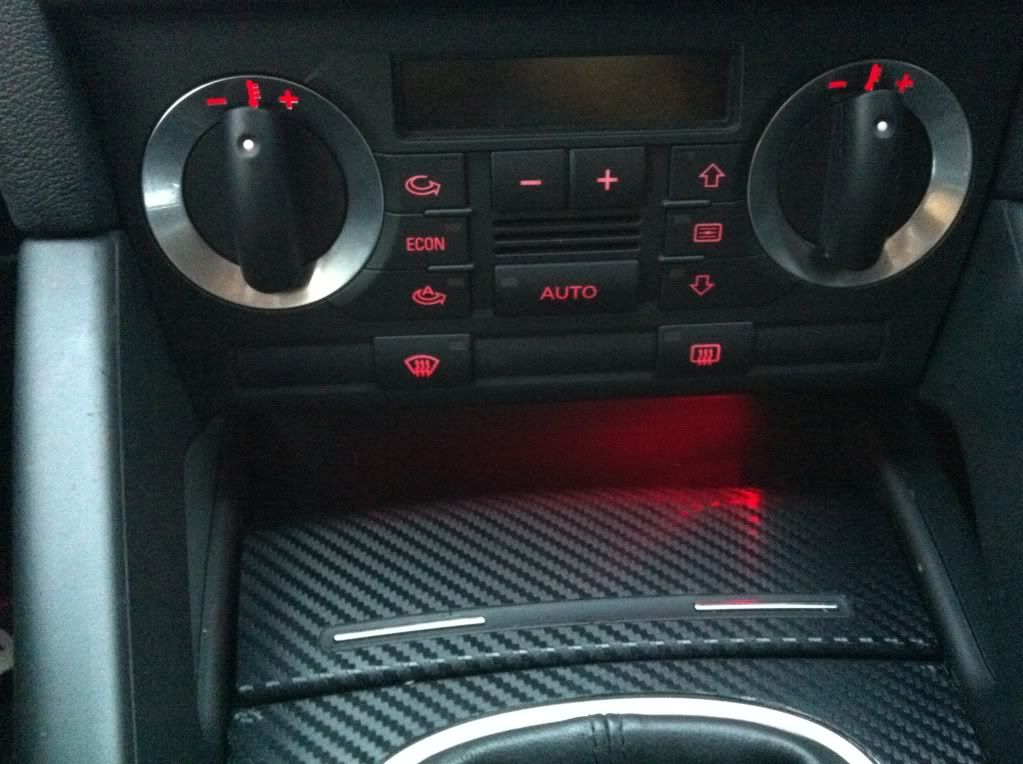
I love the colour red! its my favourite colour. And I also loved how the cabin area in the A3 has a red ambient glow at night but the glow was very dim and just not enough, I wanted to take it a step further...
I found out from a friend that the A3 had another red ambient light on some other A3 models that was located underneath the climate control panel. So after discussing this for a bit we found out that it was a feature for anyone that had the 'interior light pack' but I already have that. I got curious and wondered why the underneath of my climate unit did not light up and went to investigate.
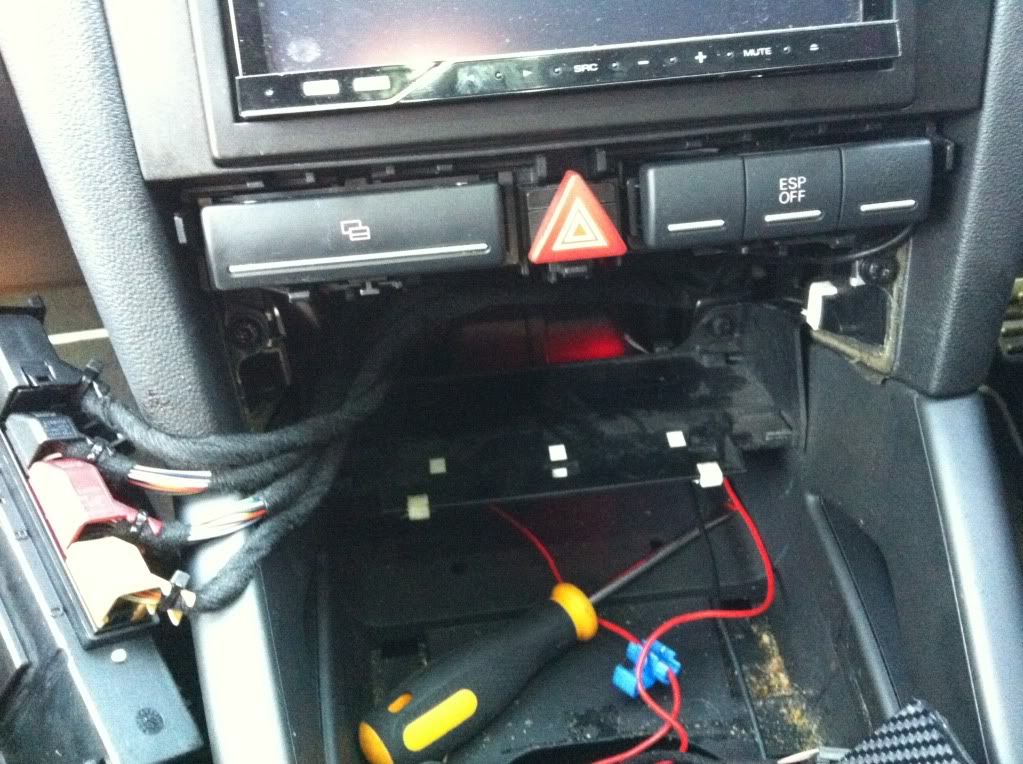 |
It turned out I had the light all along but it was hidden towards the back and covered up by plastics. I later found out that this light is only visible to those who have the non-smokers pack in their car and so the ashtray is replaced by a cubby pocket which is deeper and does not have the same covers as the cars that had the Ashtray. Nonetheless I wanted that light visible so I managed to secure the light under the climate control unit by cutting a small piece out of the plastic cover to allow the wiring and connector to pass through. The light bar itself or the wiring is not visible at all.
Now onto the custom bit...
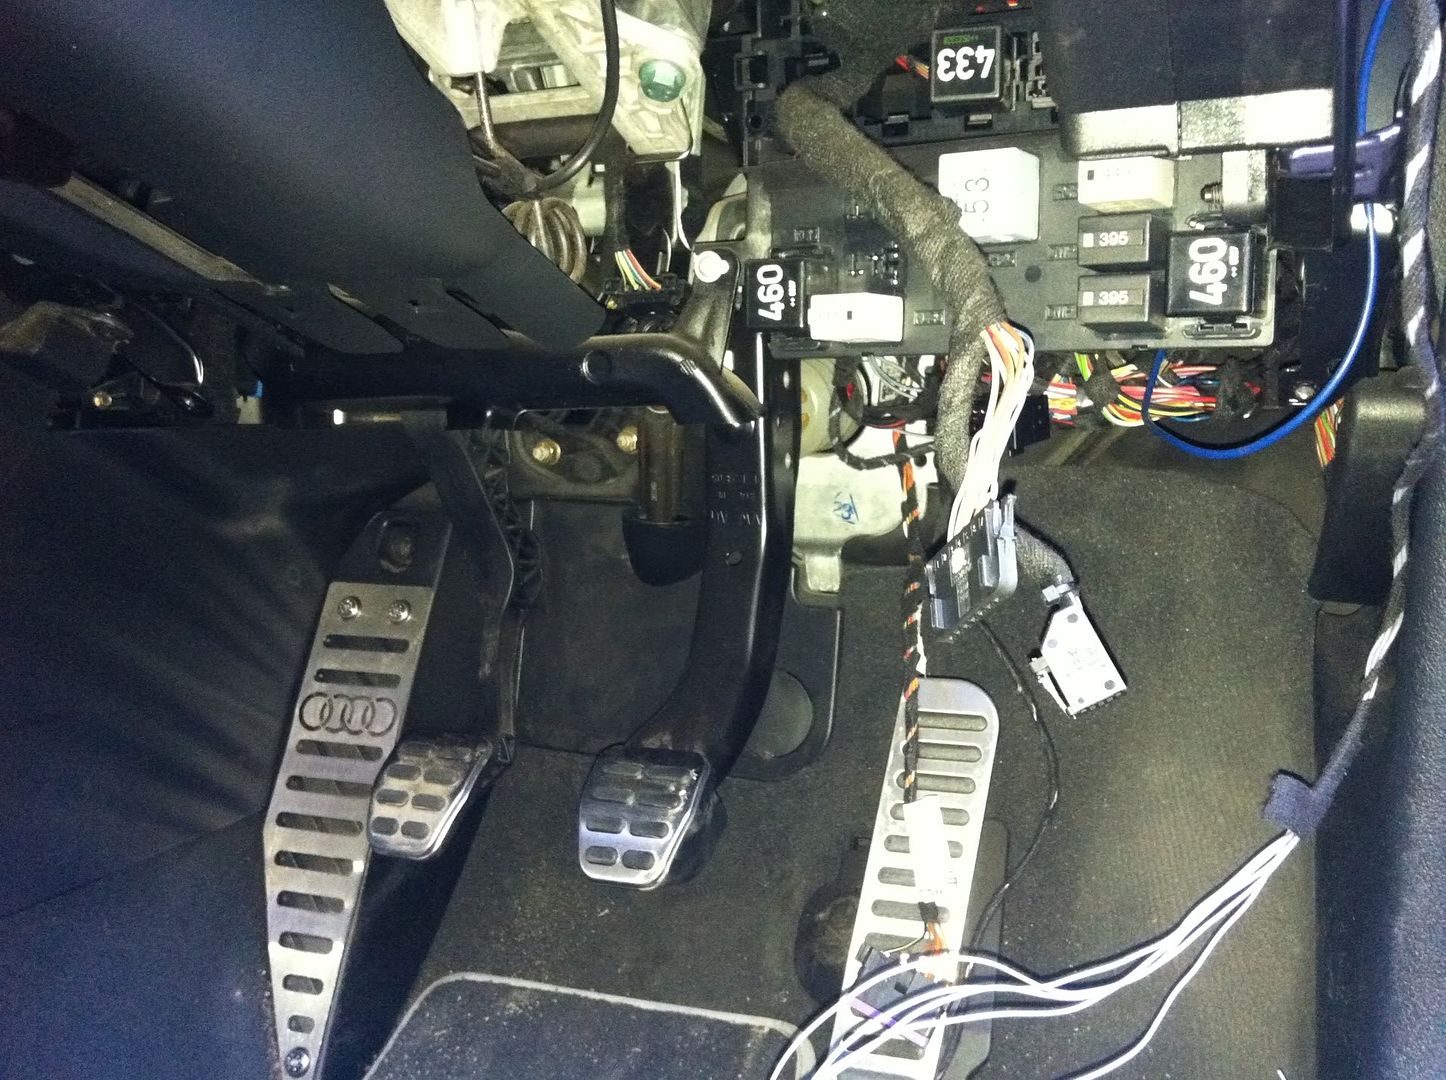
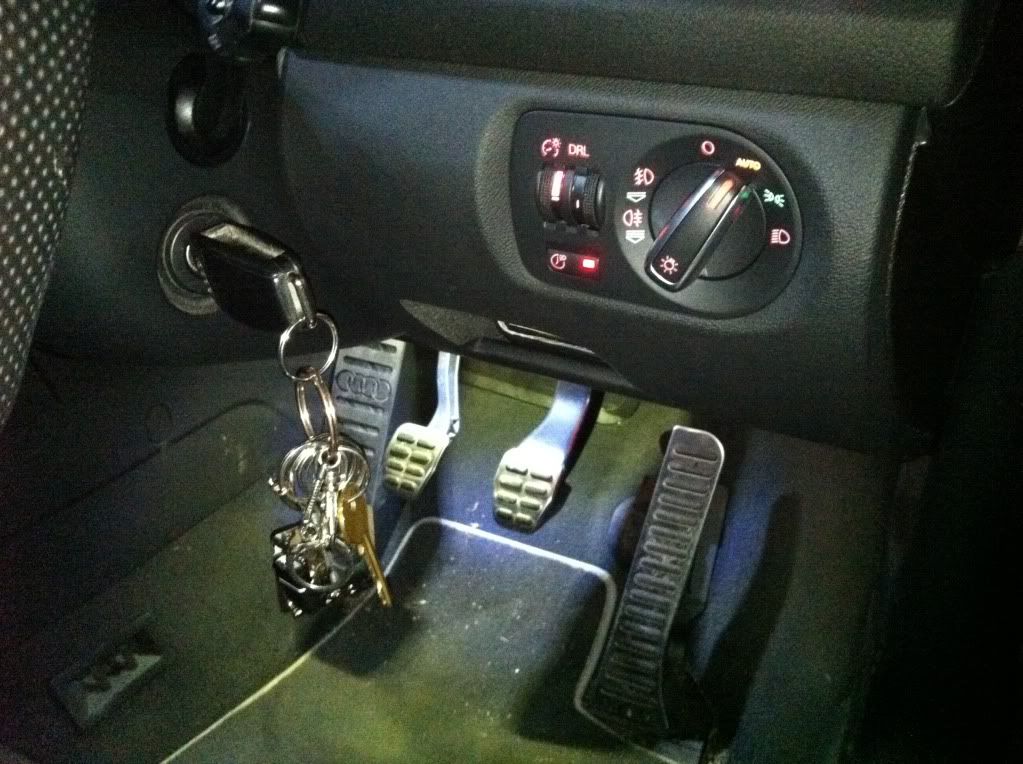
In the above picture where I found the red glow there are some red wires going towards the red glow. Those wires are 2 positive connections that run off the same positive feed for the red ambient lights. I have those wires running down into the footwell area for both passenger and driver footwell, here I have secured a red ambient light bar (1 on each side) to light up the footwell area at night. As they are running off the same electrical source as the original ambient lights they work only when the headlights or sidelights are on (at night basically) and provide a nice glow to light up the footwell. I ran into a slight issue here as the original red LED used in the light bar is a very low power bulb and only works well in a small area, as soon as I put it in the footwell the glow was so dim that it was barely noticeable. I stripped the light bar and replaced the red LED with a more powerful one that I had ordered previously from eBay as I had planned to do this mod with single LED bulb. I did test the install with a single LED but that just made a spotlight effect in the footwell and did not look nice, I prefer the OEM look to it.
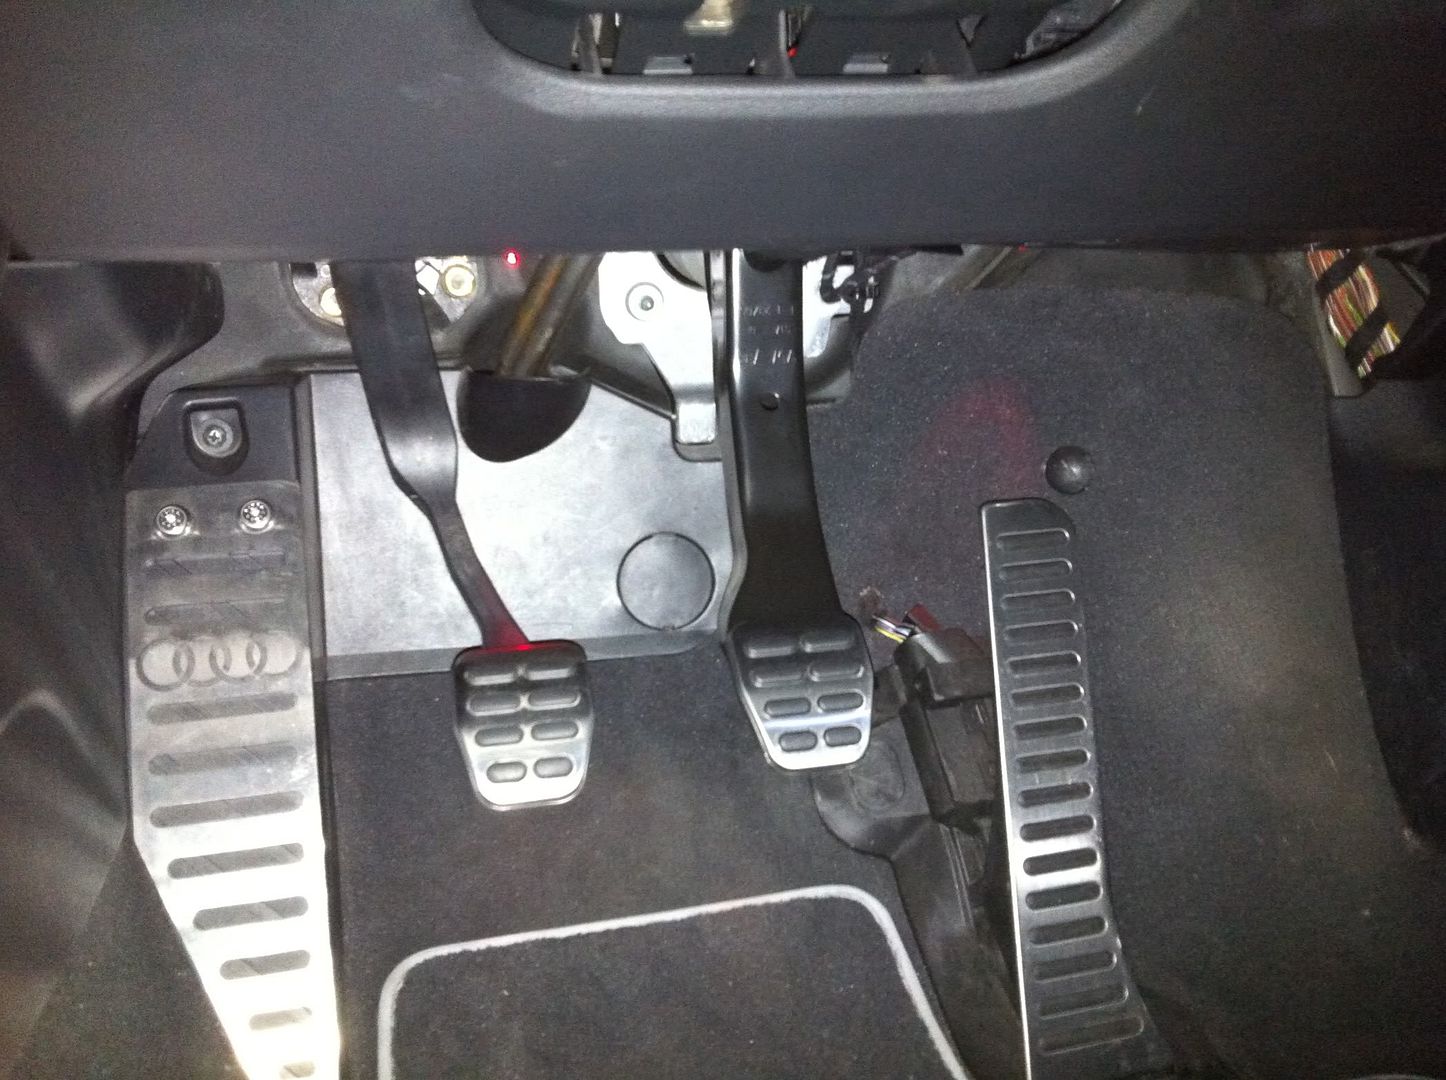 |
| Picture from Part 1 with the Red glow on the pedals |
 |
| Drivers footwell |
 |
| Passenger footwell |
-----------------------------------------------------------------------
Extra Bling
Now that I had some more bling on the car (headlight switch) I started falling into the trap and looking around for more bling. This brought me onto the next mod which I was planning for a long time but just couldn't find the right deal. I hated the ugly gear knob that was in the car and it looked pretty battered, and then there was the nice air vents that every now and then someone would change and show it off, so I decided to join the crowd and started looking properly for a deal.
 |
| Boring standard vents |
 |
| Worn out gear knob |
I was interested in the Vents and matching gear knob from the Mk2 Audi TT. At first I wanted the manual gear knob from the TT-RS as it did look very good
 |
| TT-RS Interior - Matching vents and gear knob |
 |
| TT-RS Chrome gear knob |
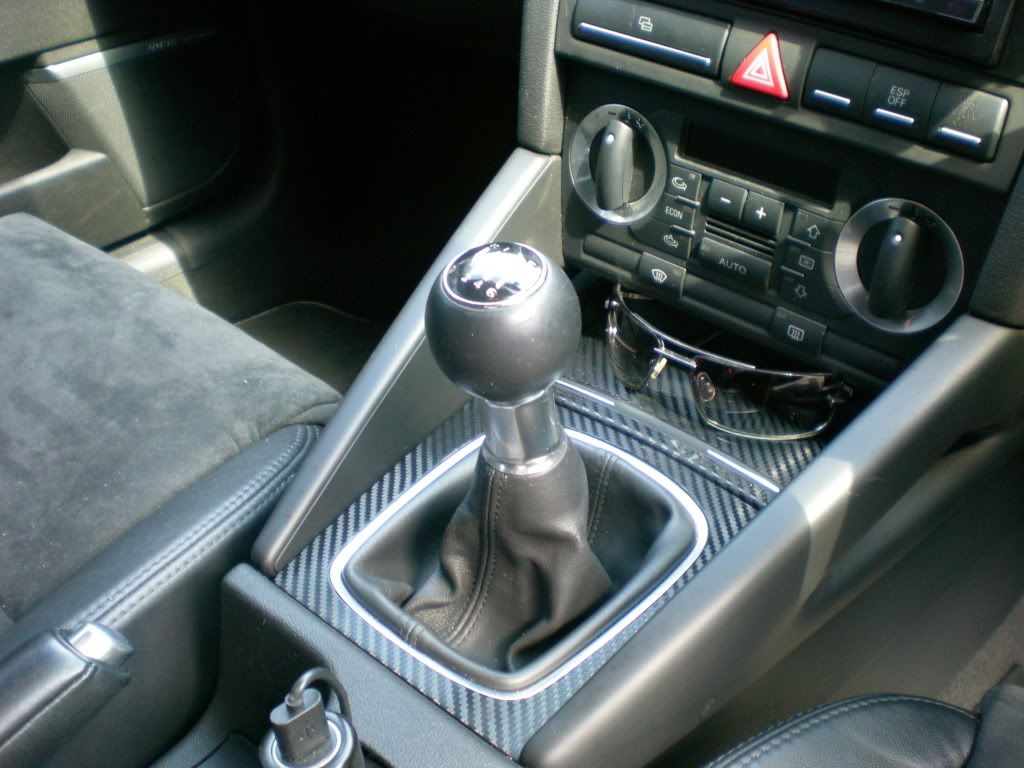
But after seeing one in the flesh I couldnt help but notice it did not look right in a black dash. The gear surround in the picture above is brushed aluminium but mine is Carbon trim so I settled with the Mk2 TT S-Line gear knob which matches my interior perfectly.
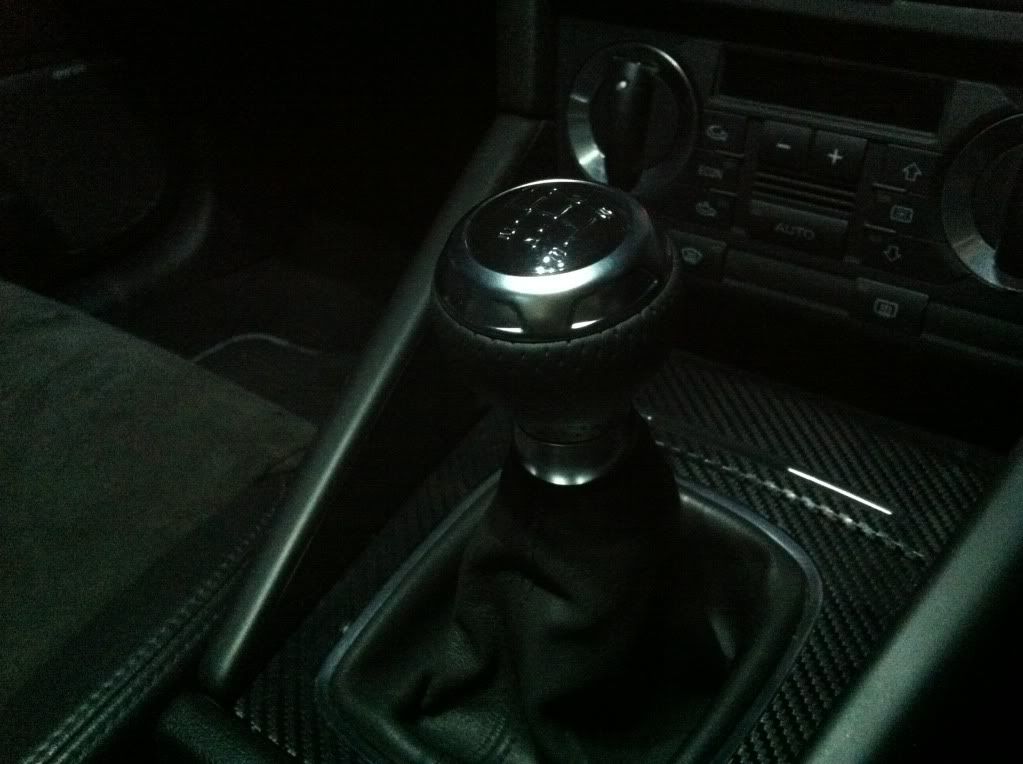 |
| TT S-Line Gear knob fitted |


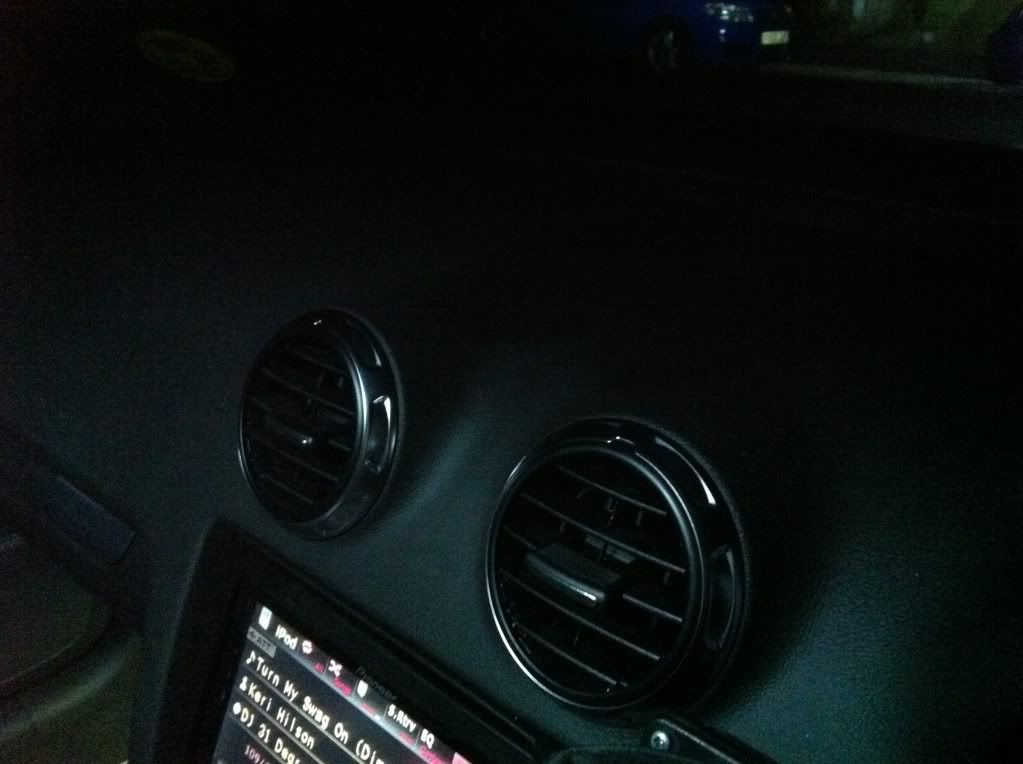 |
| MK2 TT Air vents fitted |
That's the end of Part 2... more of the interior make-over on part 3