Right so its been a little while and I have done a few things to the car since.
So lets start with a very basic one...
A member of the Audi-sport forum had done a very nice small mod on his car which I really liked so I basically decided to copy him :)
Chrome Details
This mod took all of maybe 10 minutes to do, and once done it actually changes the appearance of the interior quite a bit.
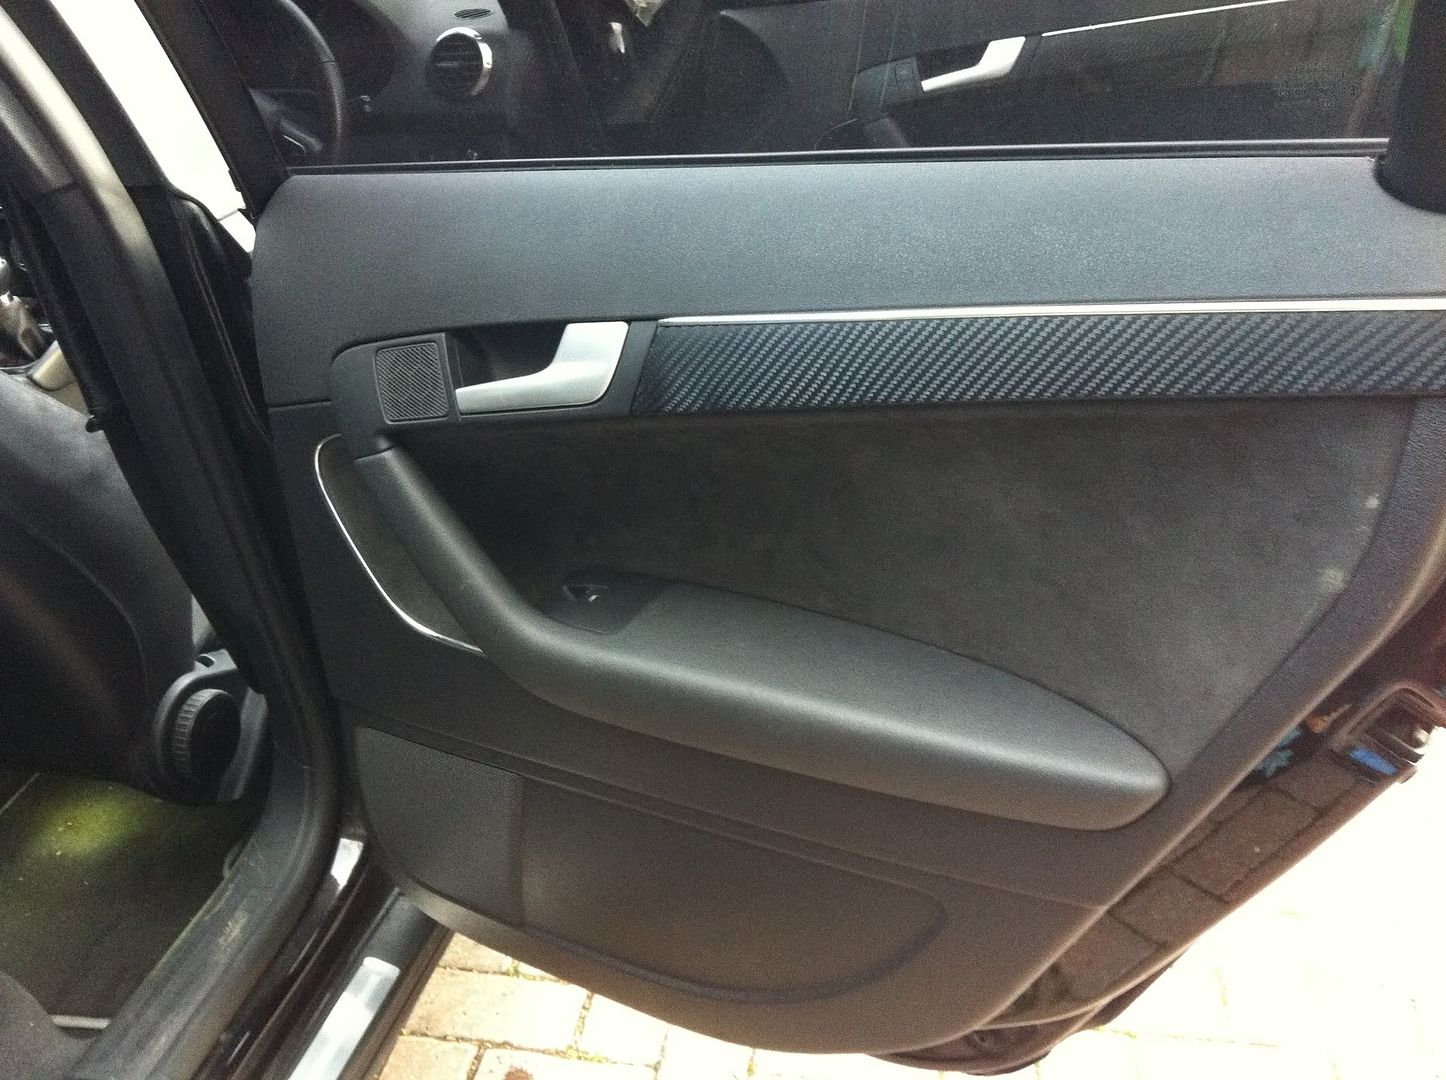
To cut to the chase what I have done is buy a few meters of 3.5mm chrome strip and fit it into a couple places on the car... the result however is quite nice.
Here are a few pics...
 |
| Drivers Door |
 |
| Rear Doors |
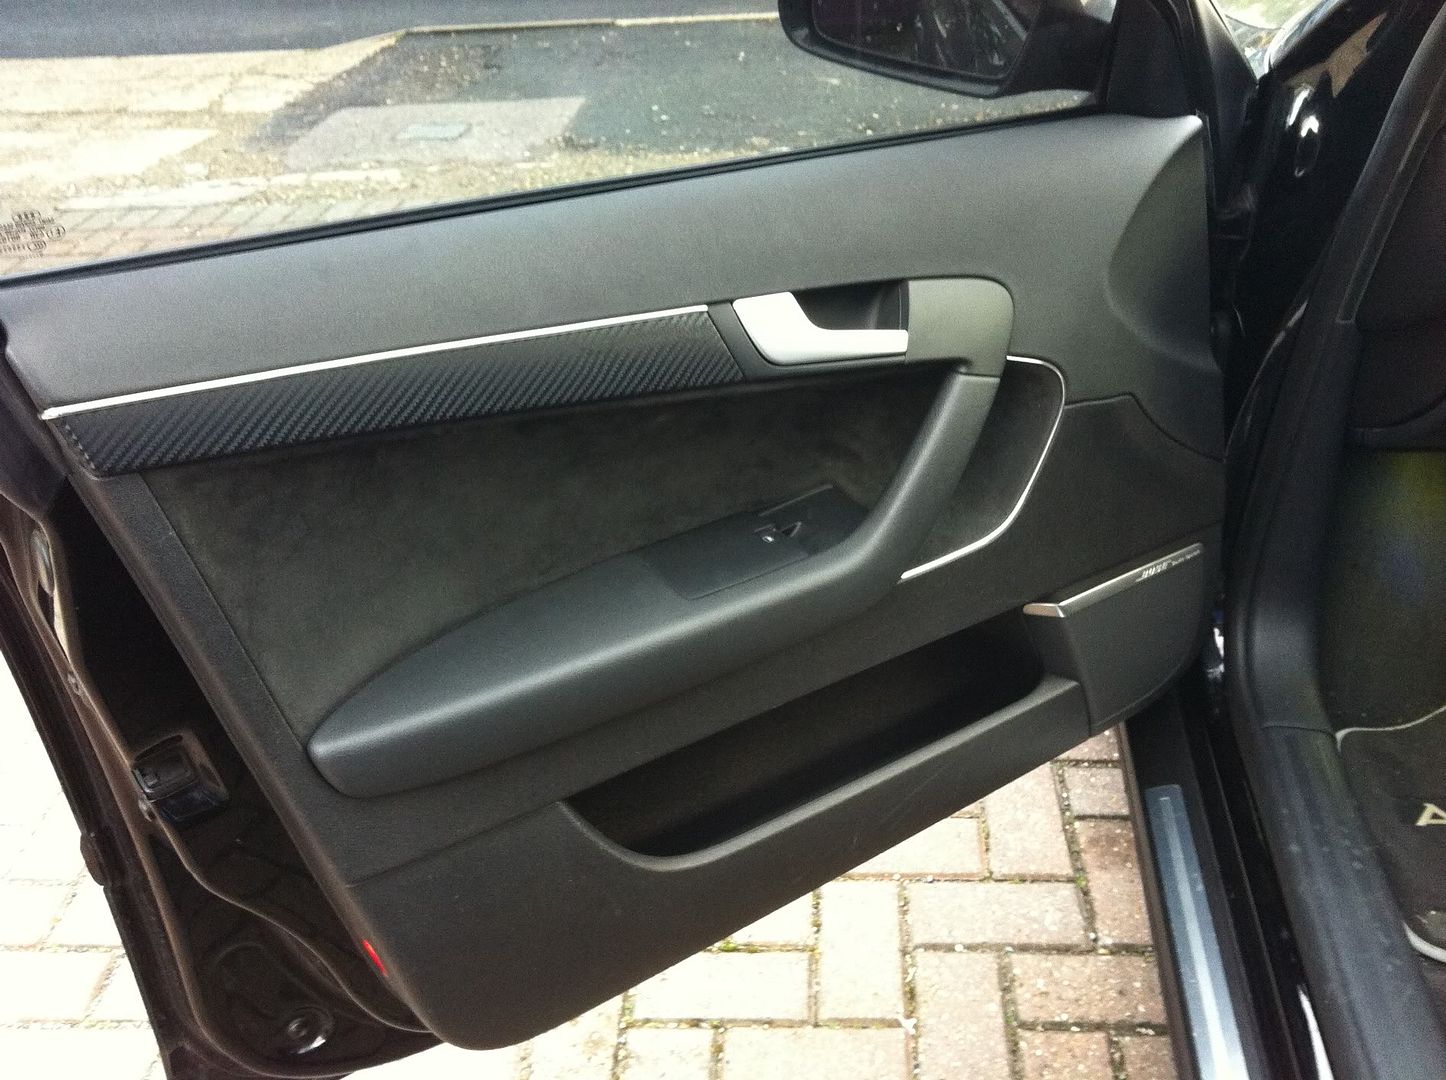 |
| Front Passenger door |
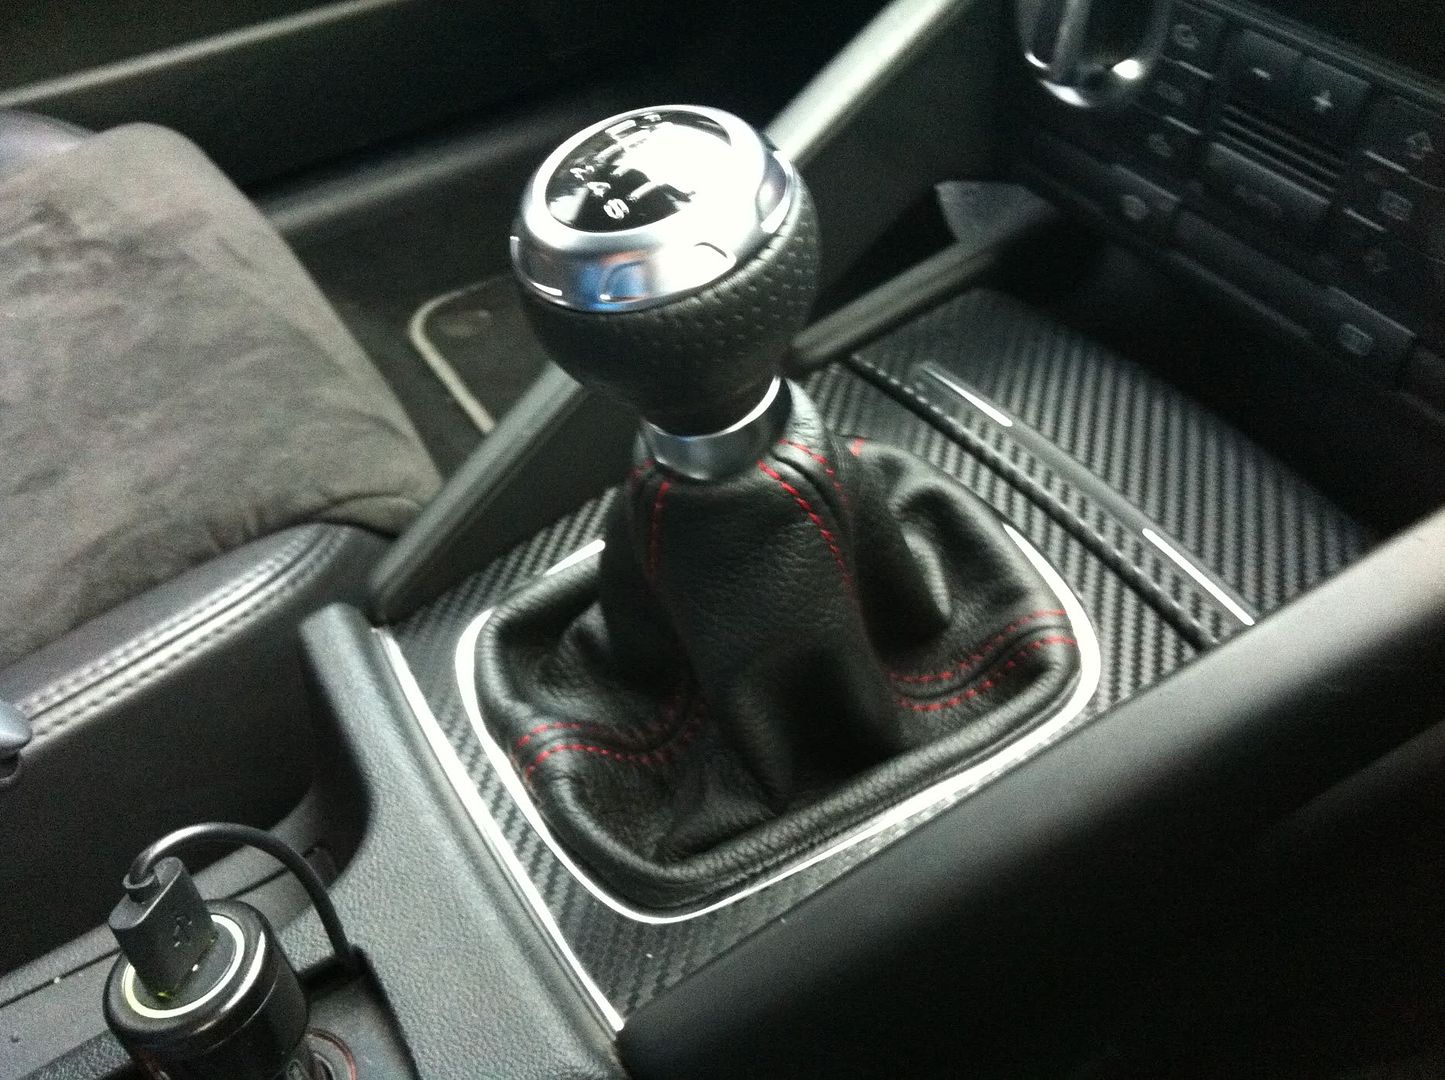 |
| Strip By Gear Gaitor |
Climate Control upgrade
The next mod was something I have been wanting to do for a while but just haven't got around to doing it., this is probably as this next mod requires a part that can be pretty steep to buy but I luckily got a deal on eBay so I went ahead with it.
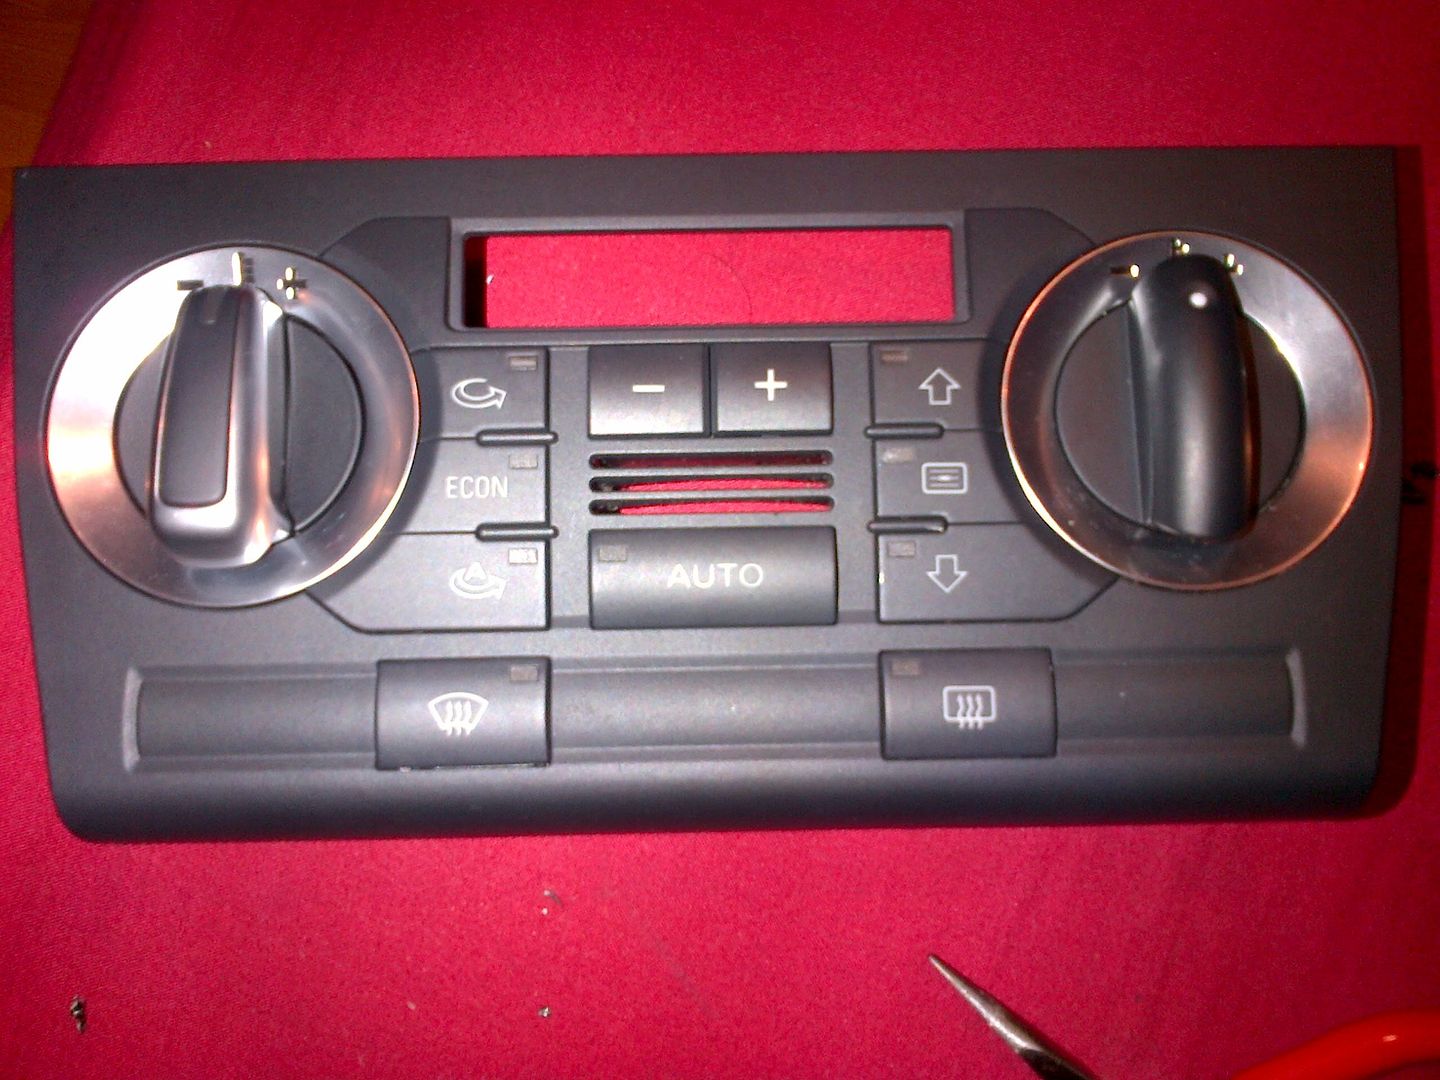
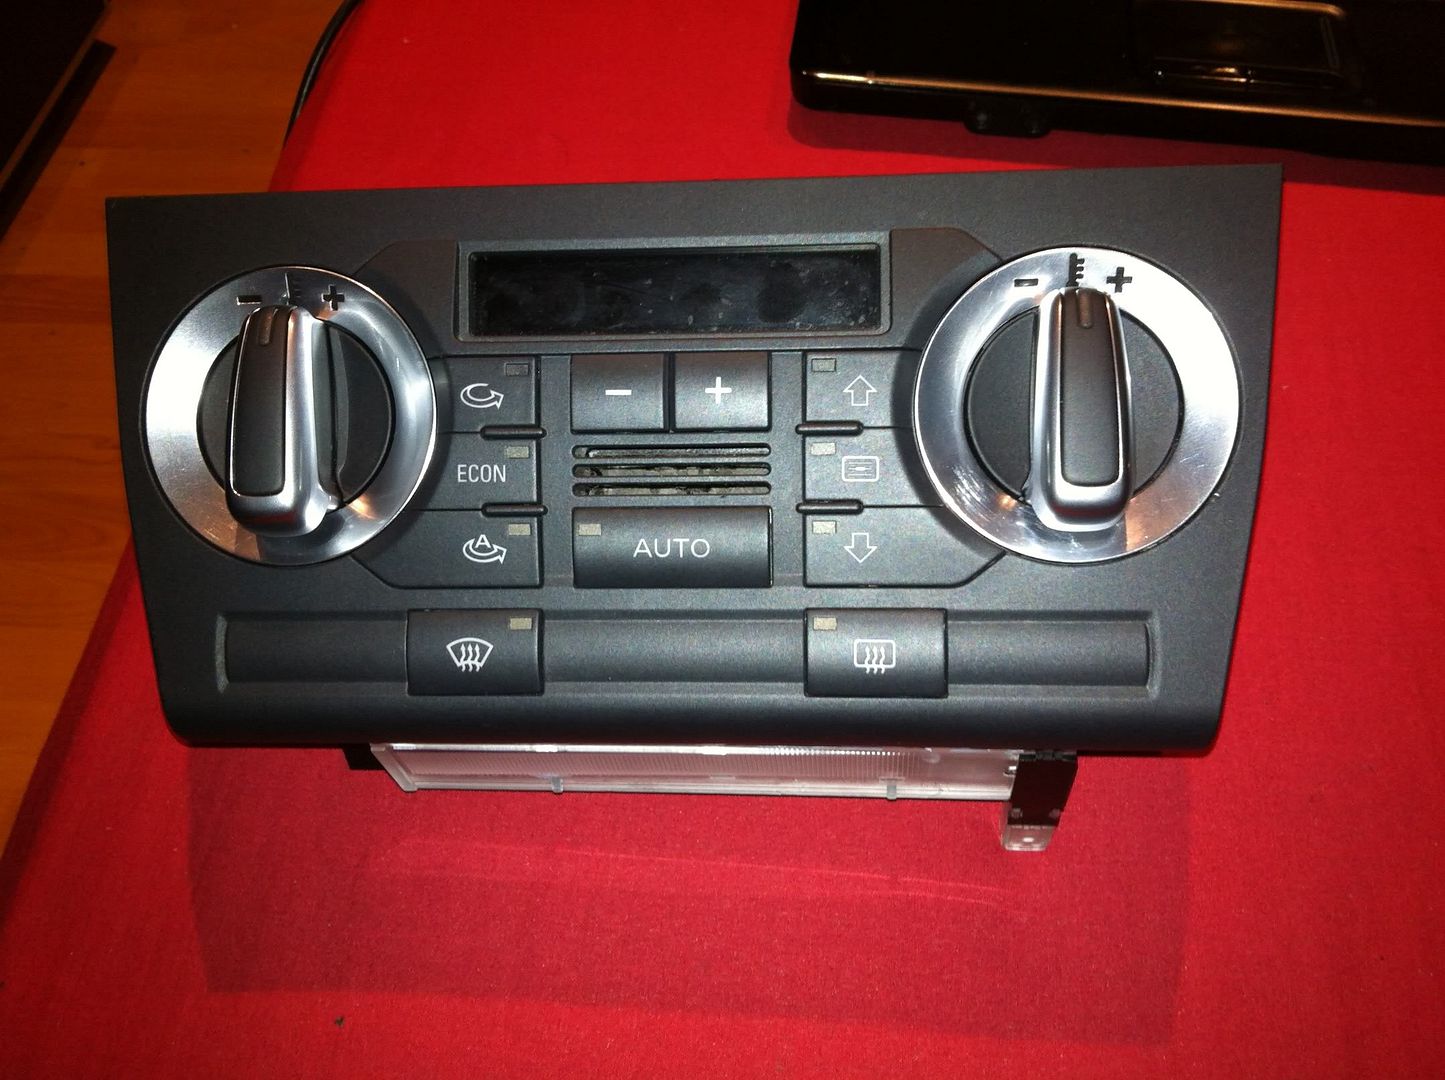
The Mod that I wanted to do was to upgrade the ugly looking switches on the Climate control unit in the car. It looked like this:
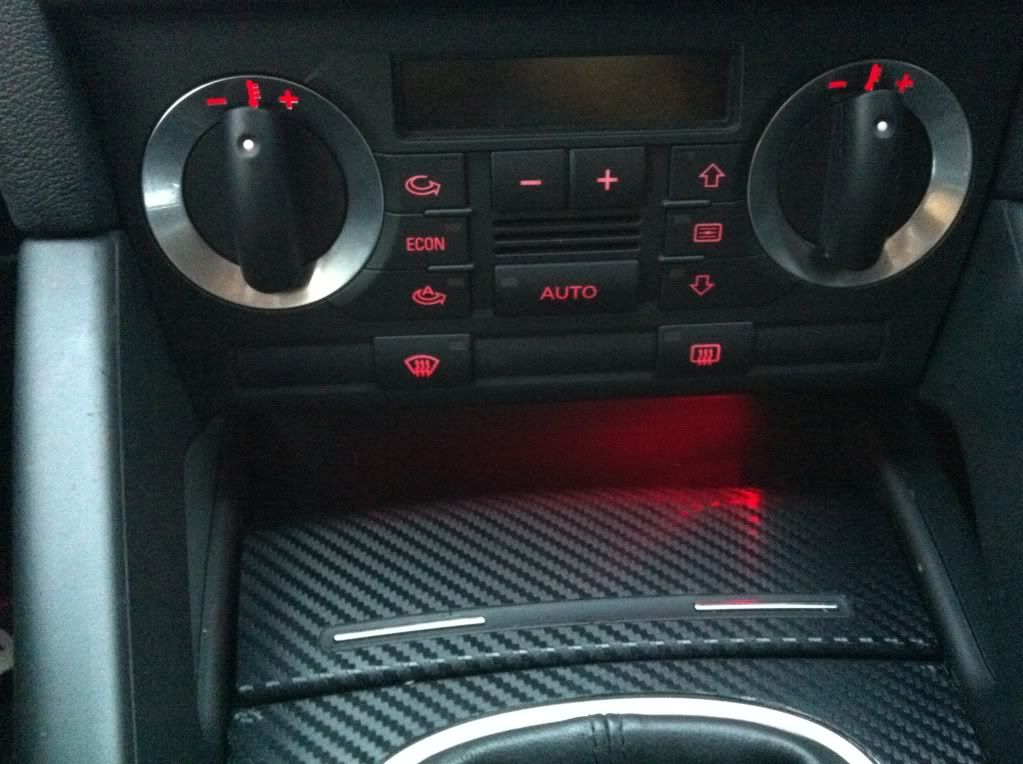 |
| The boring black switches with little white dots in them |
 |
| Nice thicker chrome switches |
Now you would think that i could just buy the newer unit and replace the old one and just carry on going. But as ever Audi have changed the internals on the newer units so even if you did plug in the new unit the Air Conditioning would no longer work. This meant that I would need to find another way of getting the switches over to my car.
Before I bought this new unit I did find a guide from a German user who had done this mod so using his guide (translated by google) I went ahead with the mod.
It involves taking both the old and new unit fully apart to get access to the switches and them swapping them over so I can get the new chrome switches on my older climate control unit. This itself was not a hard job just that it takes a while and a fair bit of patience.
So firstly I took the units apart:
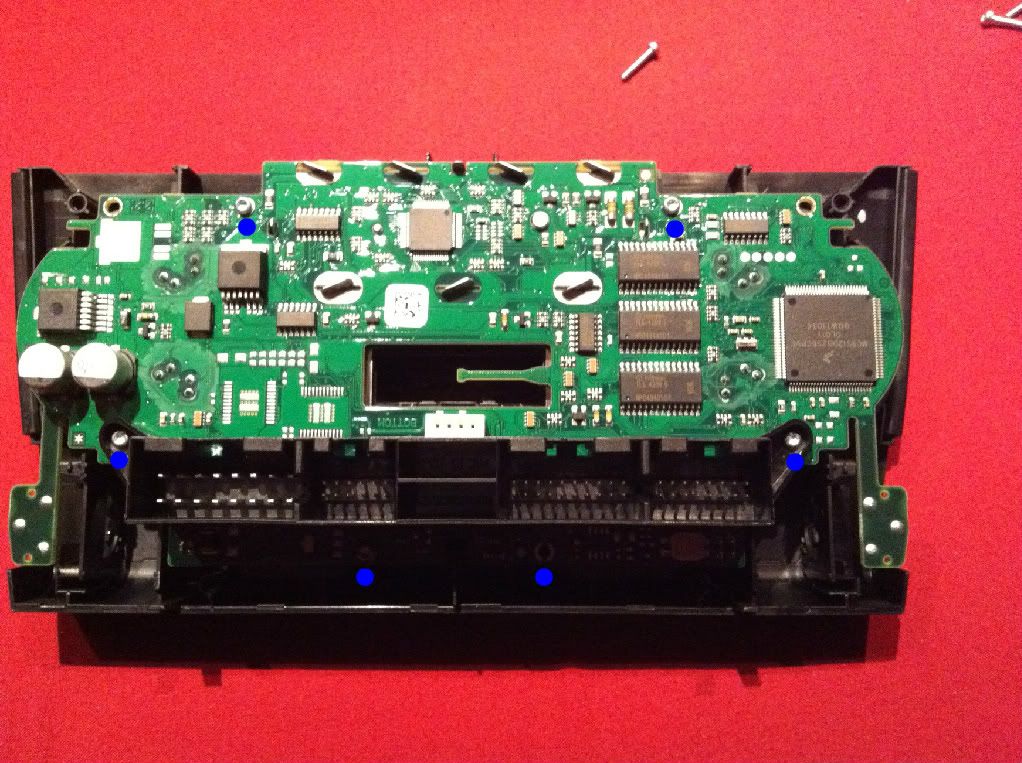 |
| Without the rear plastic panel |
 |
| The back of the front panel now exposed |
I then took the switches out
 |
| Moving the plastics slightly out of the way to free the switches |
 |
| One switch removed |
I did the same for my original unit
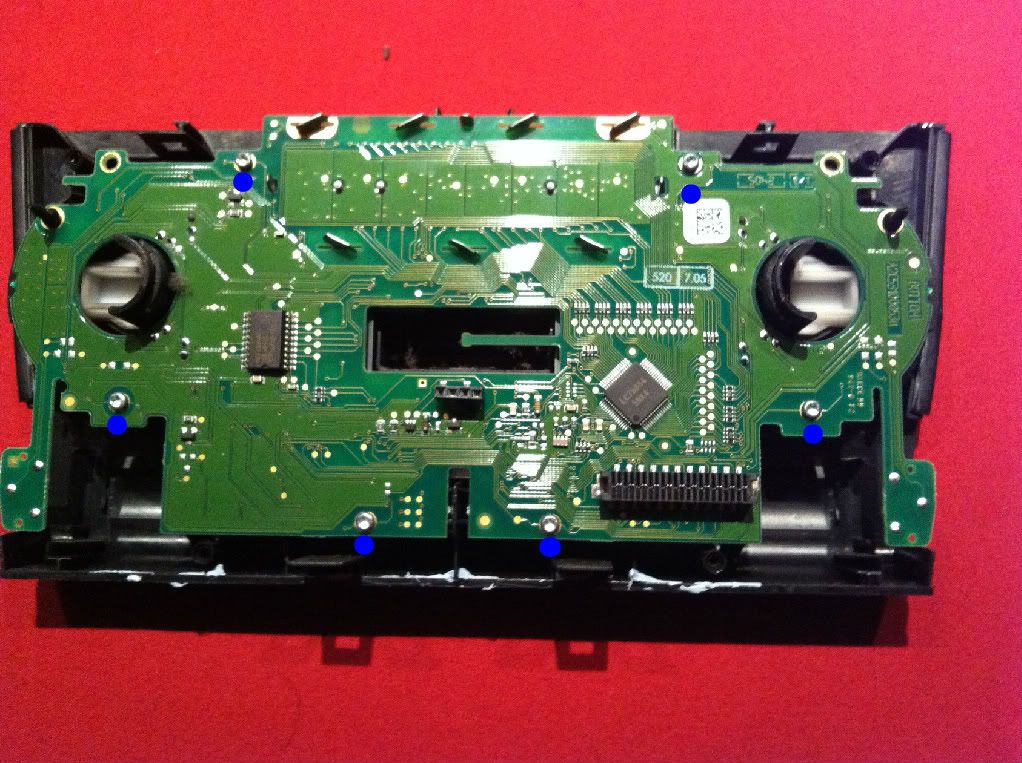 |
| Rear of electric board from old climate unit (looks more basic than the newer ones) |
 |
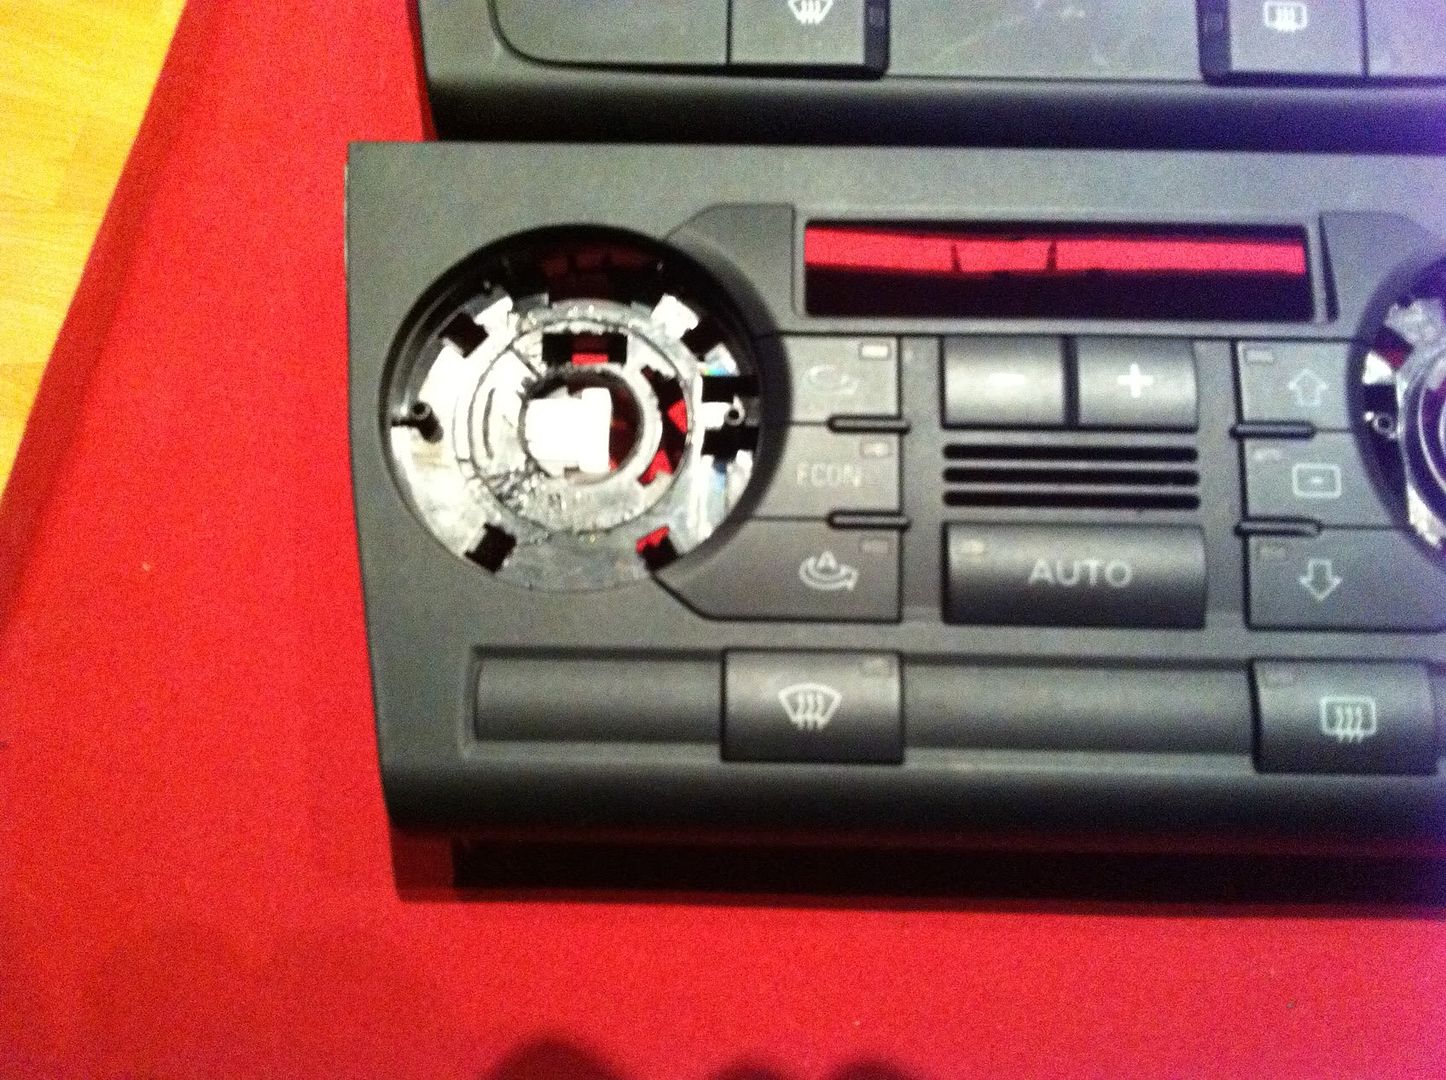
| Both old and new units here (new one has the AC button, old one has an ECON button) |
 |
| The old and the new |
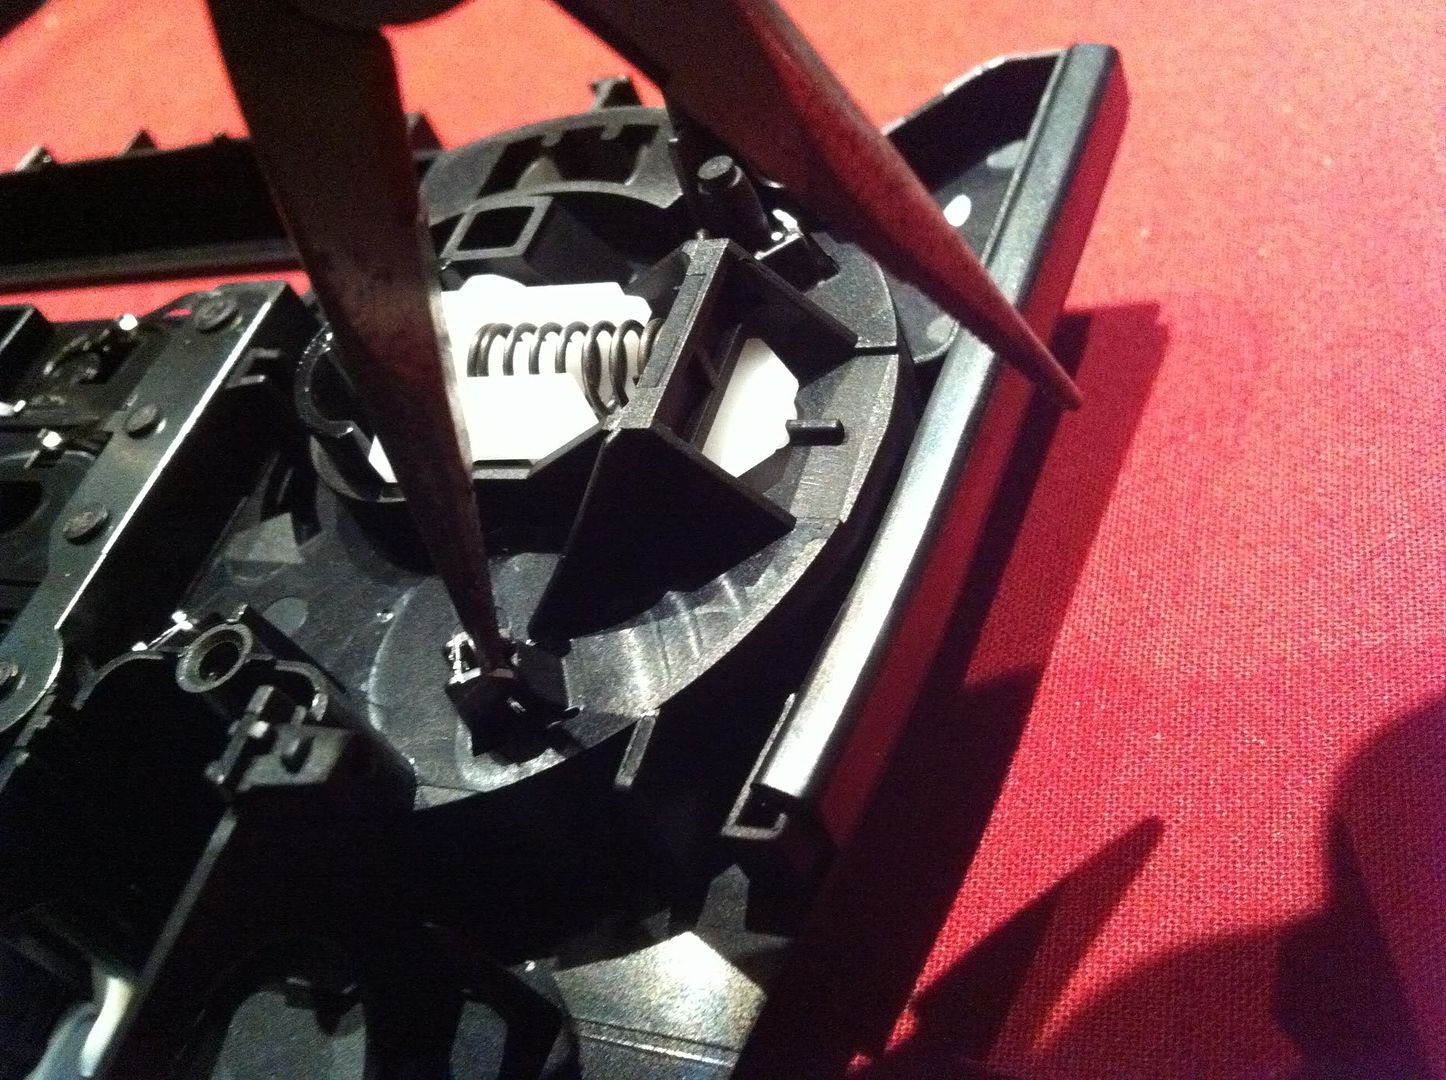
Now the chrome switch does not go straight onto the old Climate control unit as there is some plastic in the way of the old units not allowing the chrome switch to sit properly. This extra bit of plastic needs to be removed in order to allow the switch to sit so I went about cutting it out off the face panel.
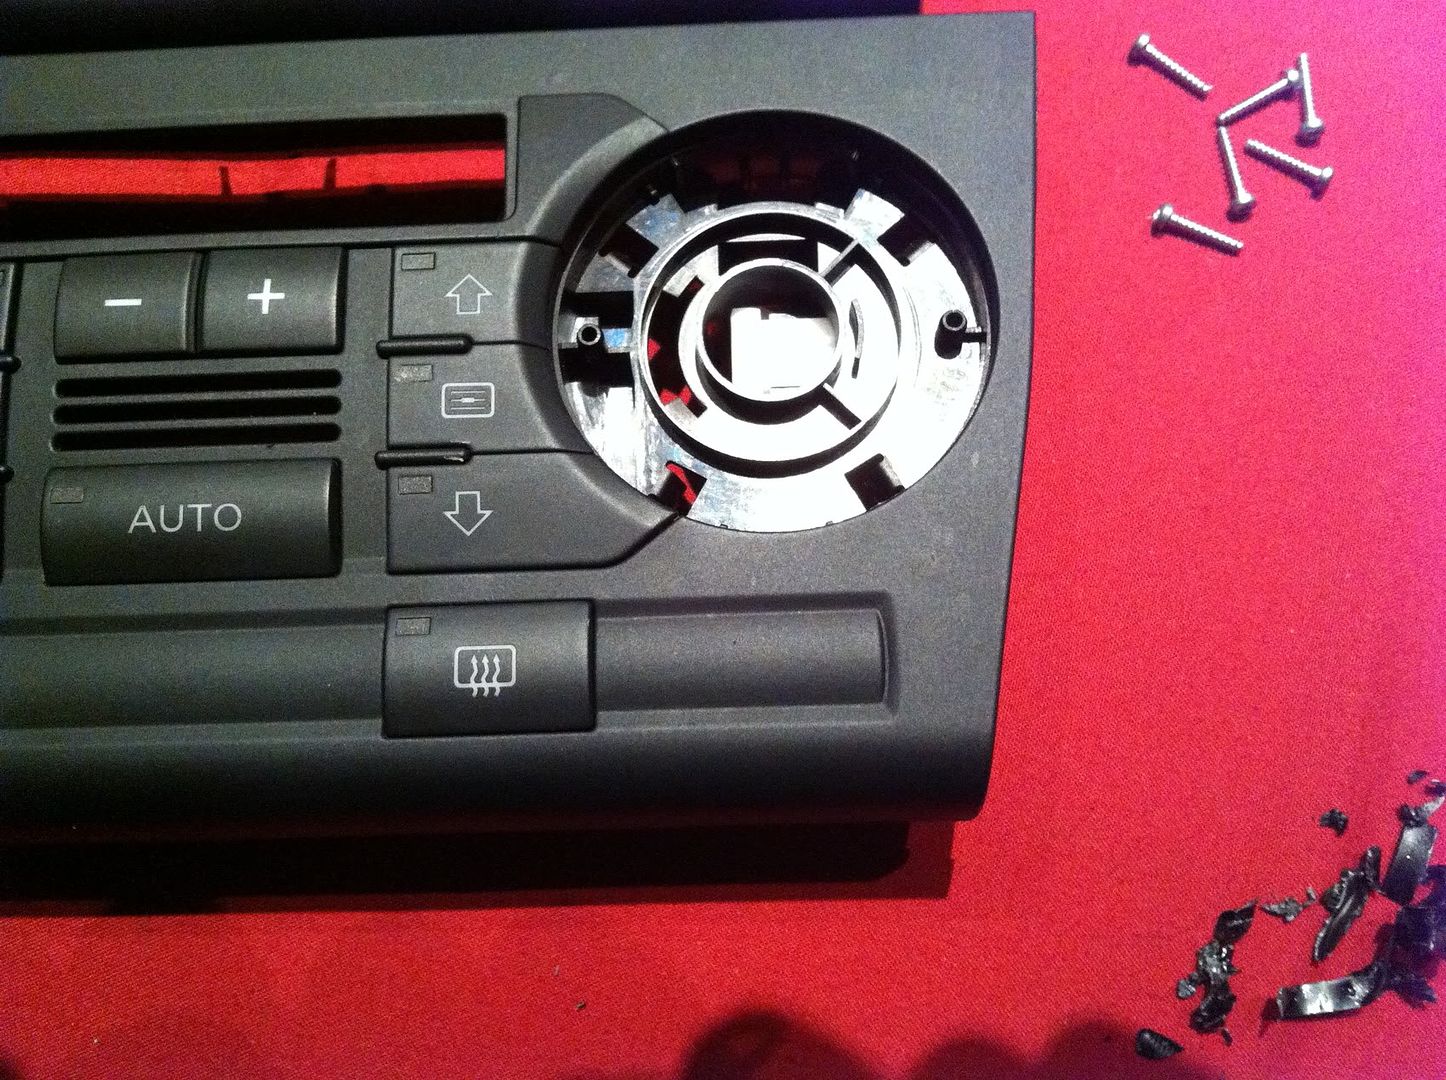 |
| The raised plastics in the middle where the switch would sit |
 |
| The plastic here is removed now allowing the switch to sit |
Now the new chrome switch has the ring around it which cannot be fitted onto the old climate facia as the legs that it uses to clip on with are shorter on the newer rings. I needed to change the chrome rings over before I fitted the switches back.
I took the switches apart and fitted them back onto the Climate control units, this time the chrome switch onto my existing Climate unit
I took the switches apart and fitted them back onto the Climate control units, this time the chrome switch onto my existing Climate unit
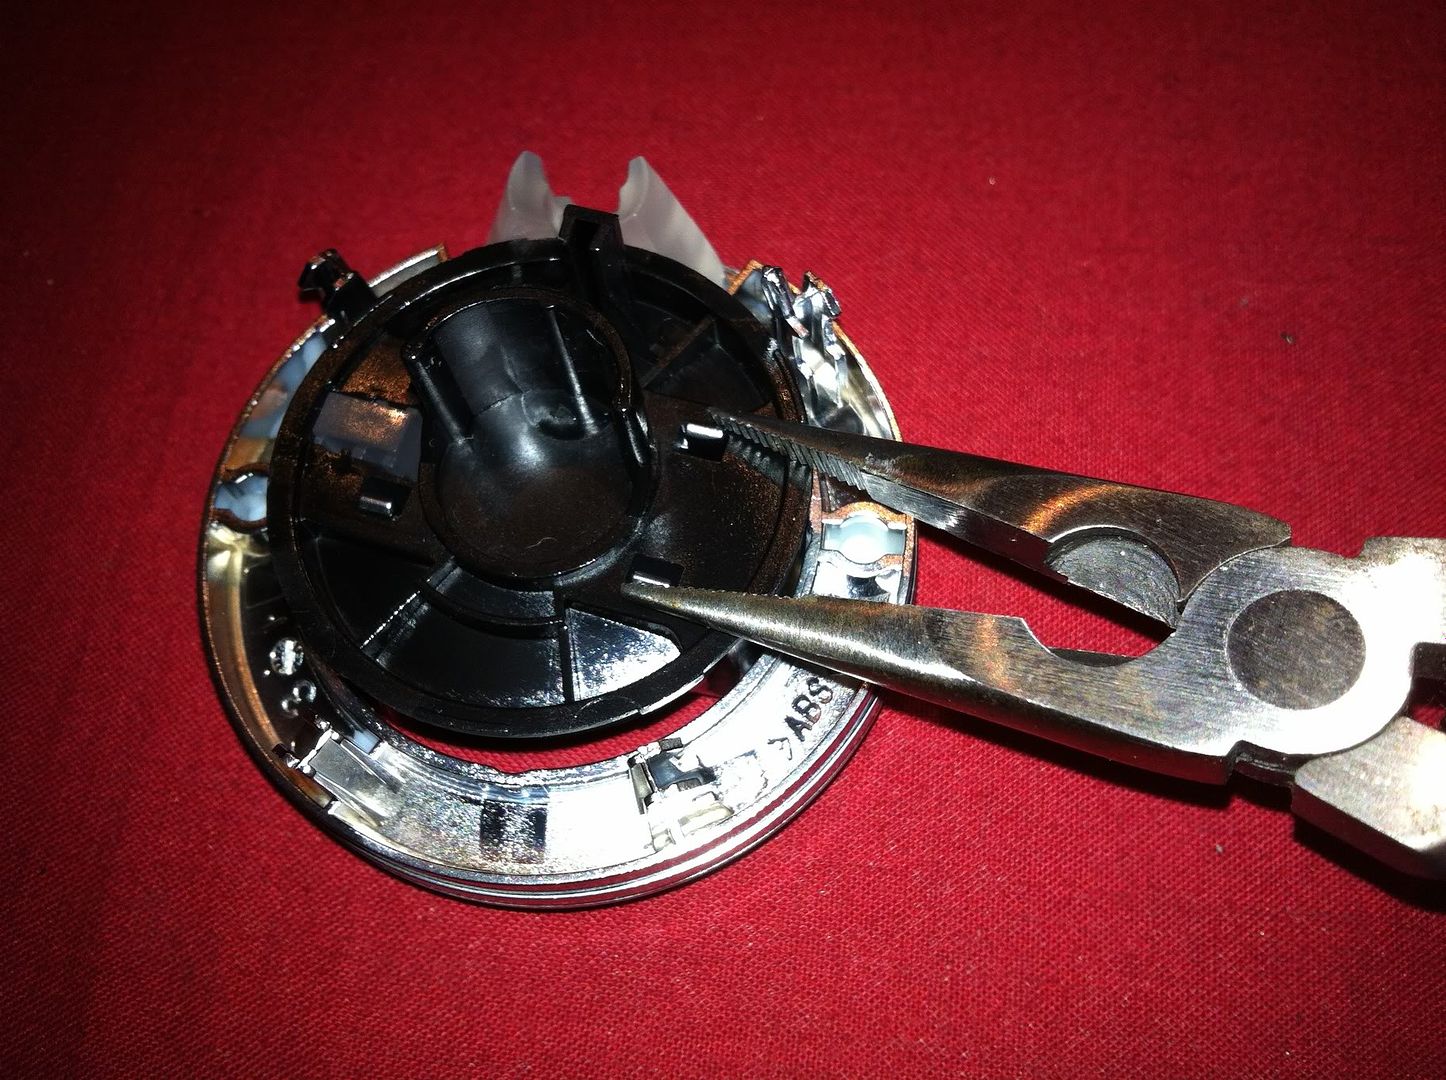 |
| Carefully removing the chrome switch from the holder |
 |
| Apart in pieces |
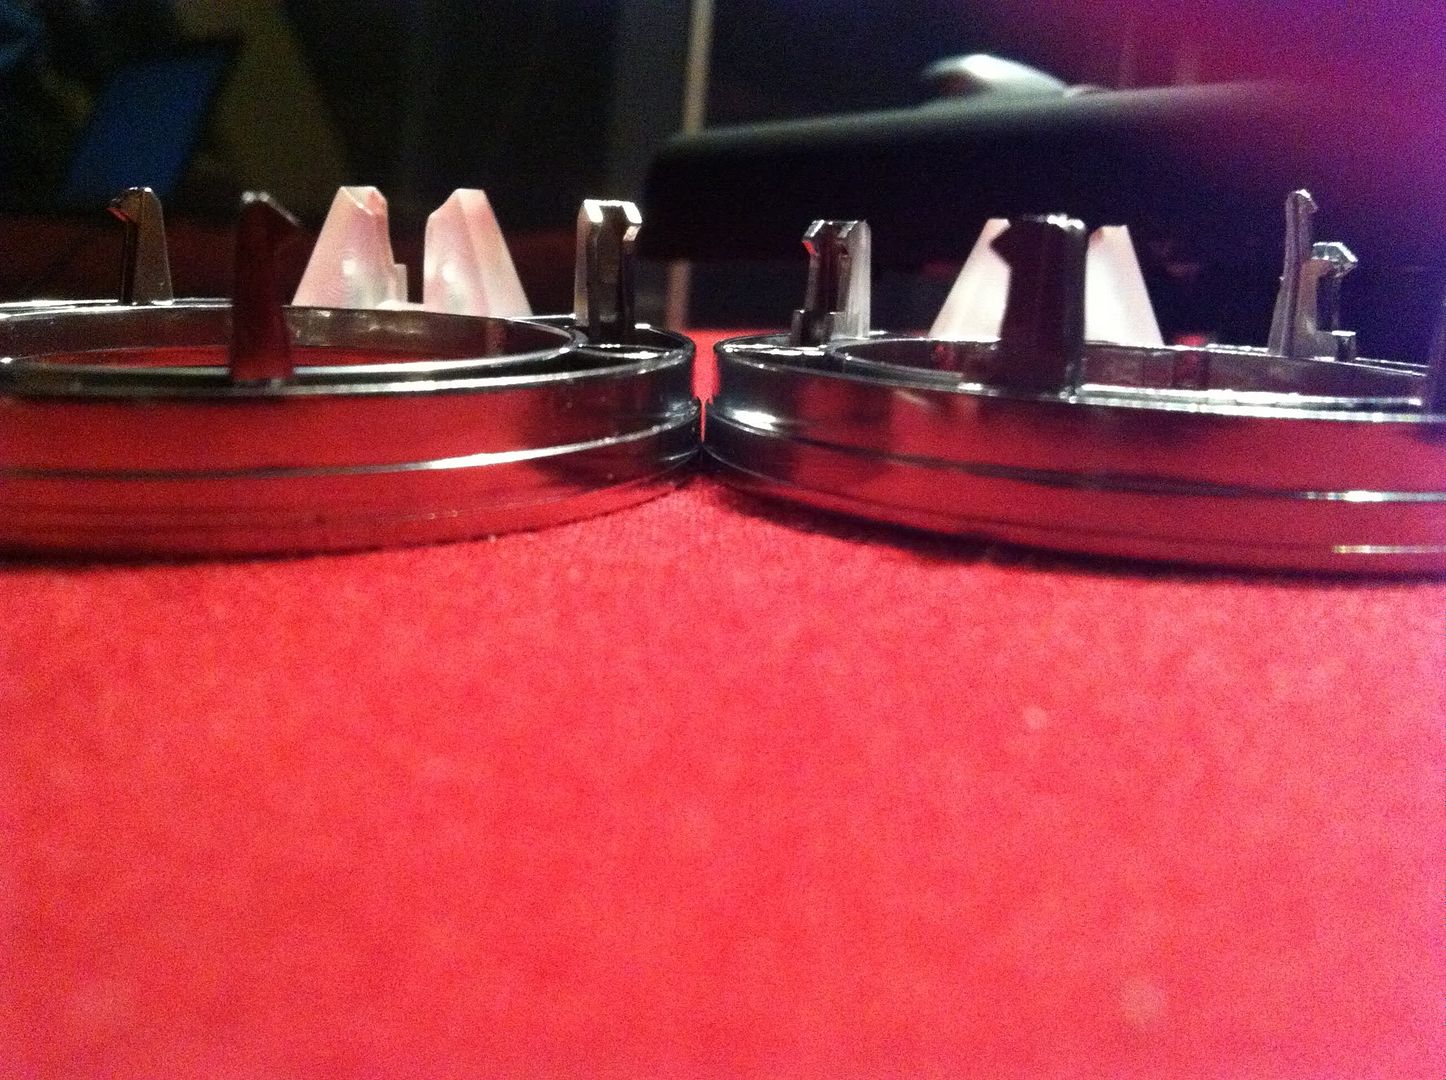 |
| Left ring is from the old unit, right ring has the shorter legs |
 |
| One old switch and one new switch fitted. |
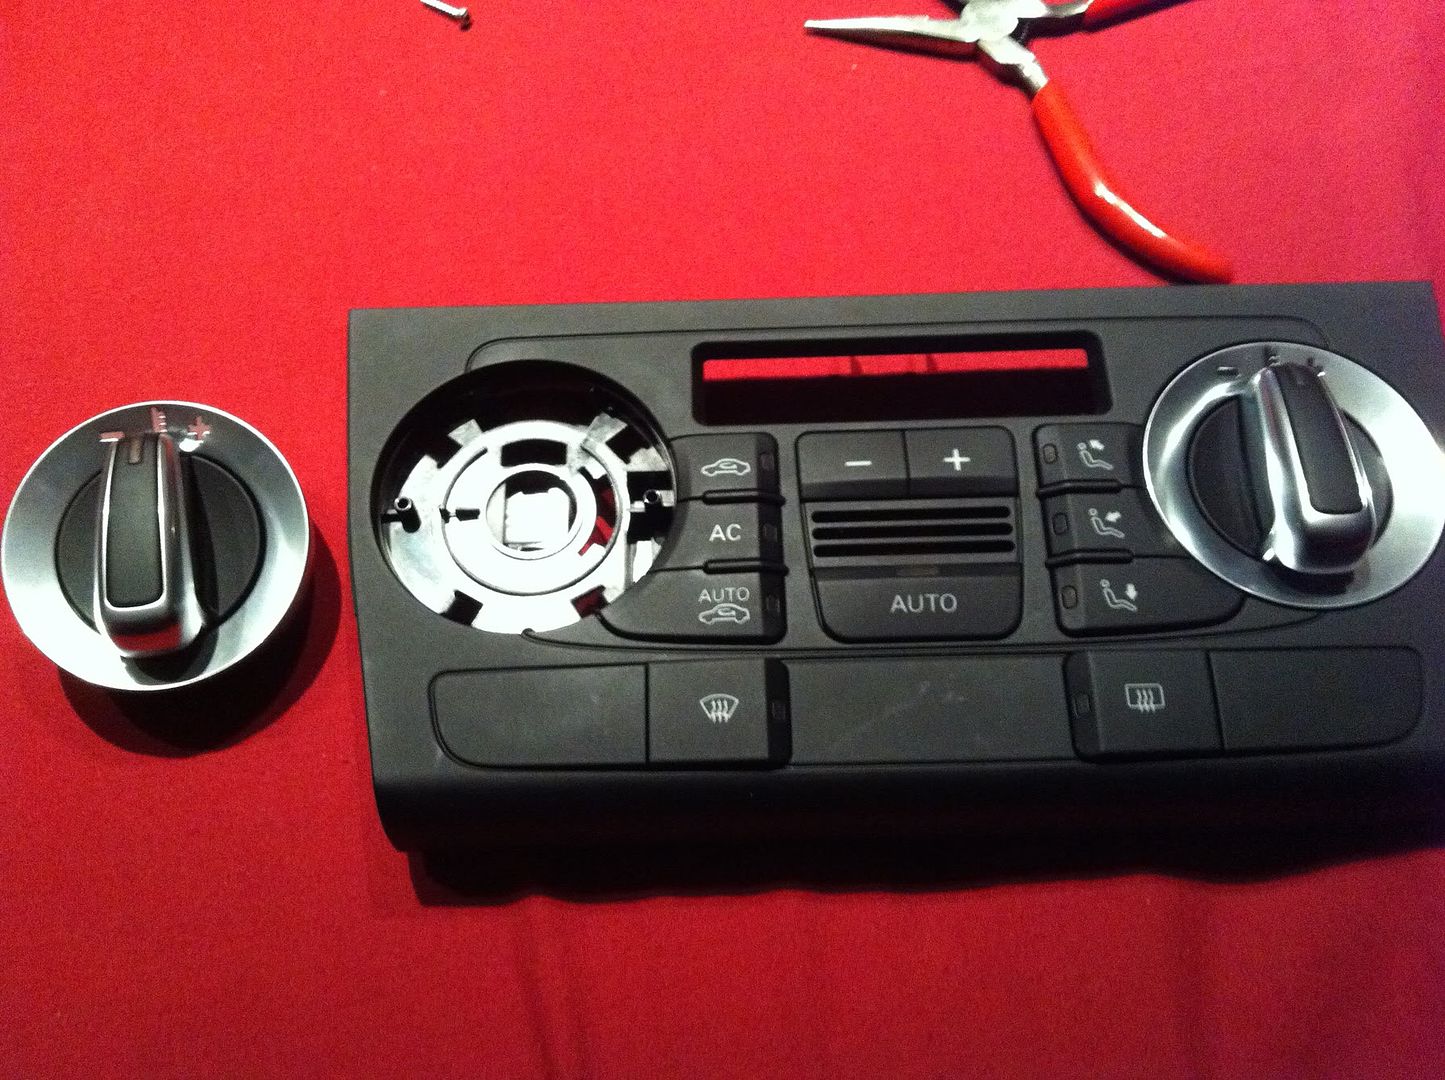
Once I had done this for both sides I had a completed unit.
Also whilst I was fixing the unit back together I thought I would fix up the newer climate control unit with the old switches, looks weird with the newer buttons but here it is.

 |
| The old and the new, a little bit confused |
Fitted the unit back onto the car and it does change the overall appearance of the interior.

That's it for Part 3...
Continue onto Power Folding and Dimming mirrors
Continue onto Power Folding and Dimming mirrors