So its been quite a while since I have updated this blog, few reasons for that...
One reason is that not much has really happened and I have been really focused on work
Another reason is that I have been lazy, There I admitted it!
Also the car was involved in an accident which I will be posting up in a separate post...
But here is the update! And its a big one... I can't fully remember the order that the following happened but I will try and include everything I have done.
-----------------------------------------------------------------------
TT-RS Flat Bottom Steering Wheel
So I have been looking at upgrading the steering wheel again since everyone has been upgrading to the 'Flat bottom' wheels... at first I wasn't too bothered about it as they just didn't look right or that much different from my current wheel.
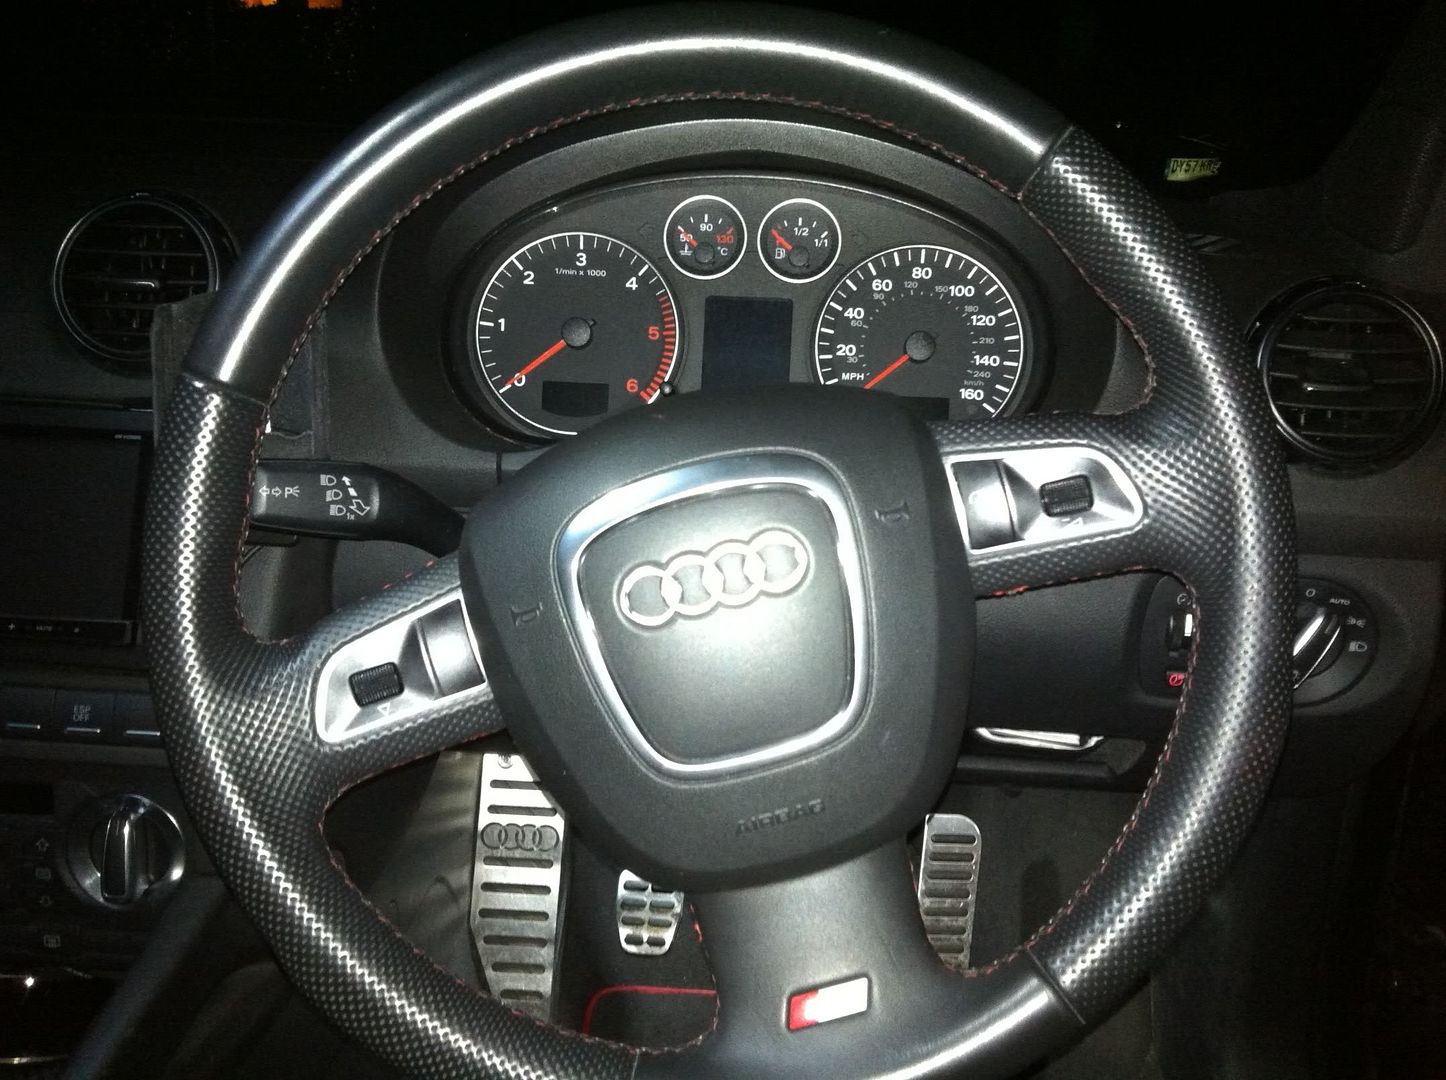 |
| The Current S-Line Steering Wheel |
 |
| S3 Flat Bottom Wheel |
But then I saw one of these!
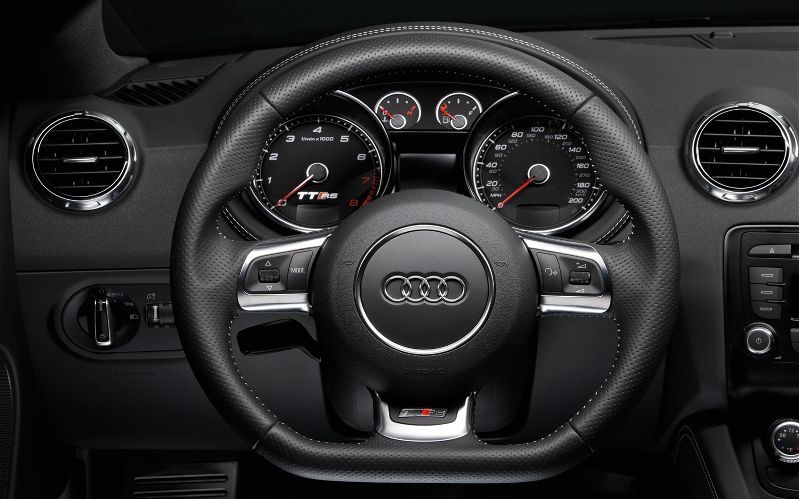
And I was in LOVE! now the only problem was that these wheels are £600 from Audi and thats without that fancy round Airbag with the Chrome ring in it... thats another £600! Thats £1200 for a Steering wheel!!!
So the hunt began to find a Chunky RS wheel for my car...
Now Audi do this chunky design for all the RS cars so as long as I could find one from any model without the flappy paddles (as you can see in the above picture) as I drive a manual then it would be ok... but guess what? Most of the RS cars are Autos so finding a wheel was going to be hard let alone finding a bargain.
After a few months of looking (yes I was serious about finding one) the best price I could find for one of the wheels was £450 and that was still without an Airbag. Would you believe how lucky I was when I saw one on eBay for £150??? The seller didnt advertise it properly and mis-spelled the ad so I sat like a hawk and watched it right to the end and won it for only £170! I honestly couldn't believe it... but there it was.
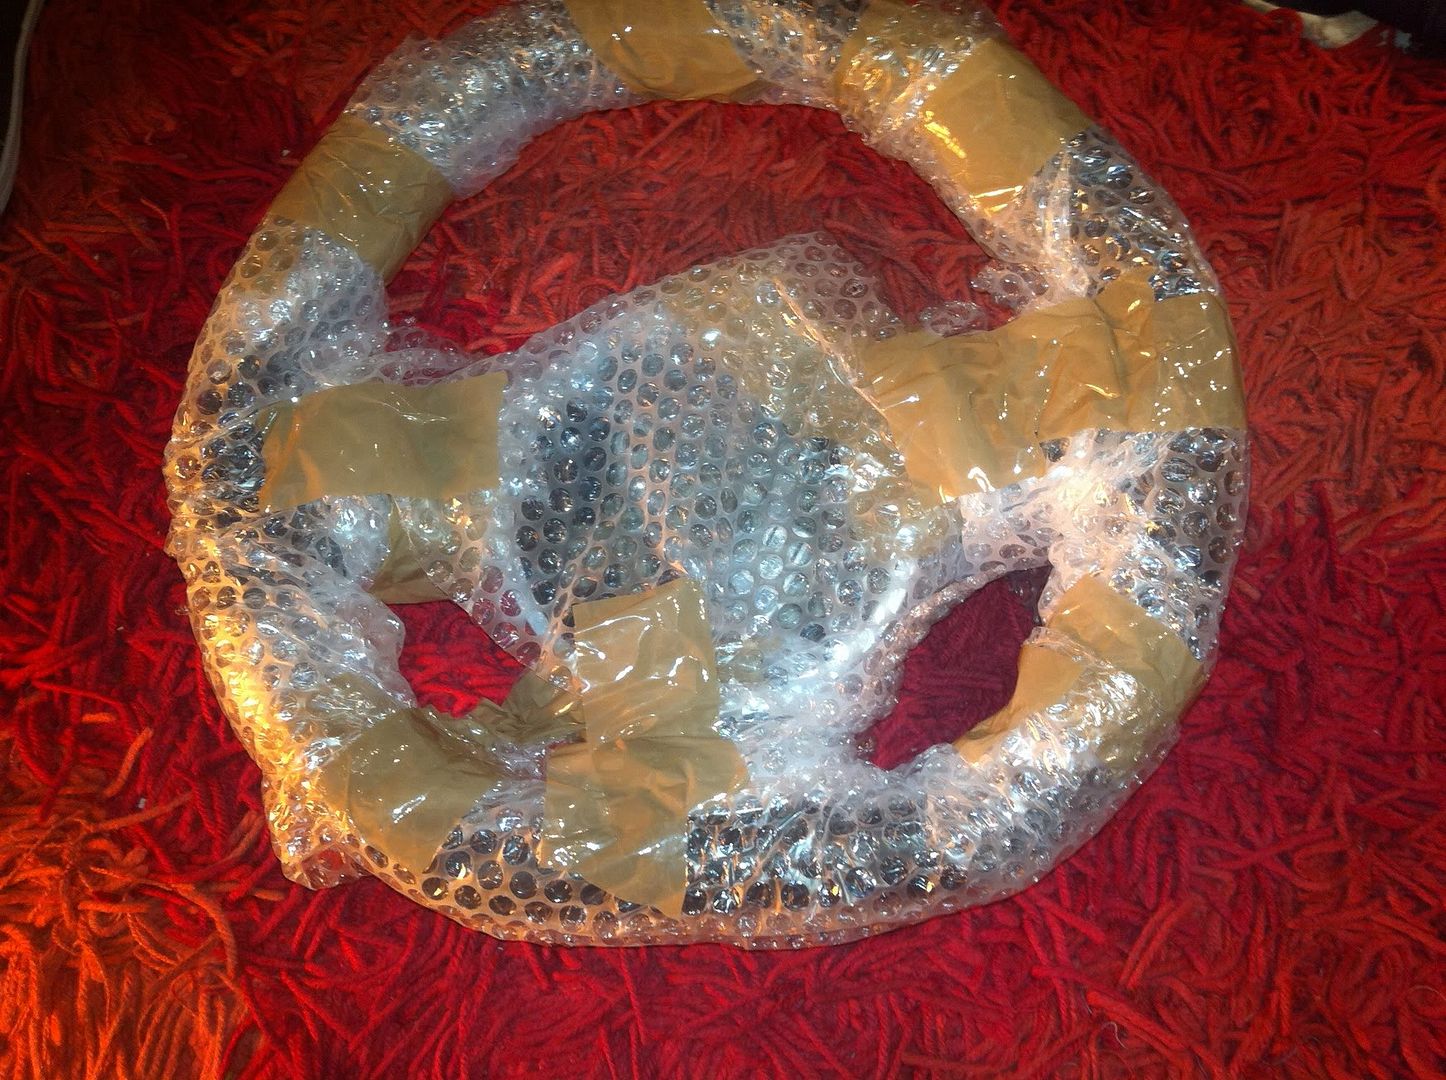 |
| Delivered... unwrapping... |
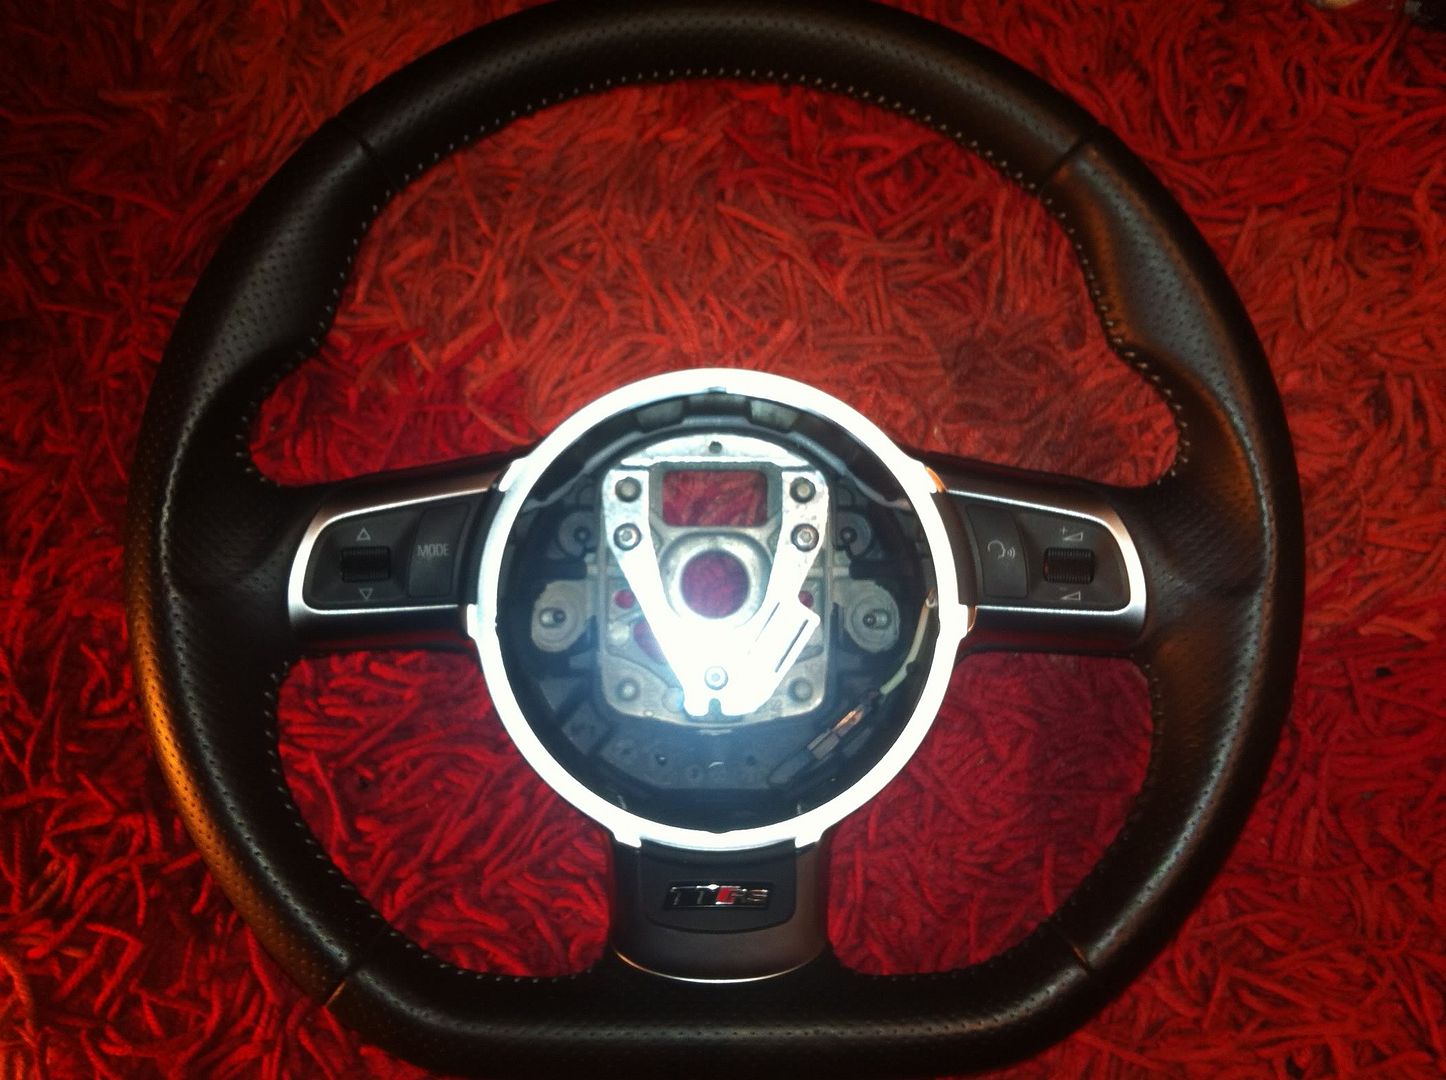 |
| Unwrapped and looking Gorgeous |
Now that I had the wheel I ran into another issue... the stitching on the wheel was white and it looked dirty.
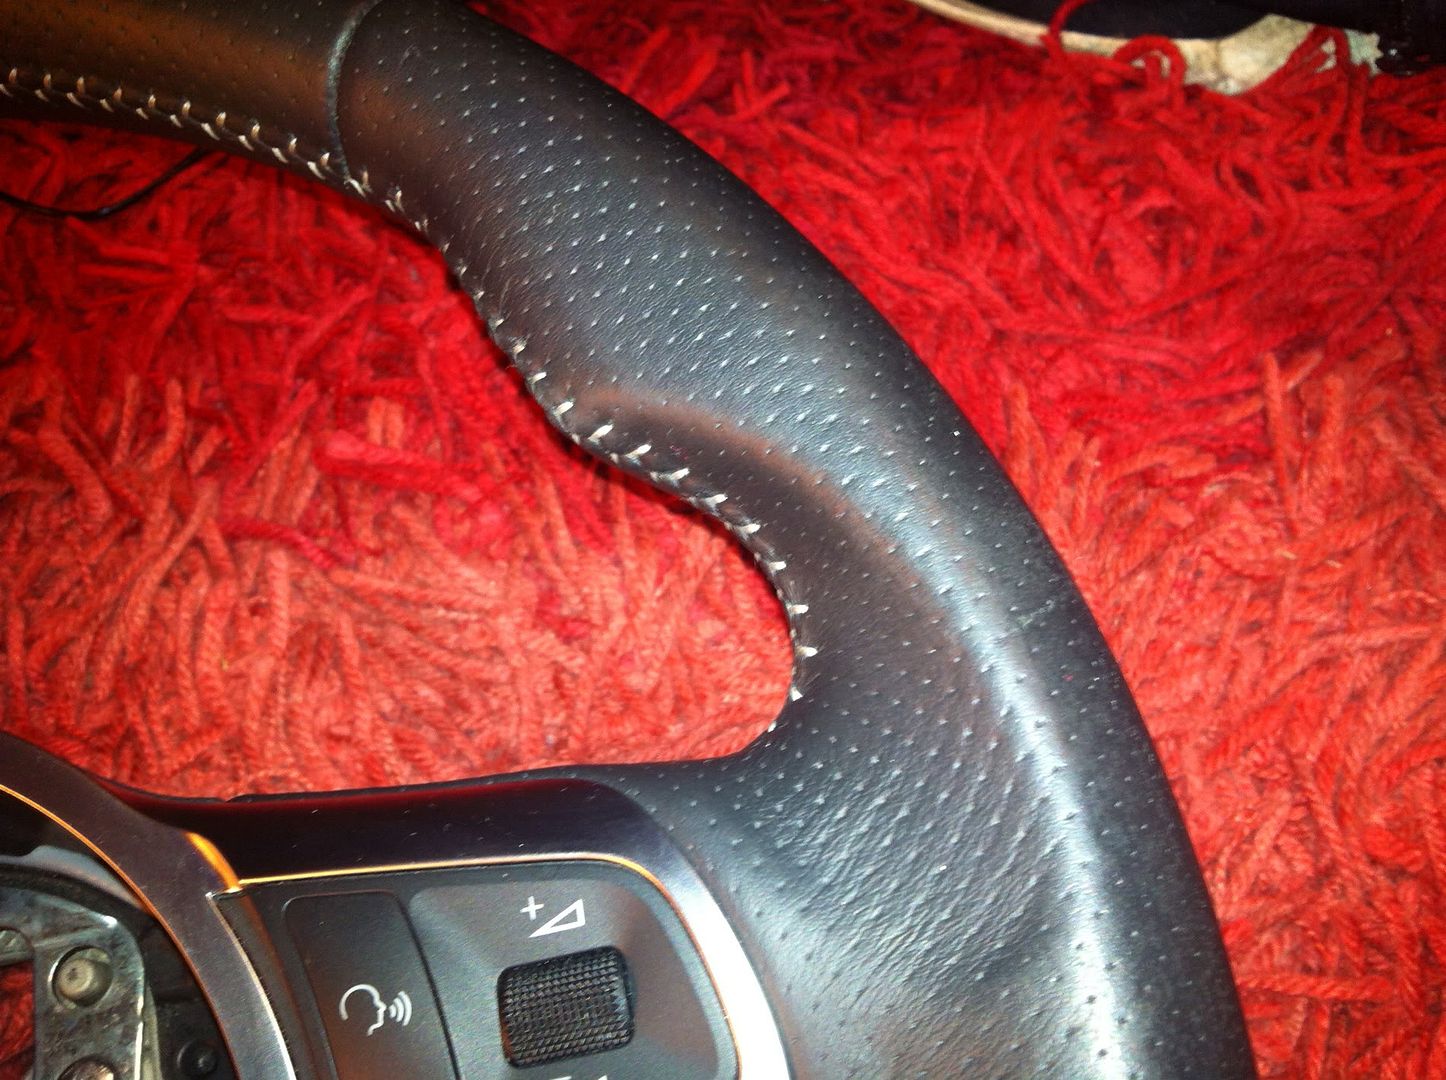 |
| The White Stitching |
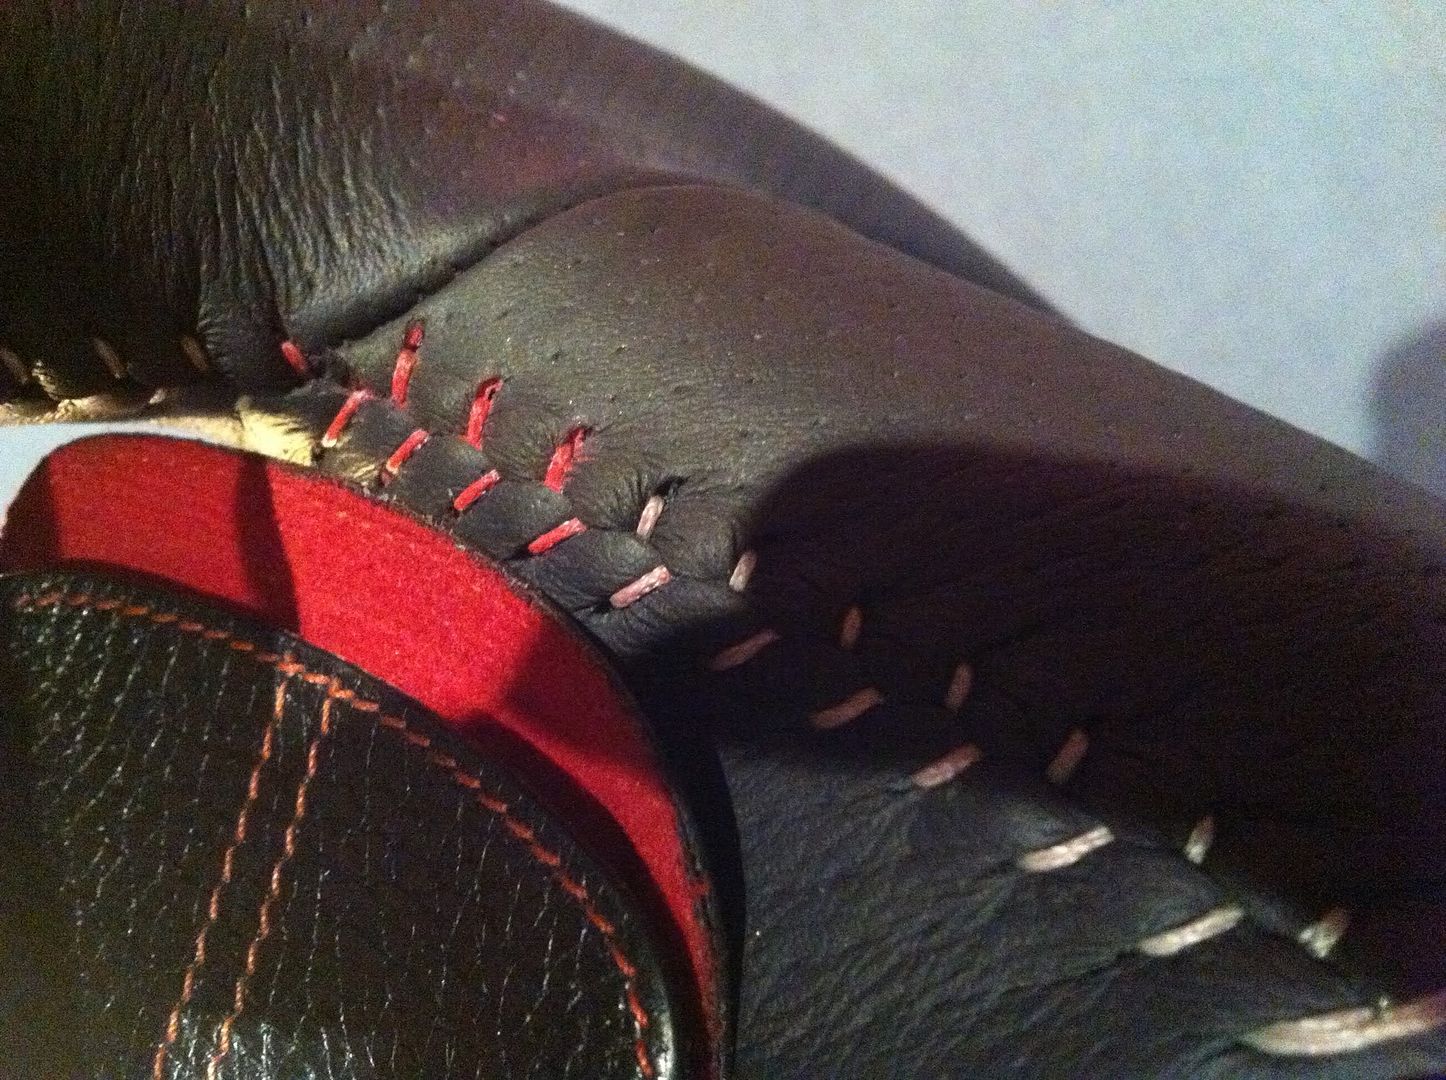
Now I wanted red stitching on the wheel so I started looking into it and I was getting quoted more than the wheel to get it done in red as they would need to fully retrim the wheel... I loved the fully perforated wheel so I wasn't going to get a retrim so I looked into other options and I stumbled across some threads on the internet where people in the US had used fabric dye pens to alter the colour of the stitching on their car seats.
I searched for a craft shop nearby that had such pens and got to work:
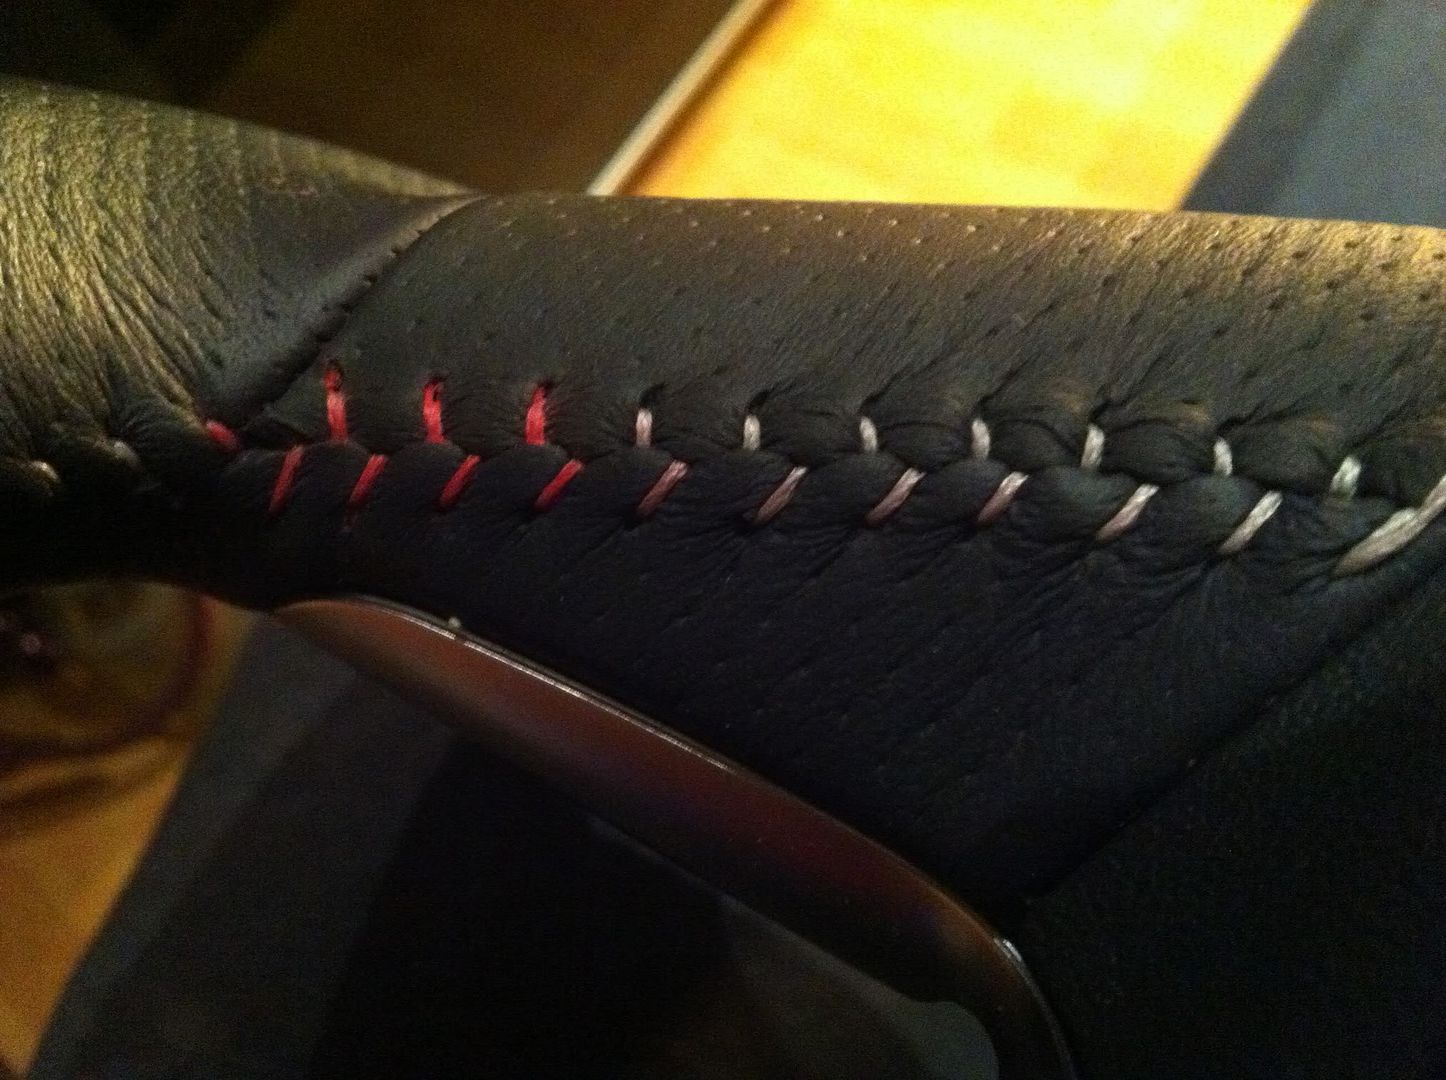
 |
| Half Done |
 |
| Comparison To My Phone Pouch |
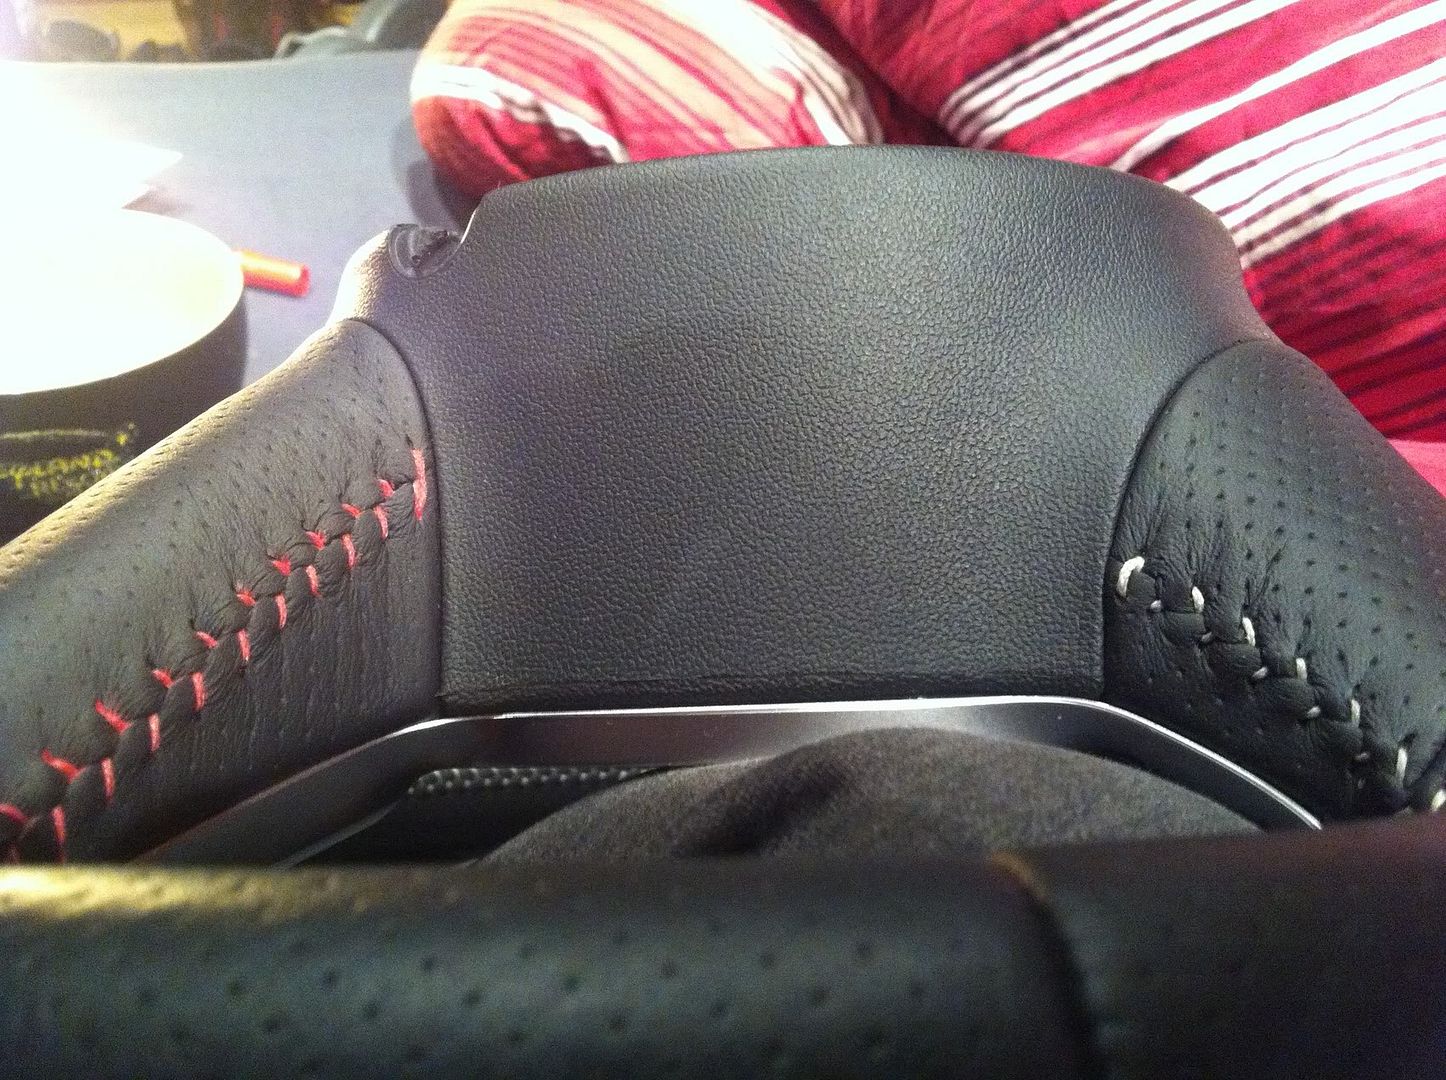
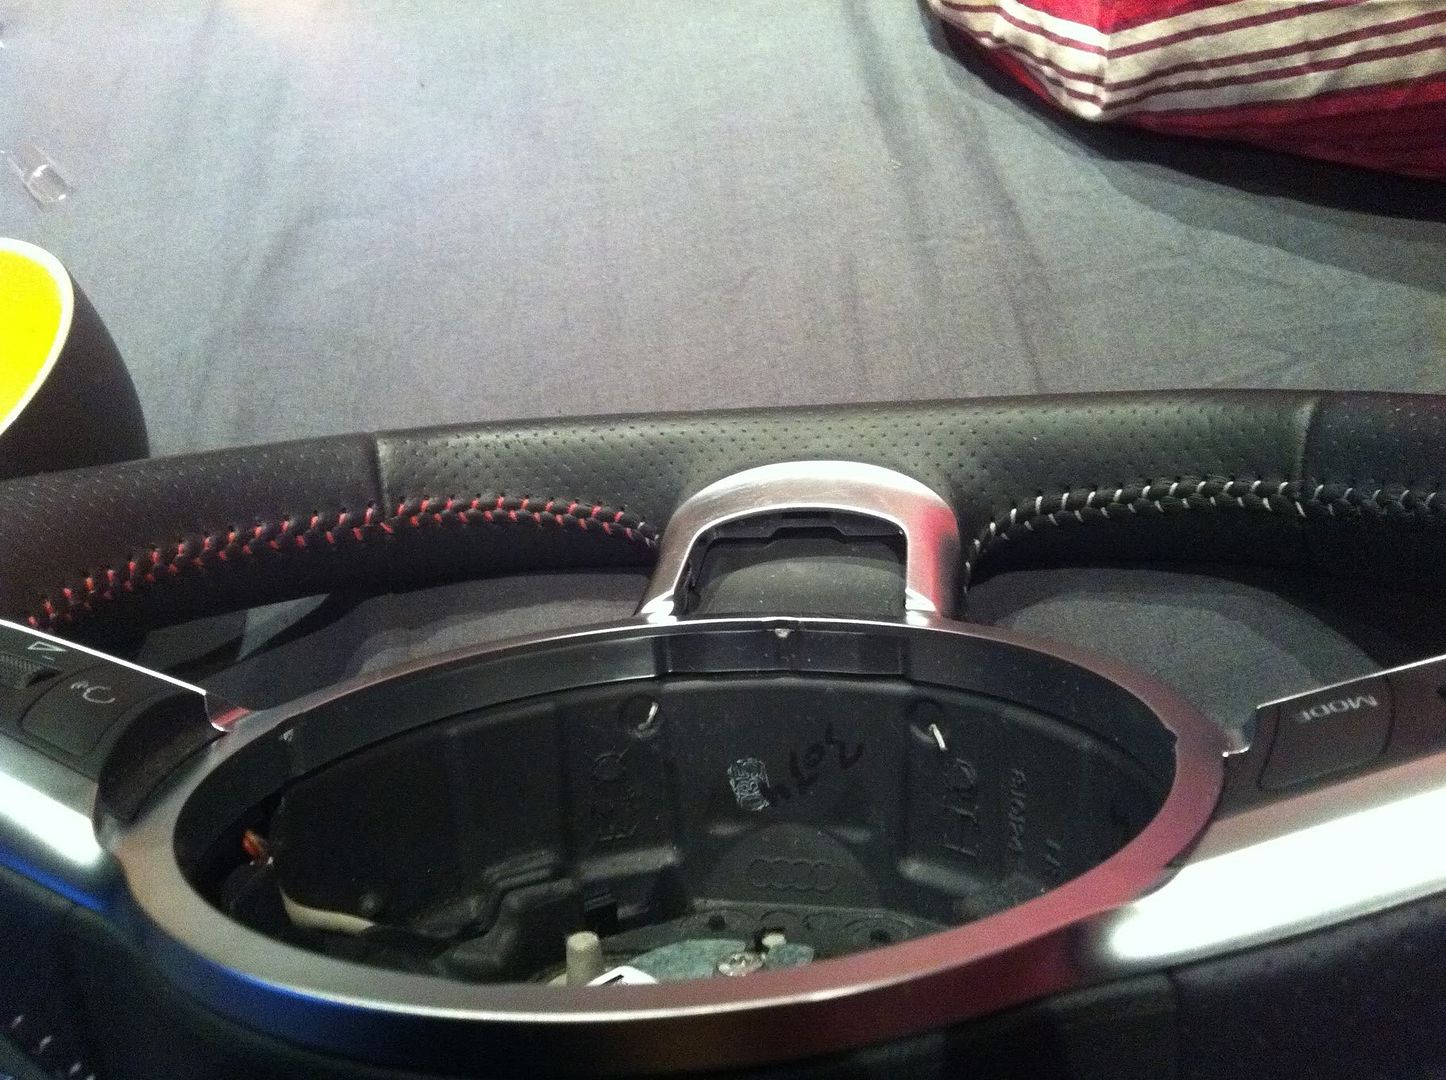
At this stage I noticed the red I was using just wasn't dark enough and almost looked pink so I went back to the craft store and found a darker red and re-did it:
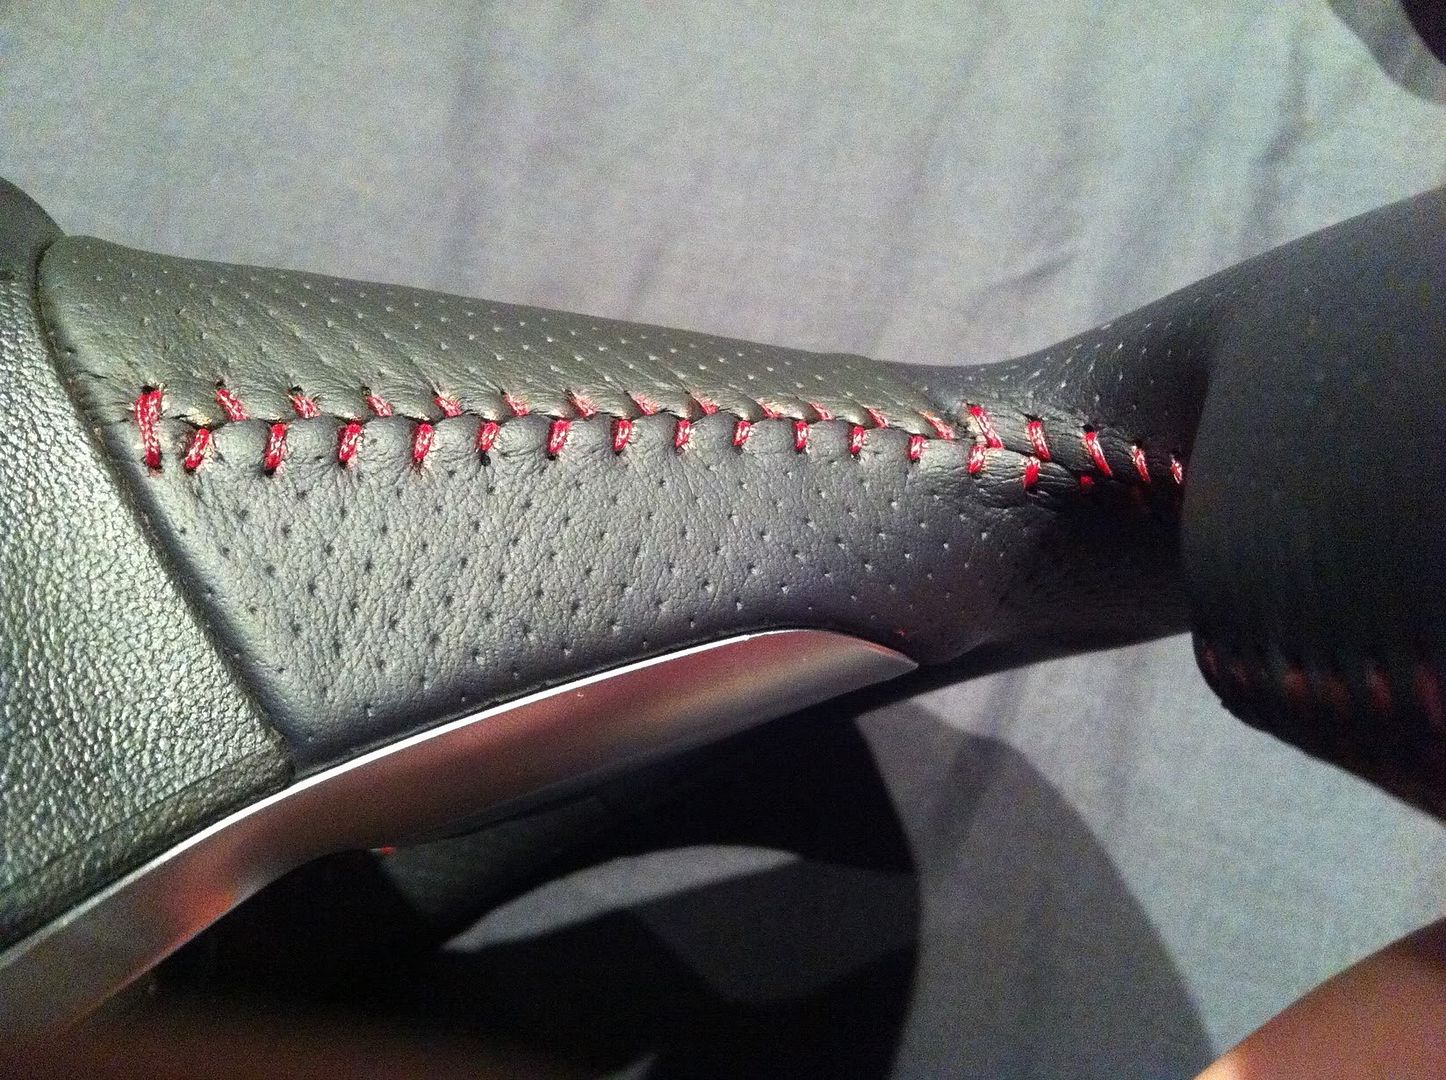 |
| Nice & Dark |
So I completed the wheel and thought what about the mats in the car? I have always wanted the carpets to have red piping but Audi don't sell my mats in red but now I could do something about it :P
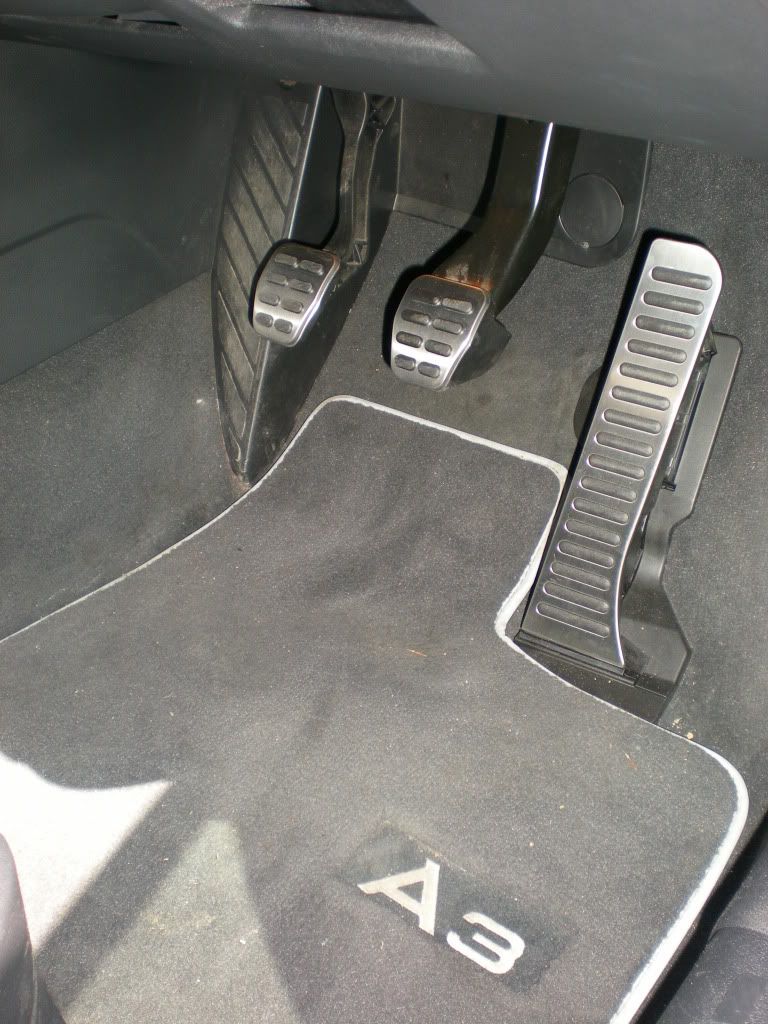 |
| The White Mats |
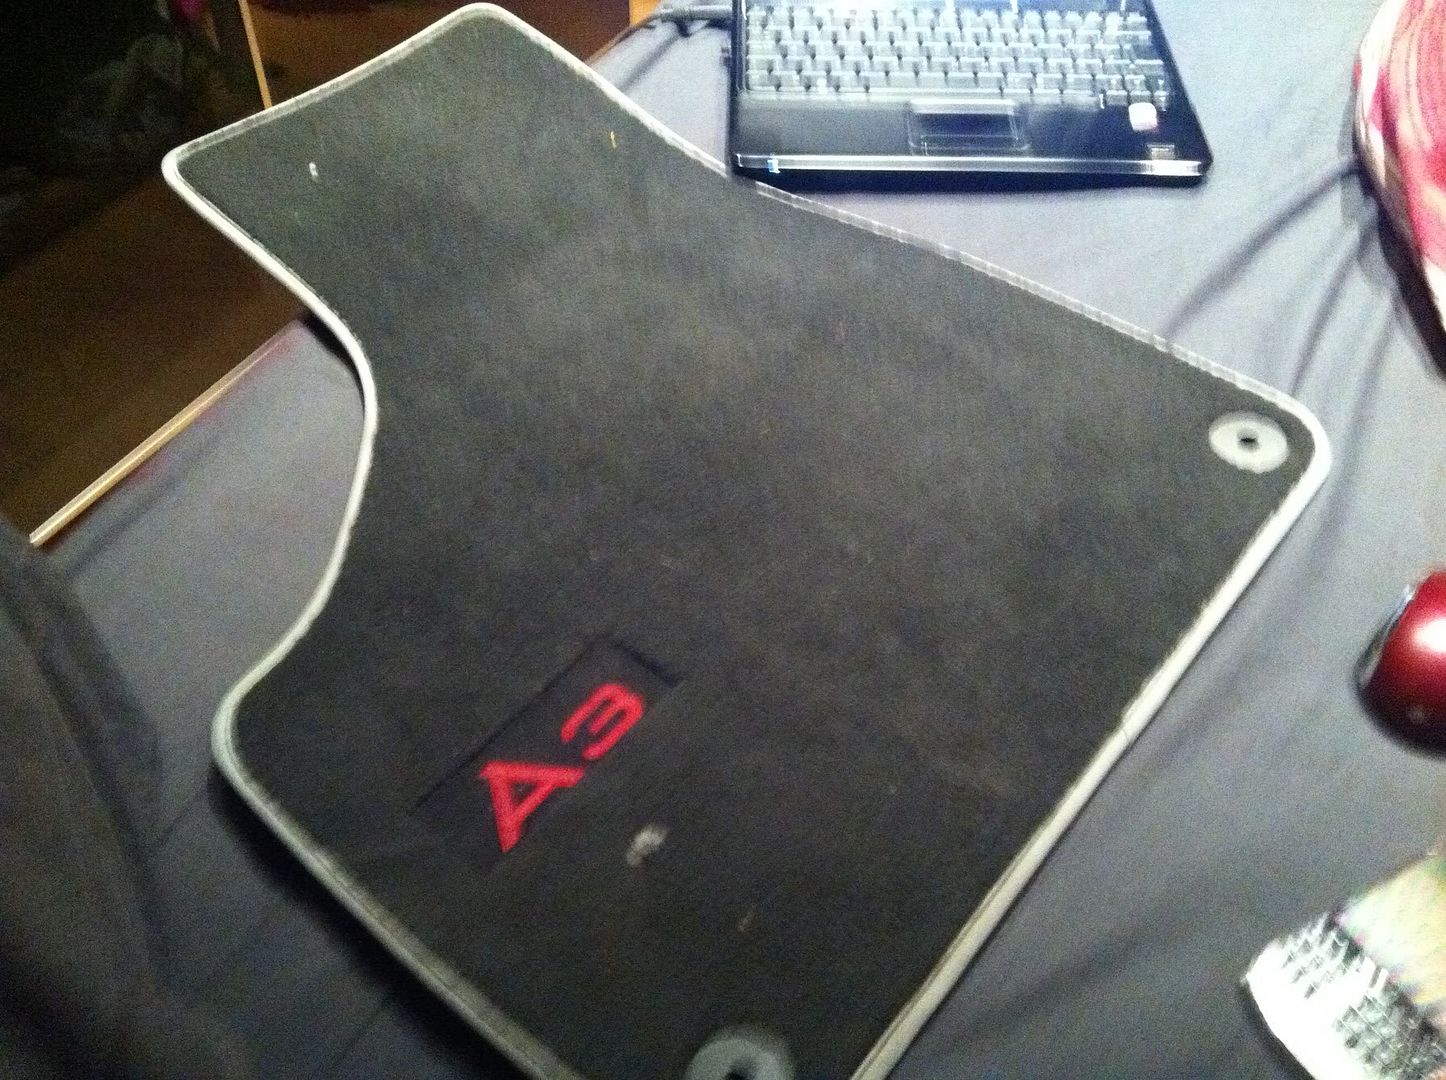 |
| Red A3 Sign |
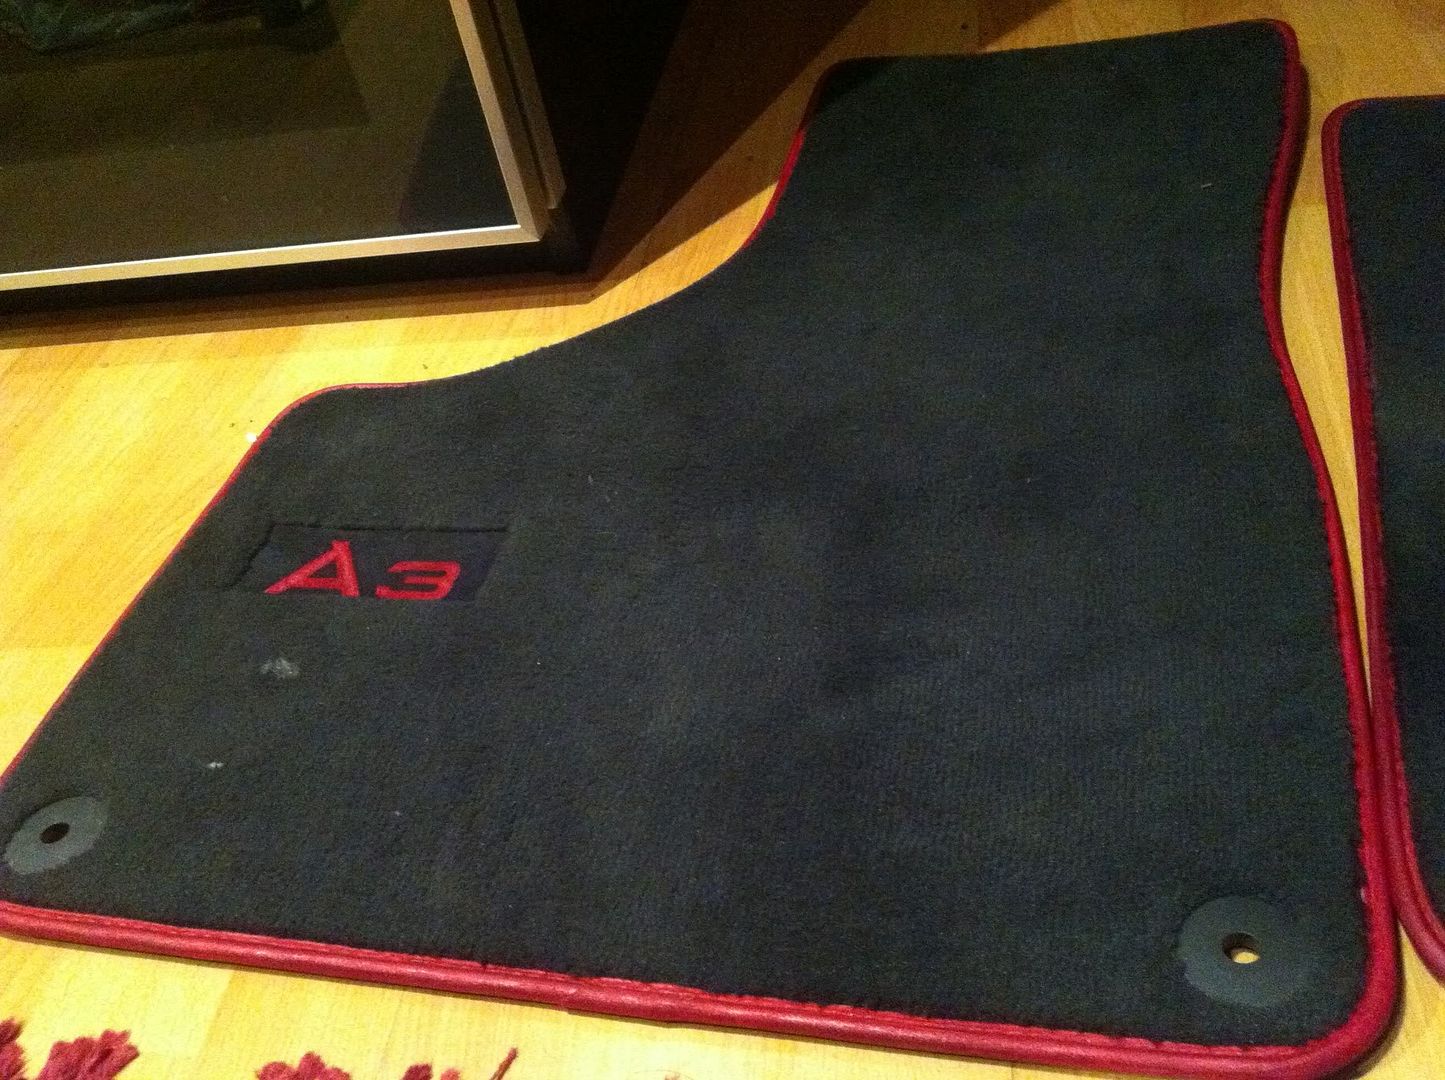
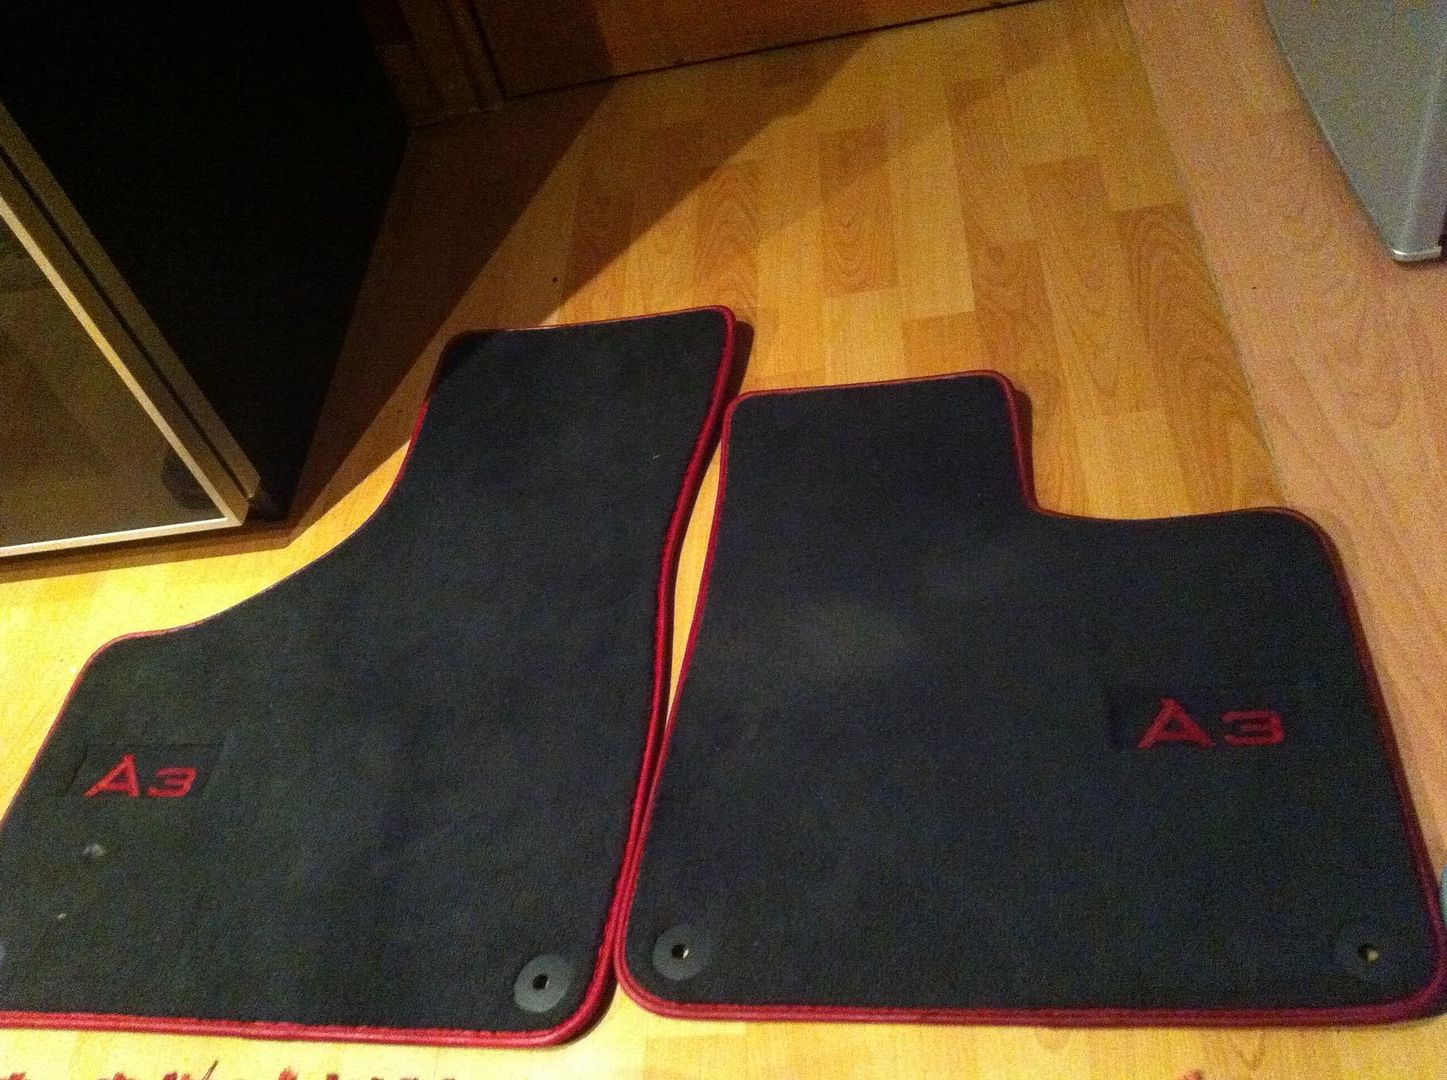 |
| Freshly coloured |
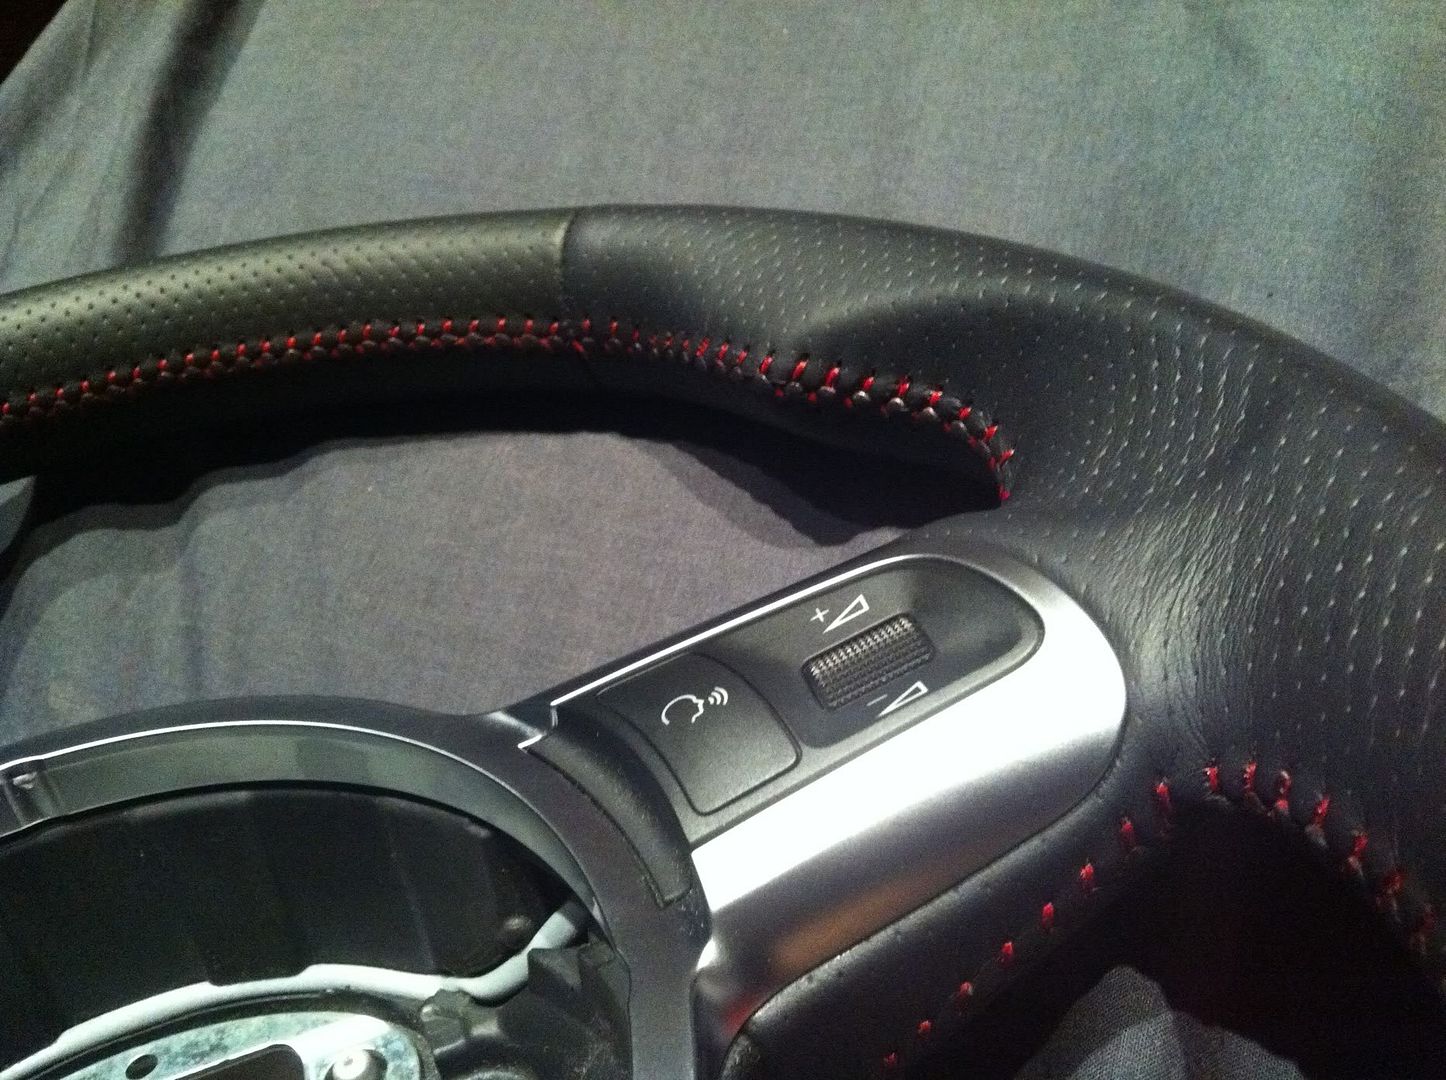
I then went and found myself the next bargain and picked up the Airbag for the Steering wheel and sold on my existing wheel which all worked out perfect as by the time I was done I only spent £115 for the complete upgrade!
Once I had all the bits I quickly fitted it all in:
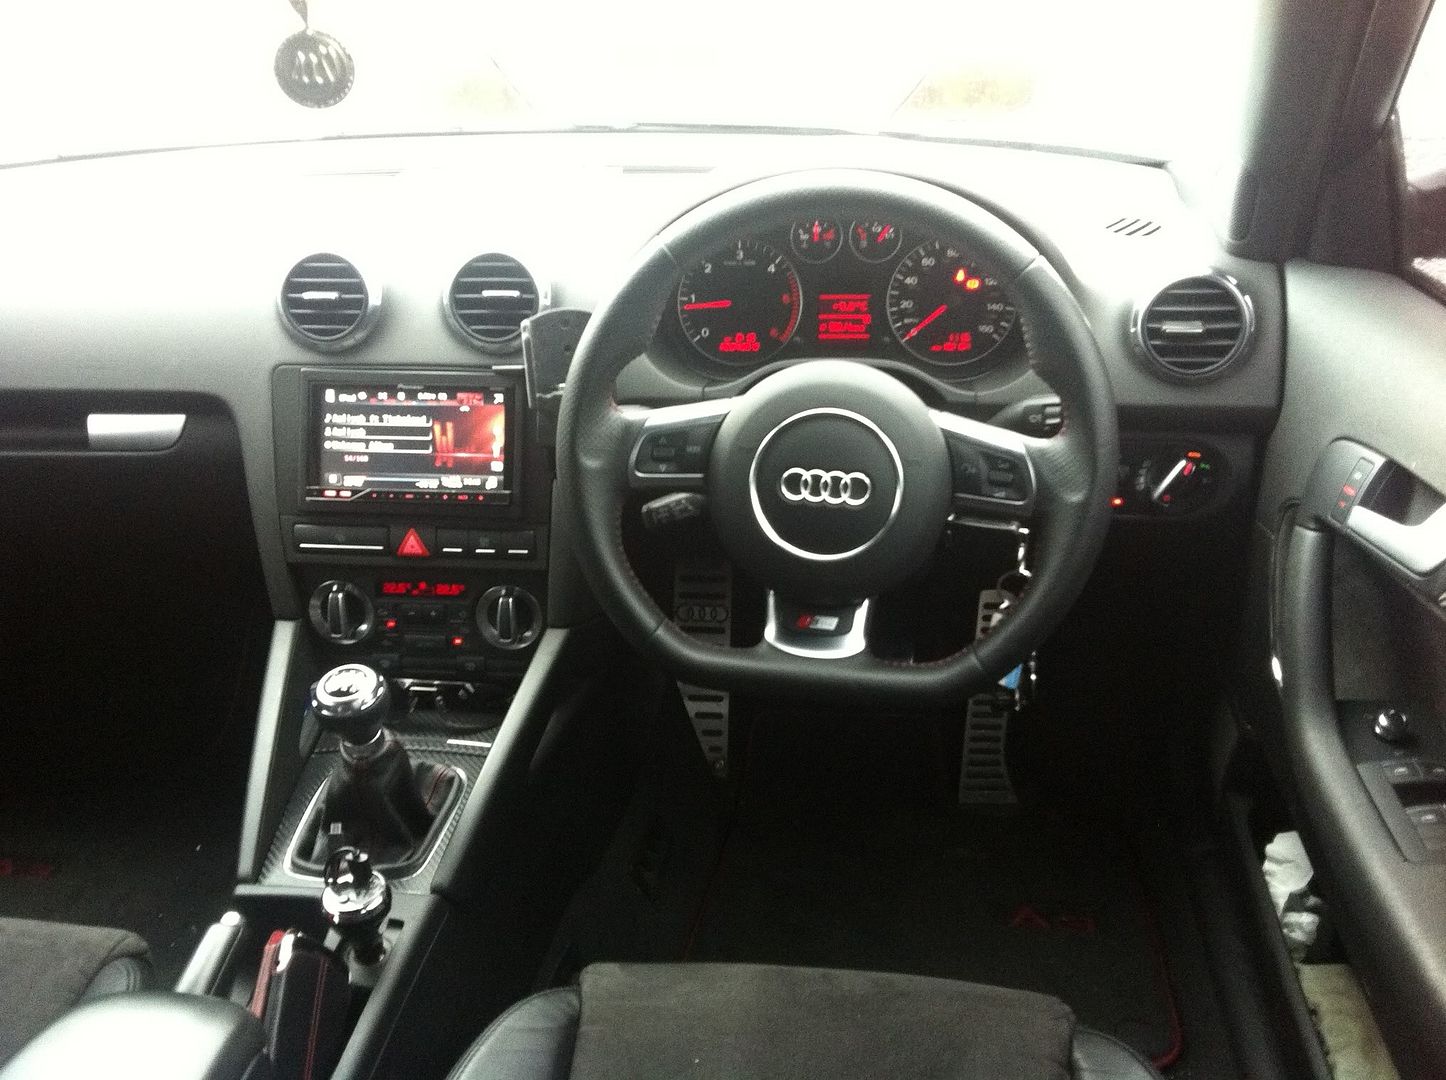
I then went on with the red stitching theme and got myself the Gear Gaiter, Handbrake and Armrest lid:
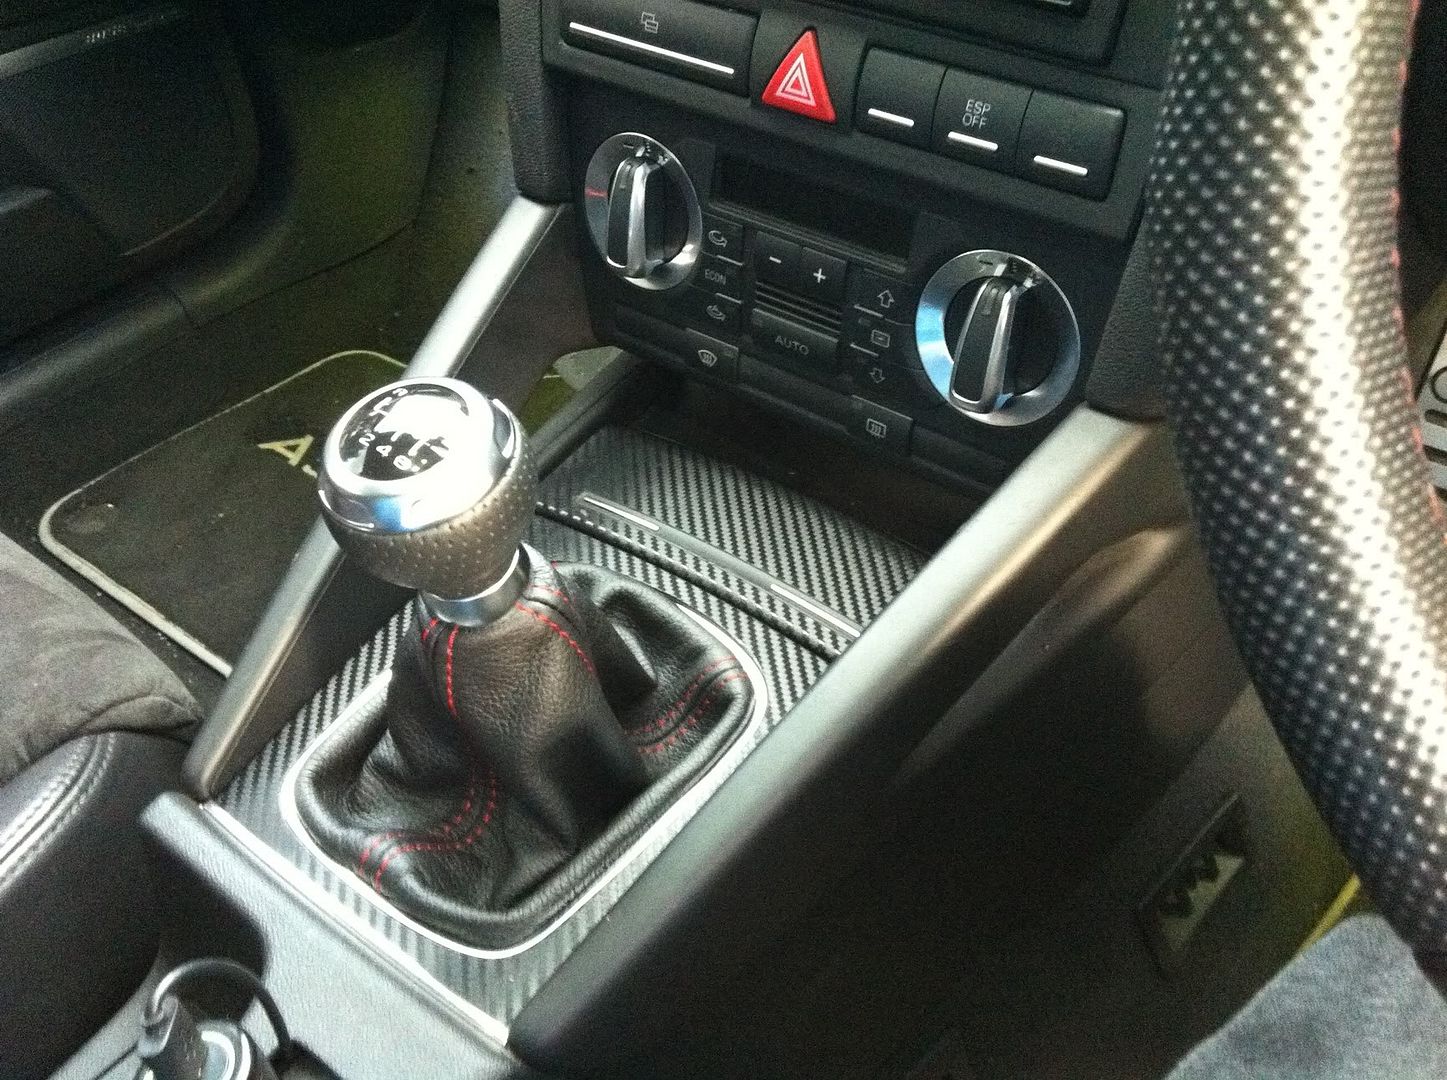 |
| Red Stitching Gear Gaiter |
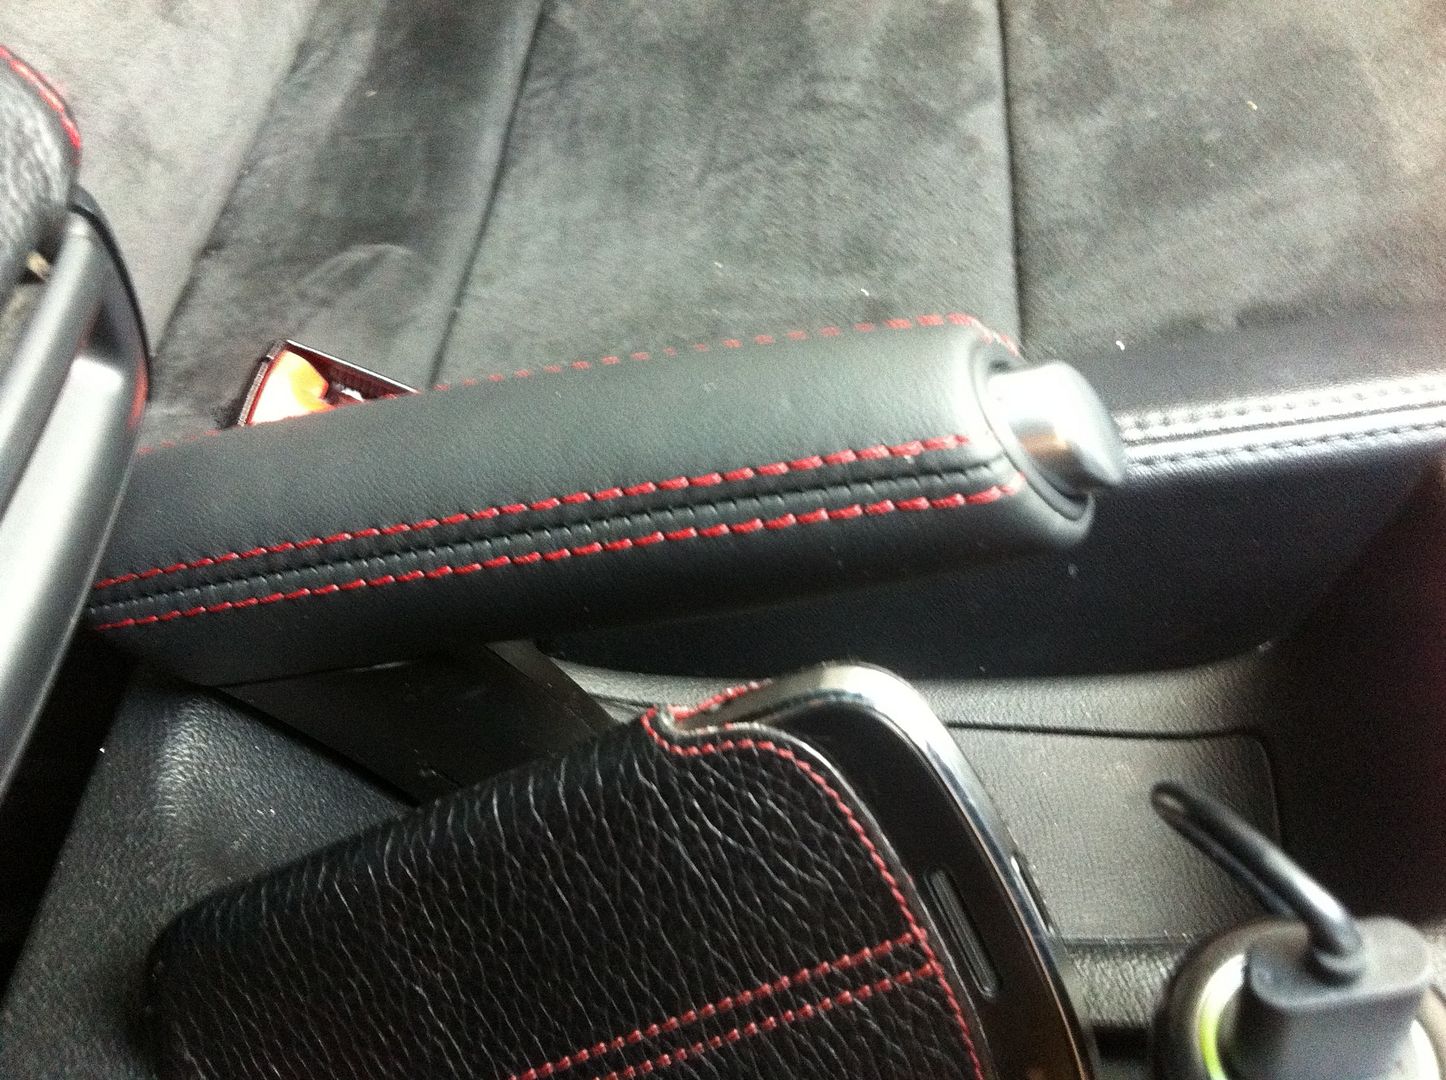 |
| S3 Red Stitching Leather Handbrake |
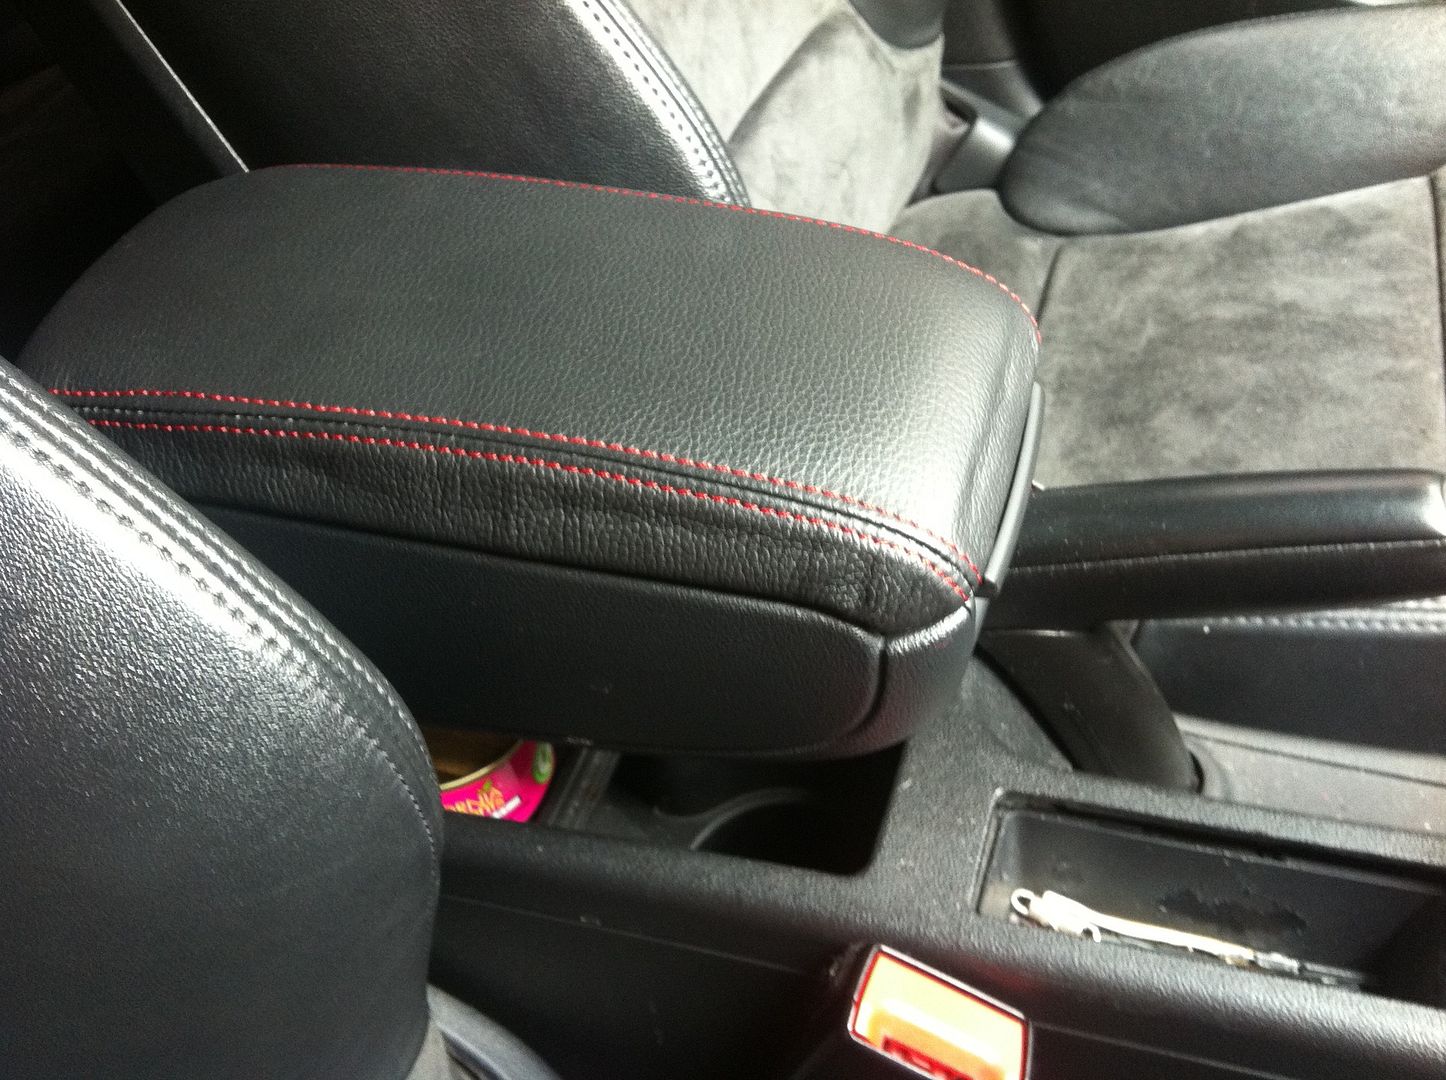 |
| Custom Red stitching Armrest Lid |
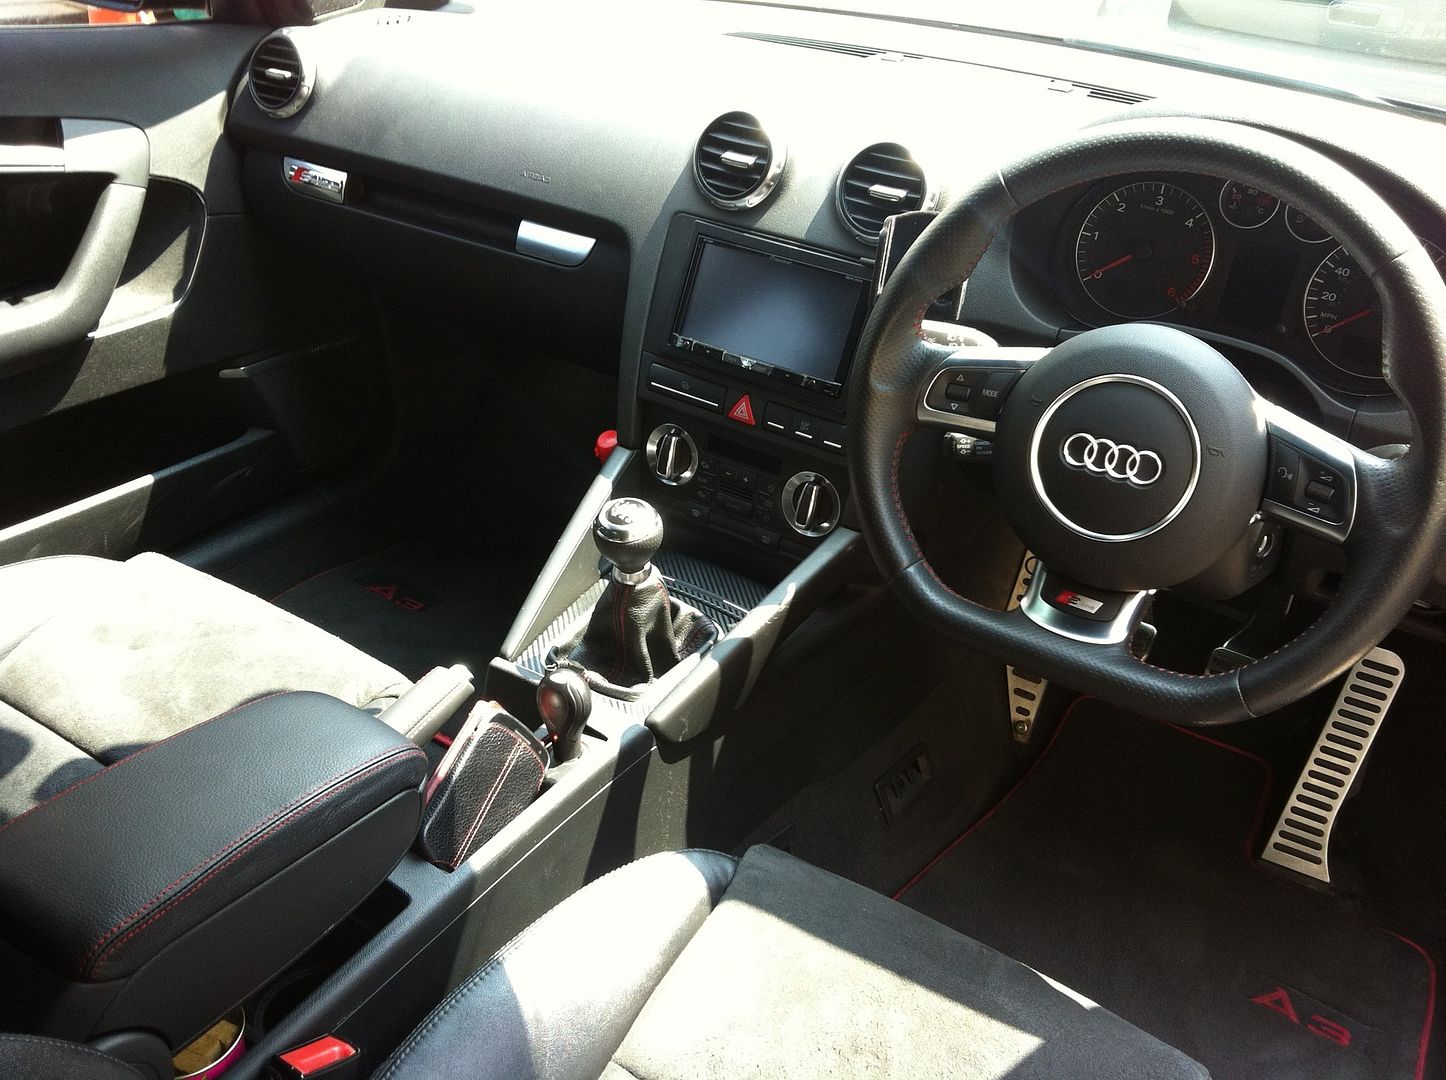 |
| Red Theme Starting To Show |
I also added an S-Line badge to the glove box which I am still in 2 minds about.
-----------------------------------------------------------------------
More Carbon Madness
Now it had been a while and I again was getting bored so I decided I would add more to the Carbon bits I had in the car...
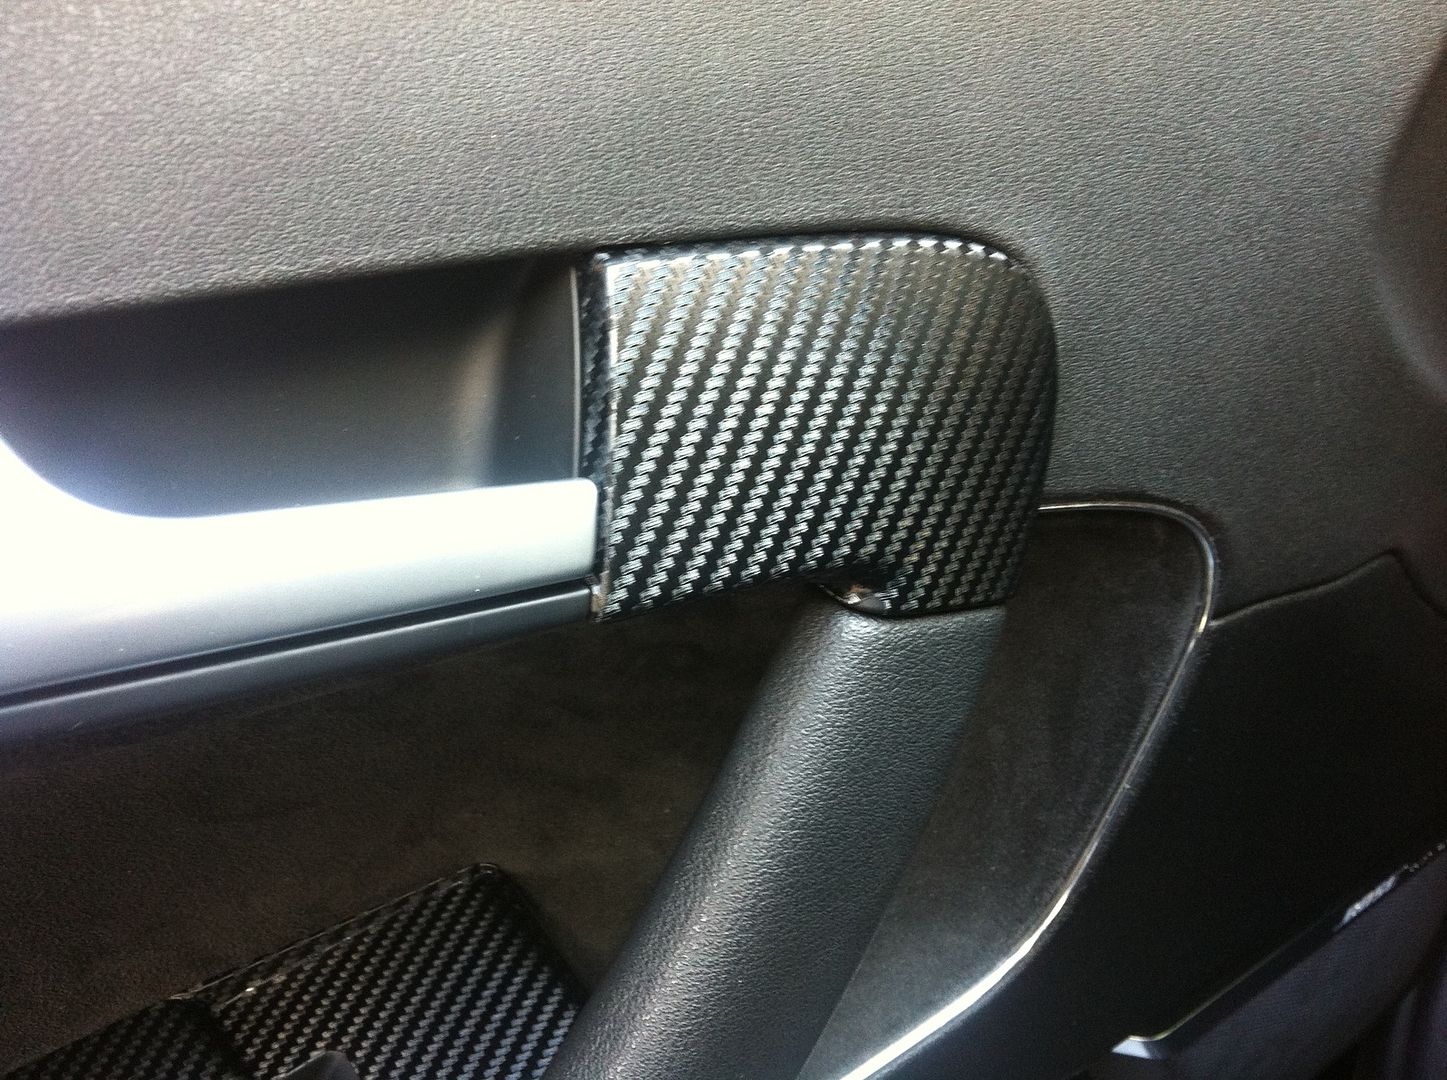
I found a few more places that I could wrap up so one evening I whipped off the door cards and got to work and ended up with this:
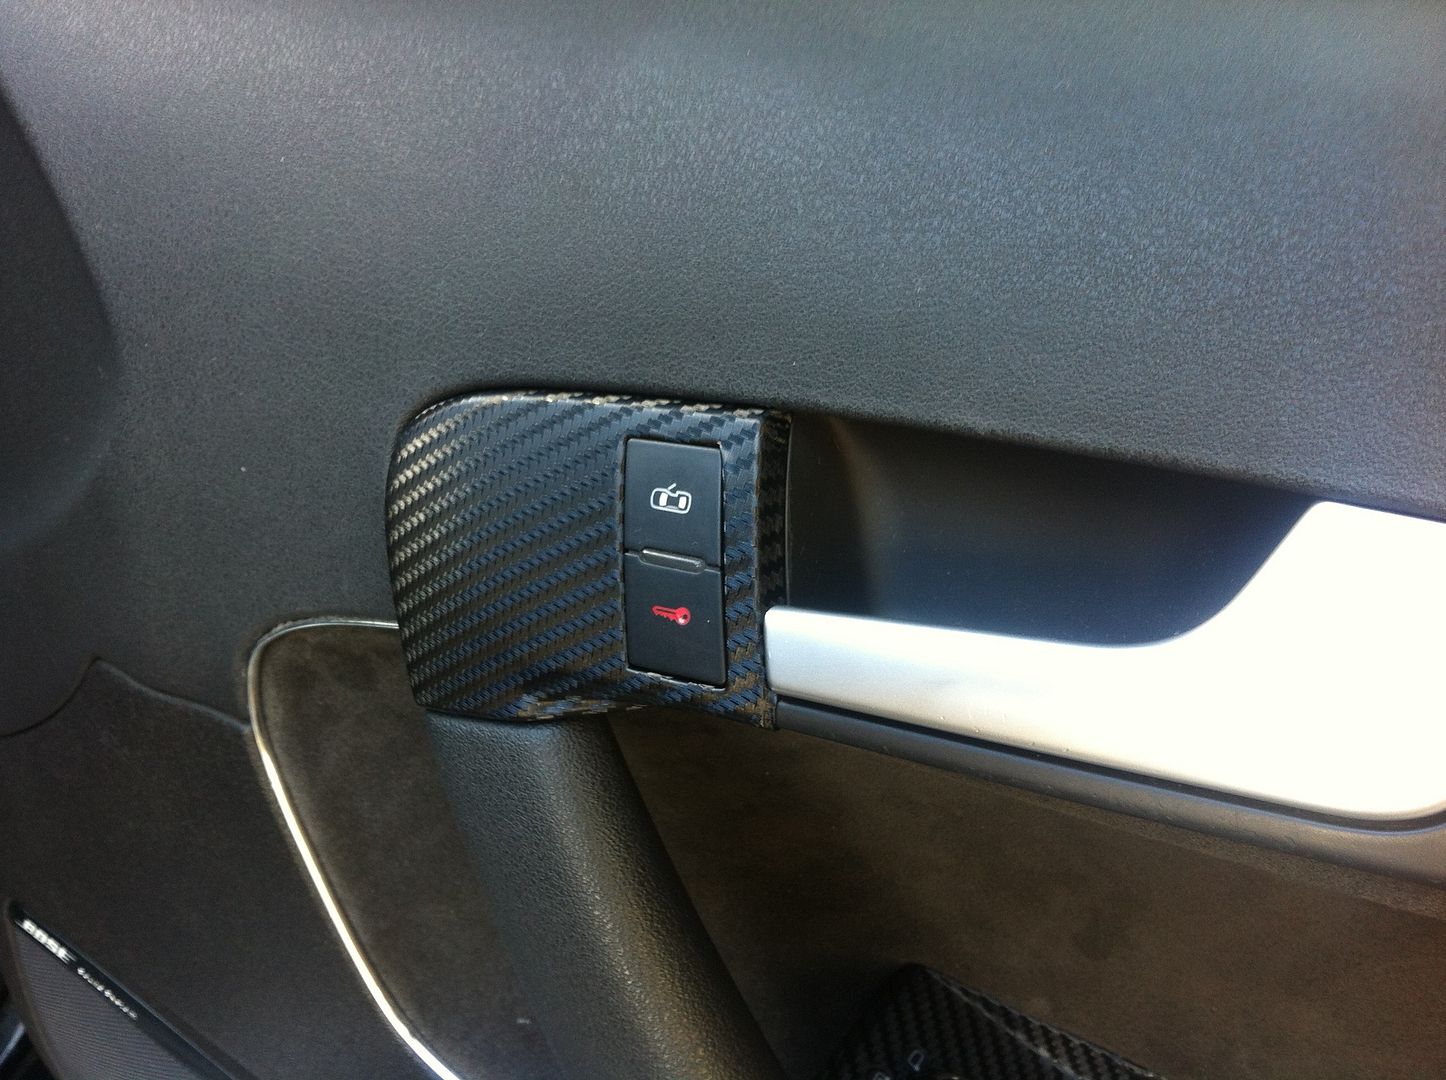 |
| Lock Surround |
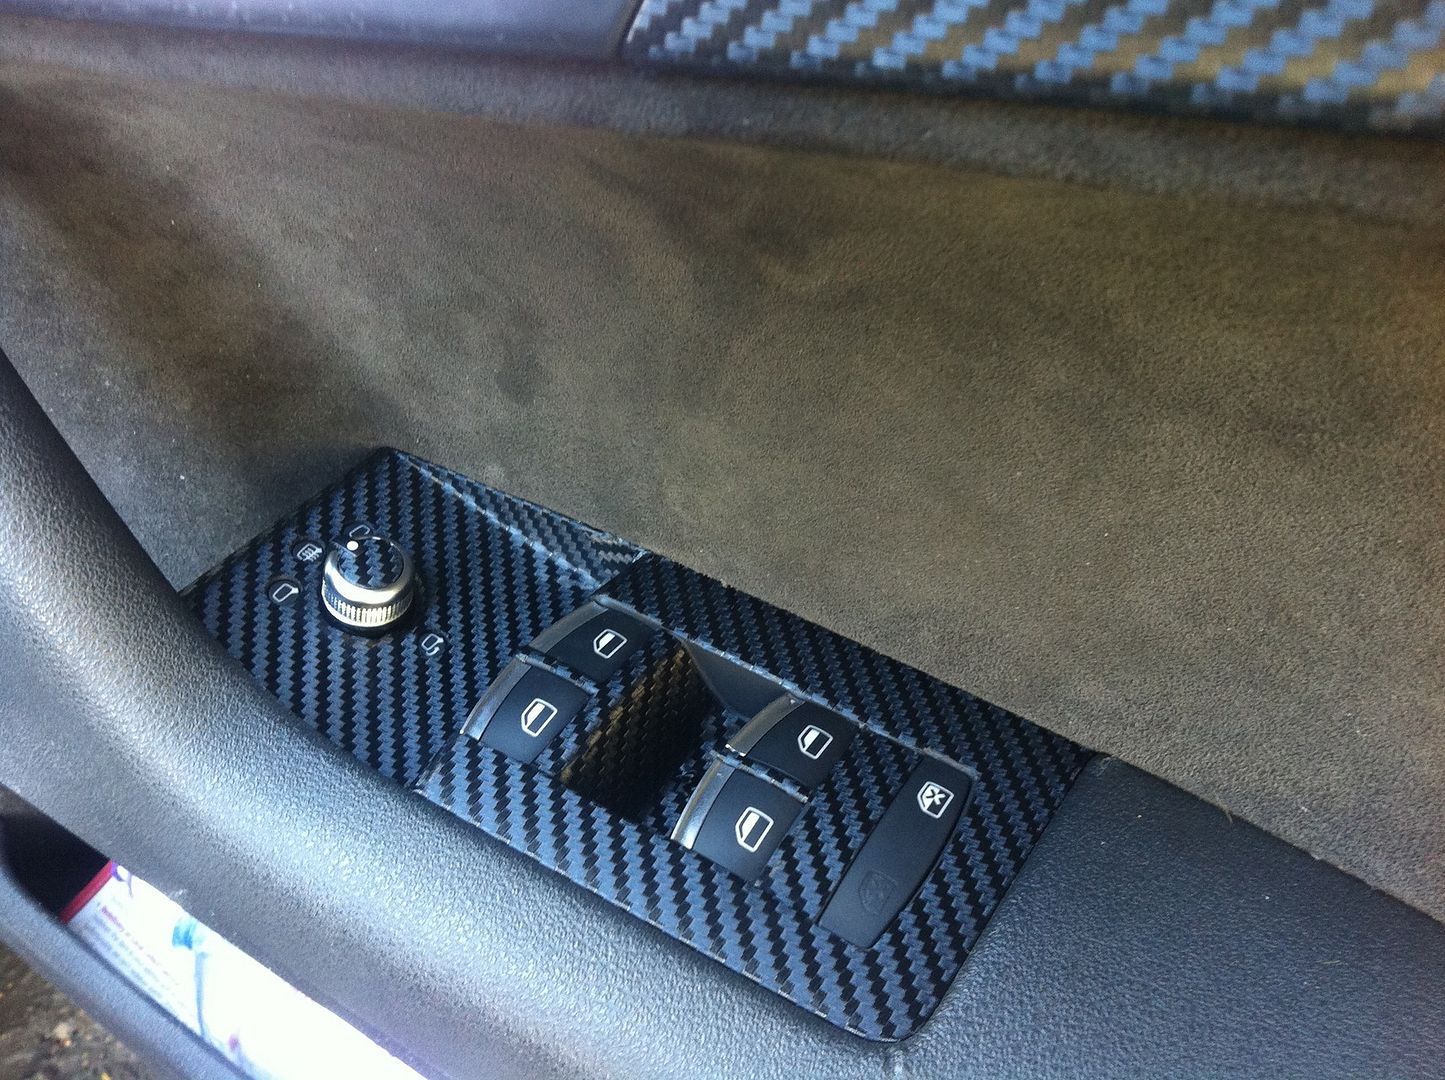 |
| Window Switch surround |
 |
| Close Up Of Switch Surround |
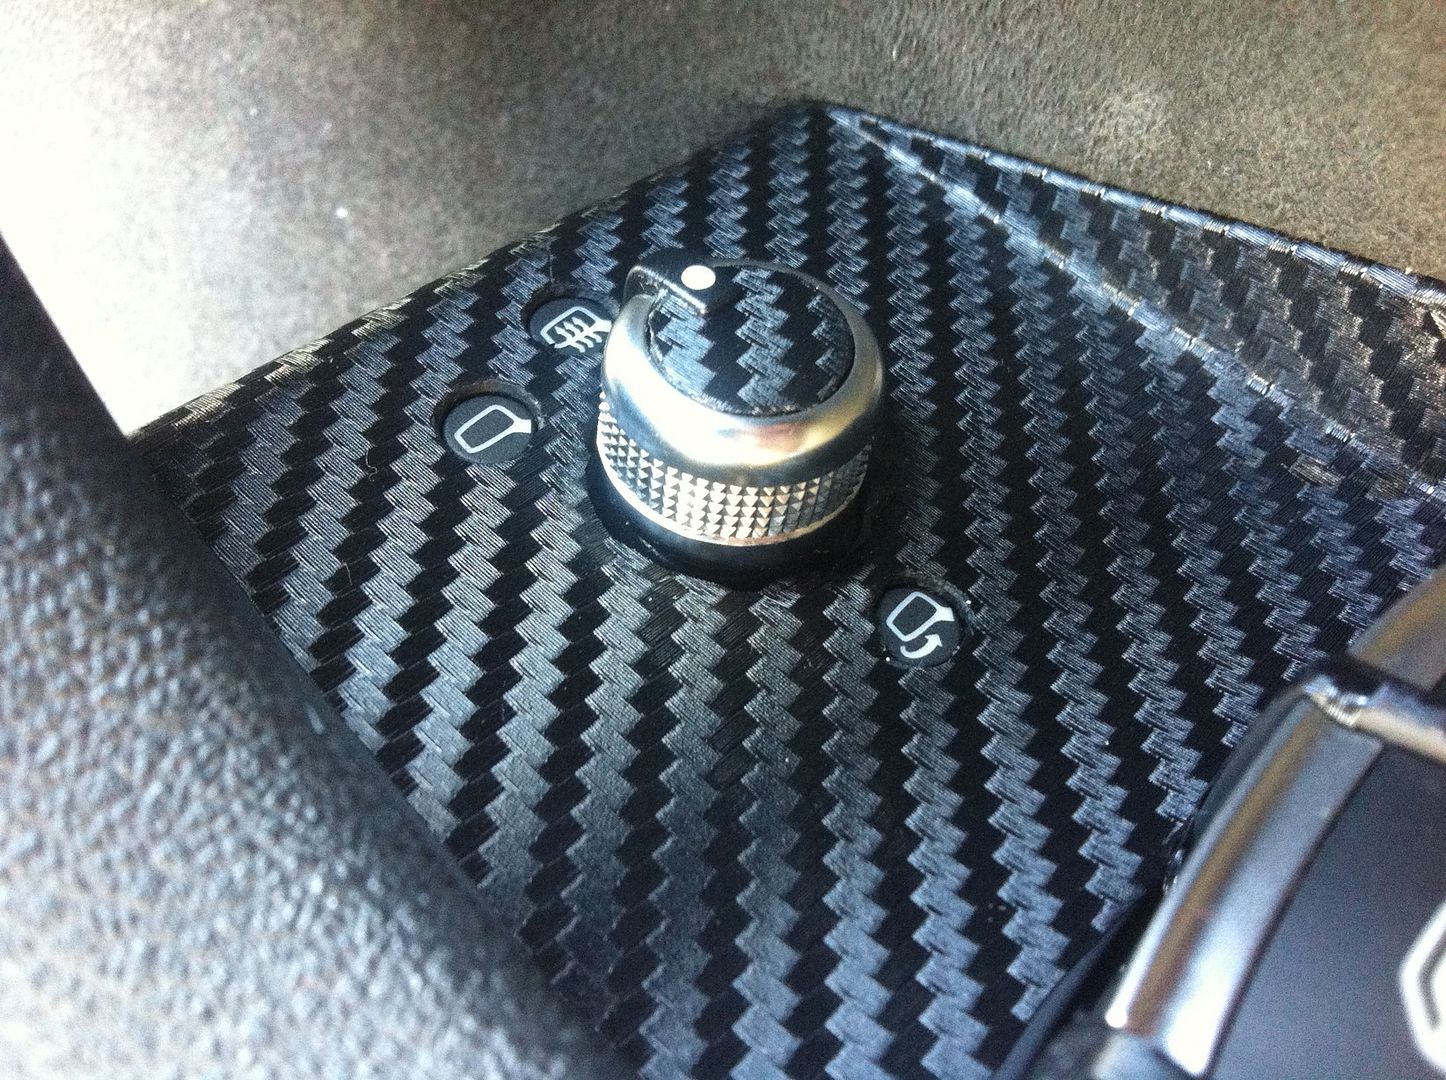 |
| Close Up Of Mirror Switch |
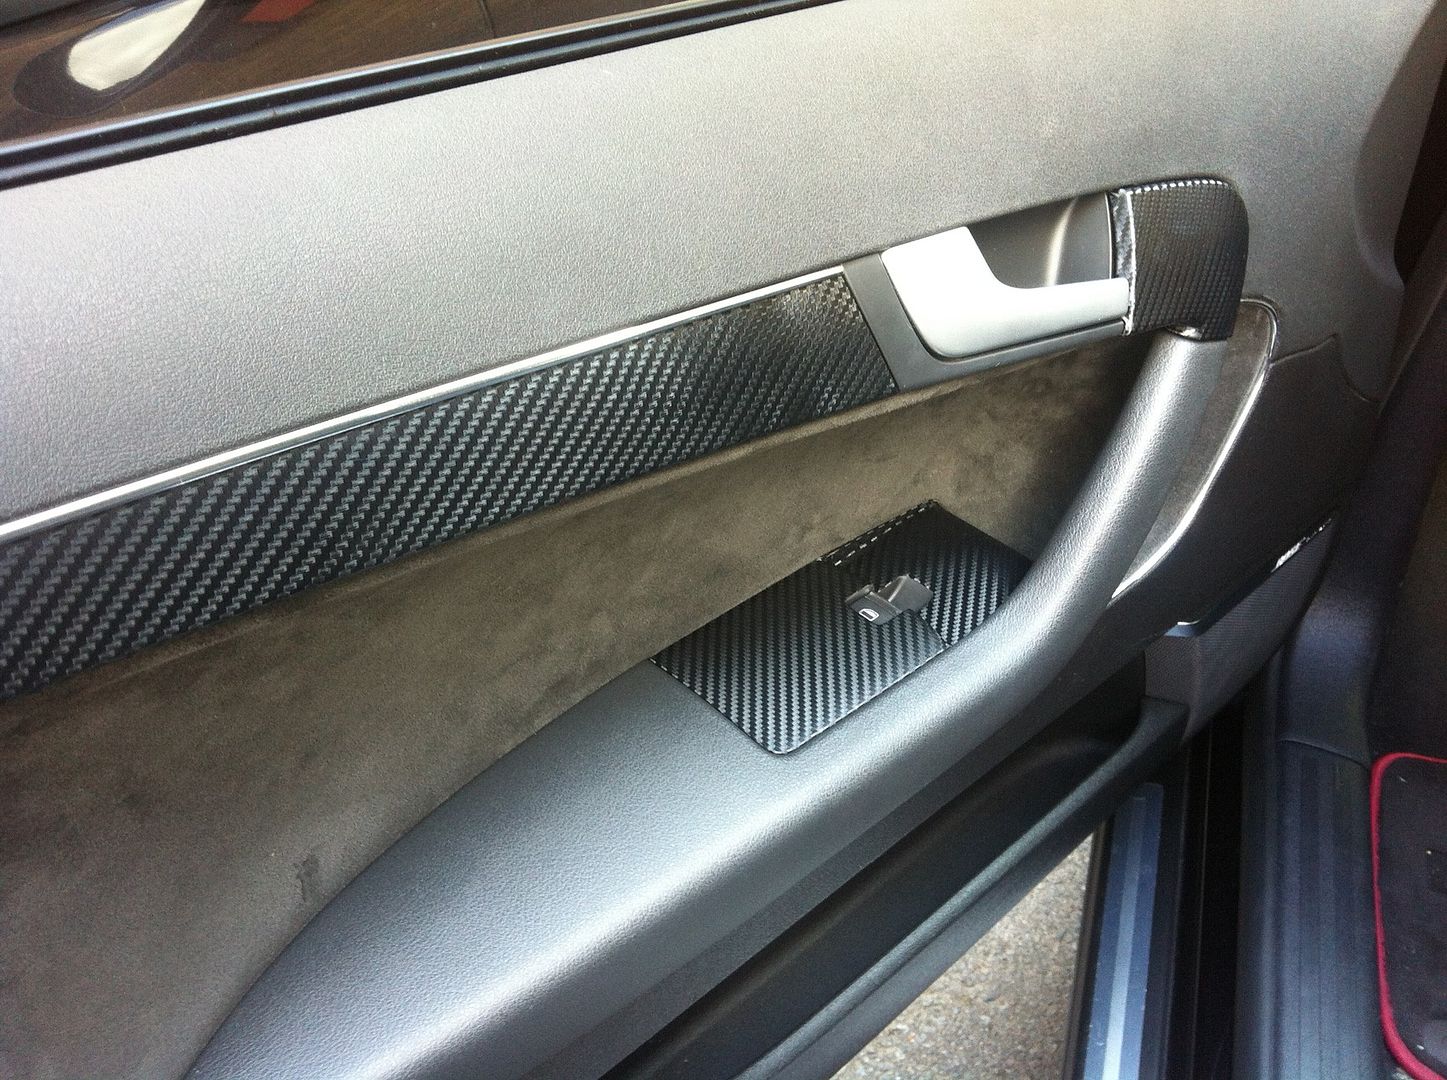 |
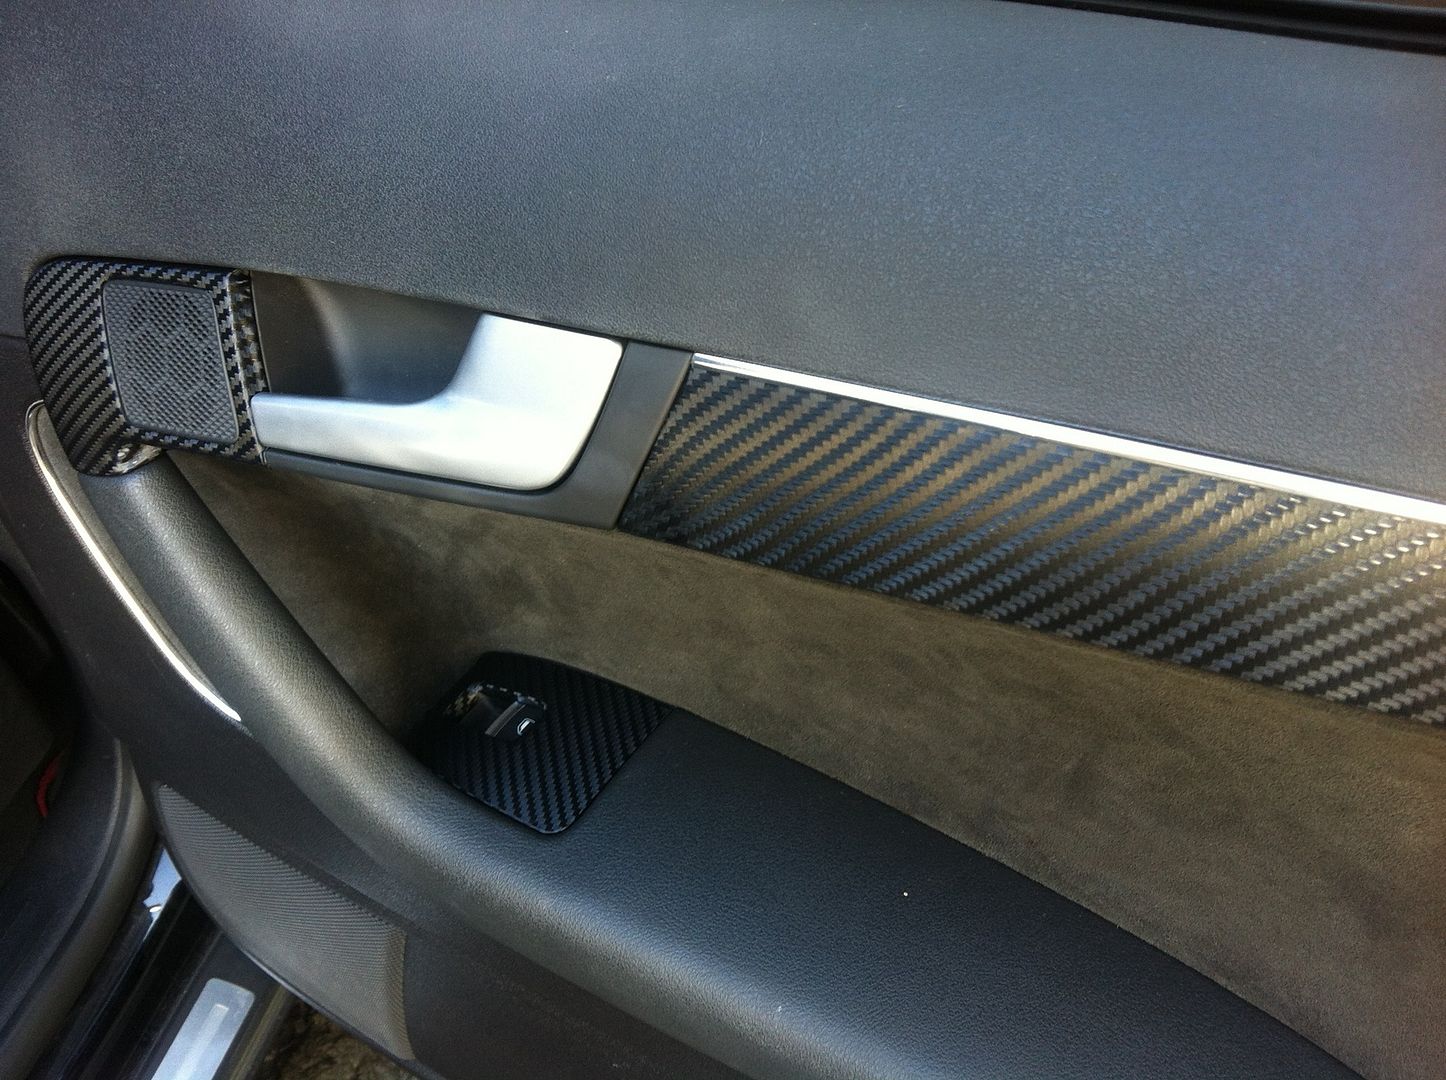
| Front Passenger door |
 |
| Close Up Of Front Passenger Door |
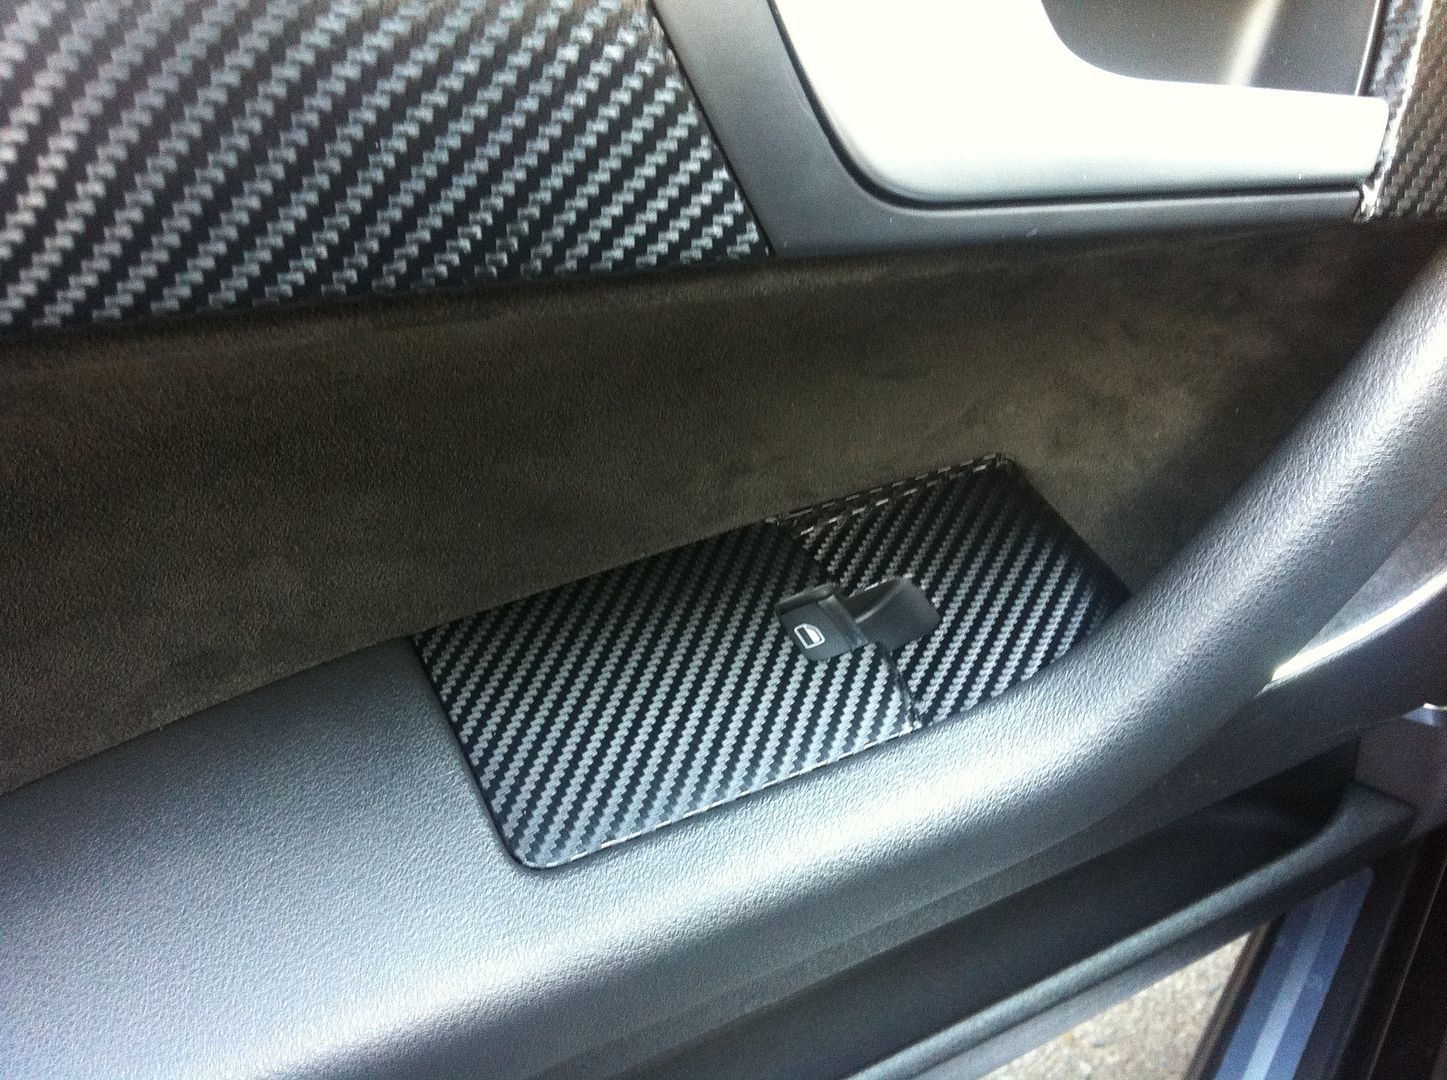 |
| Window Switch On Front Passenger Door |
 |
| Rear Drivers Side Door |
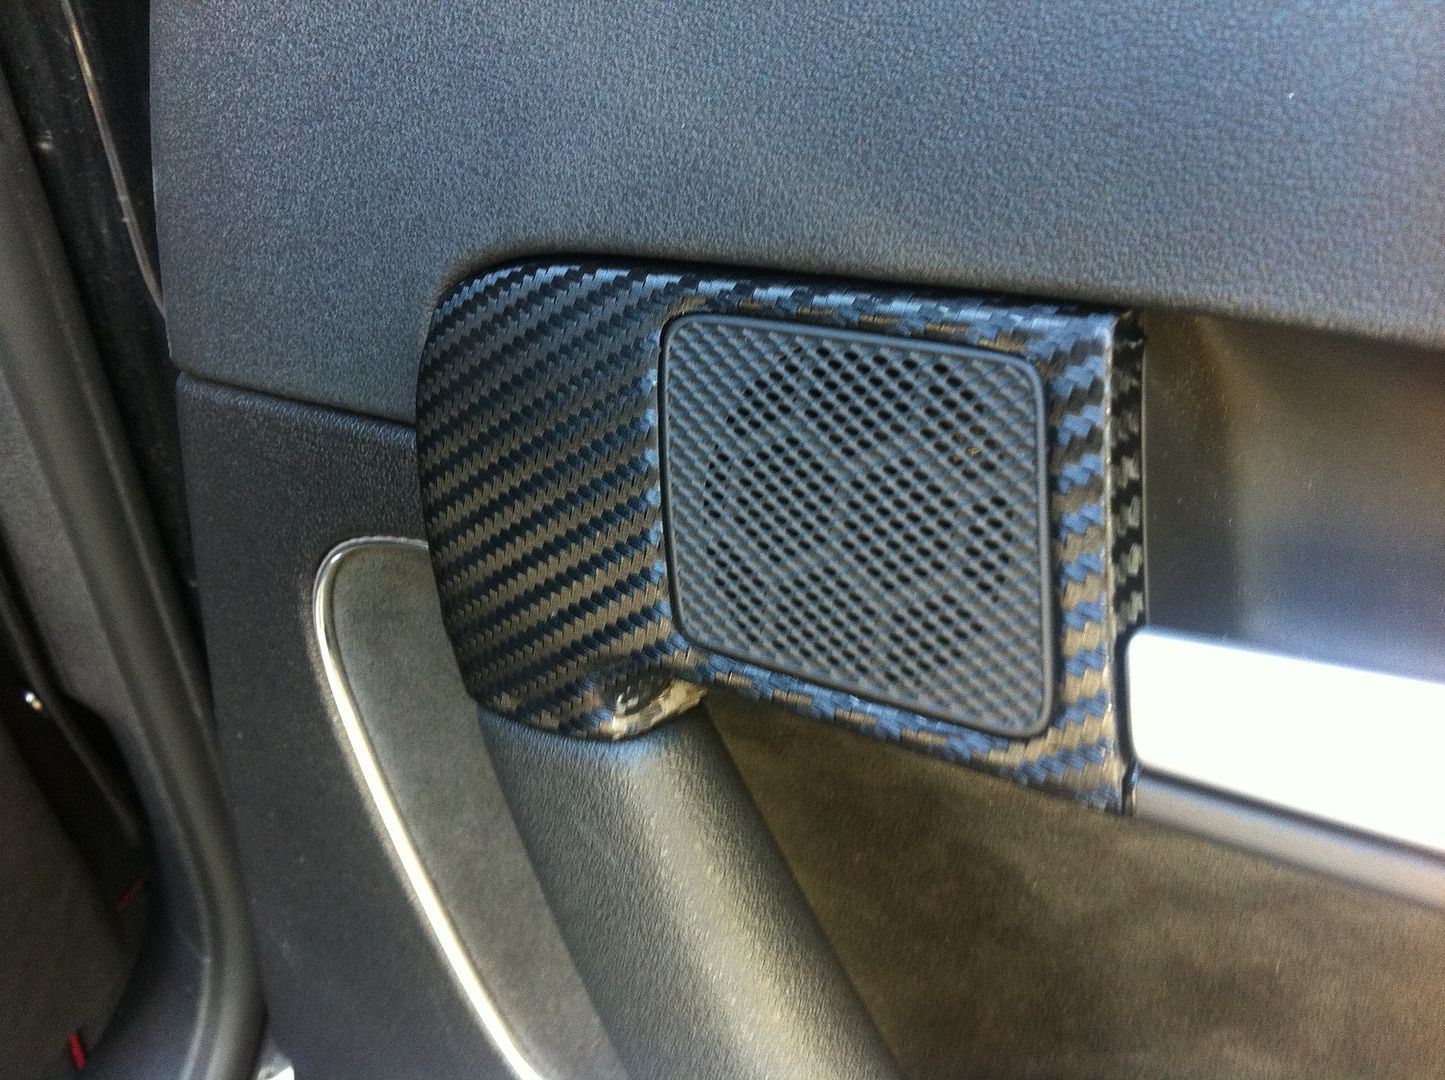 |
| Close Up Of Rear Drivers Side Door Tweeter |
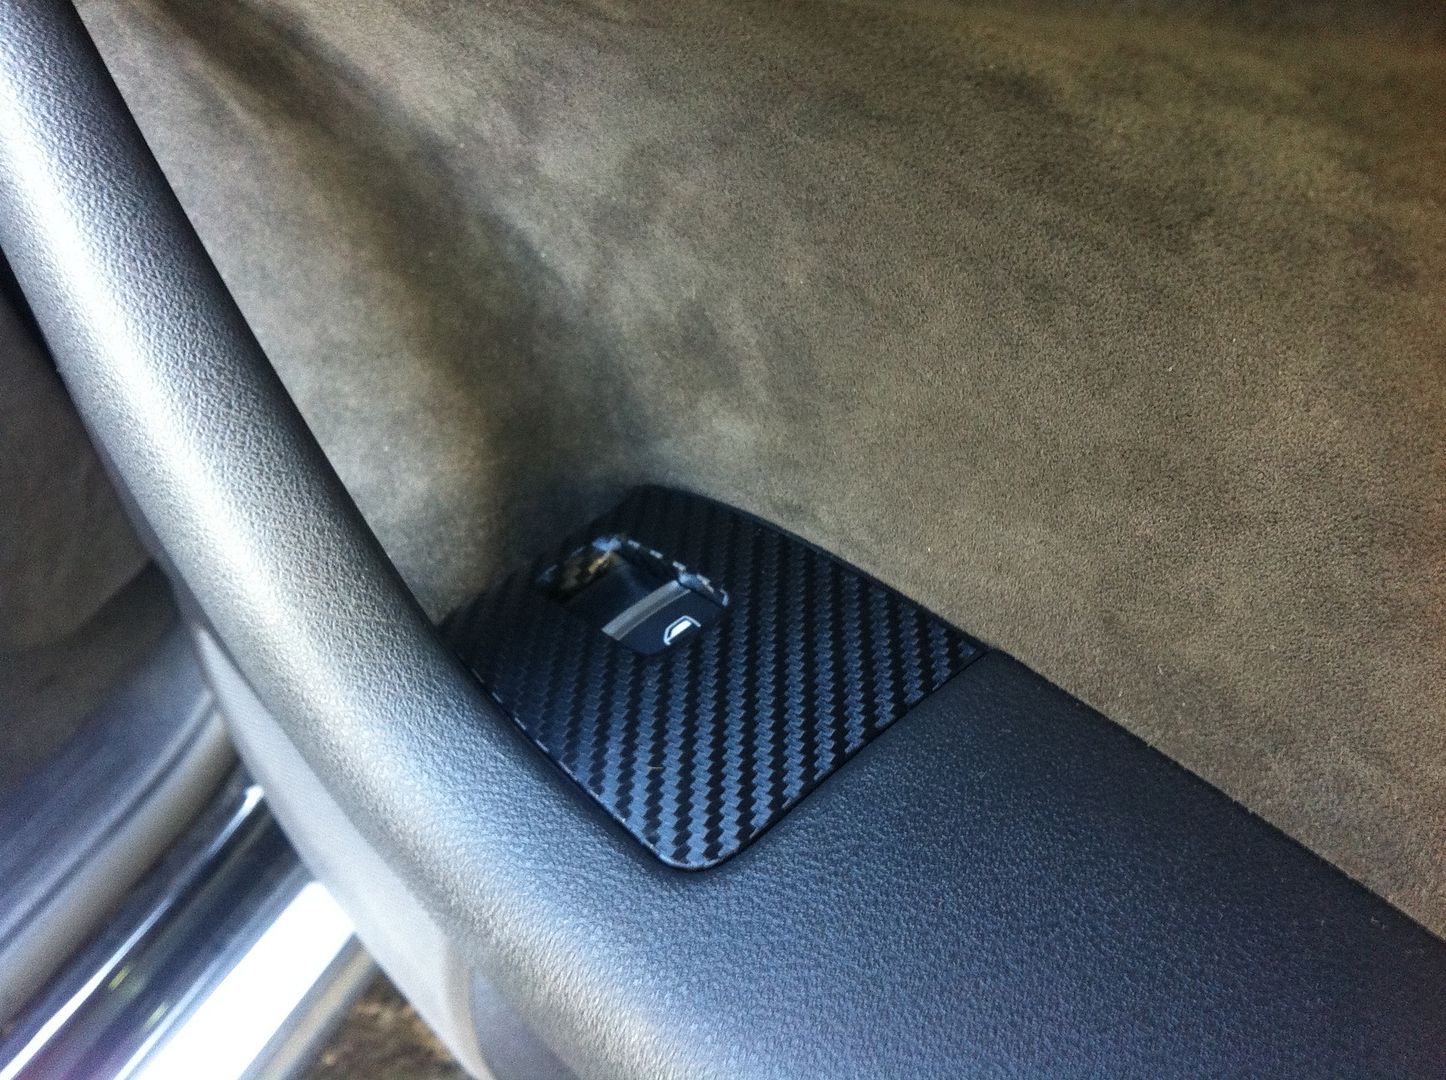 |
| Rear Door Window Switch |
As you can see I went all the way with the trims in the car... some people who have seen these pictures have said its a bit over the top but honestly when you are in the car it looks better and more the part... it isn't in your face and now looks like its meant to be there.
-----------------------------------------------------------------------